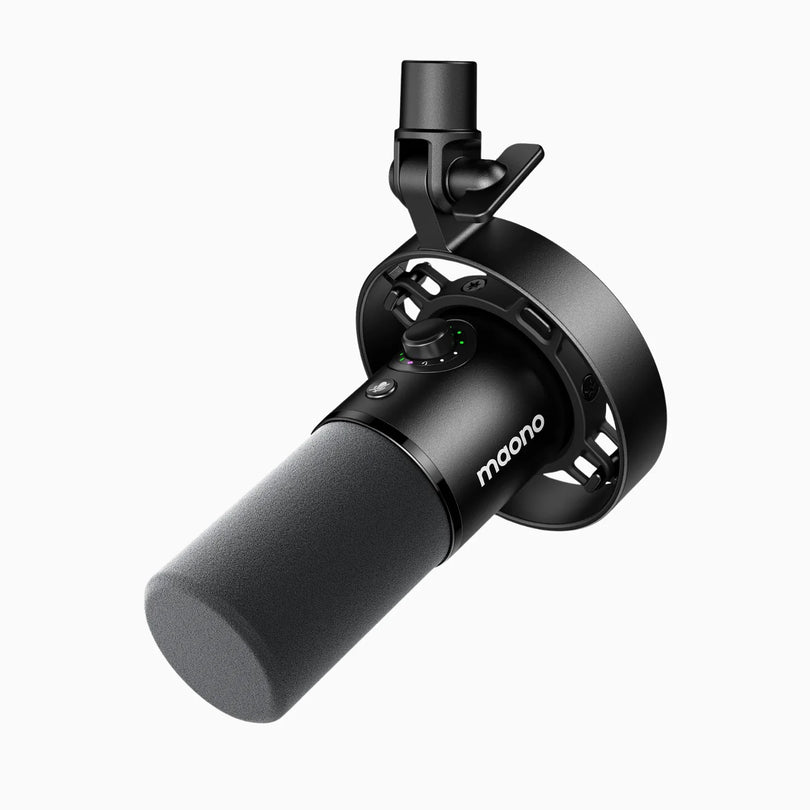
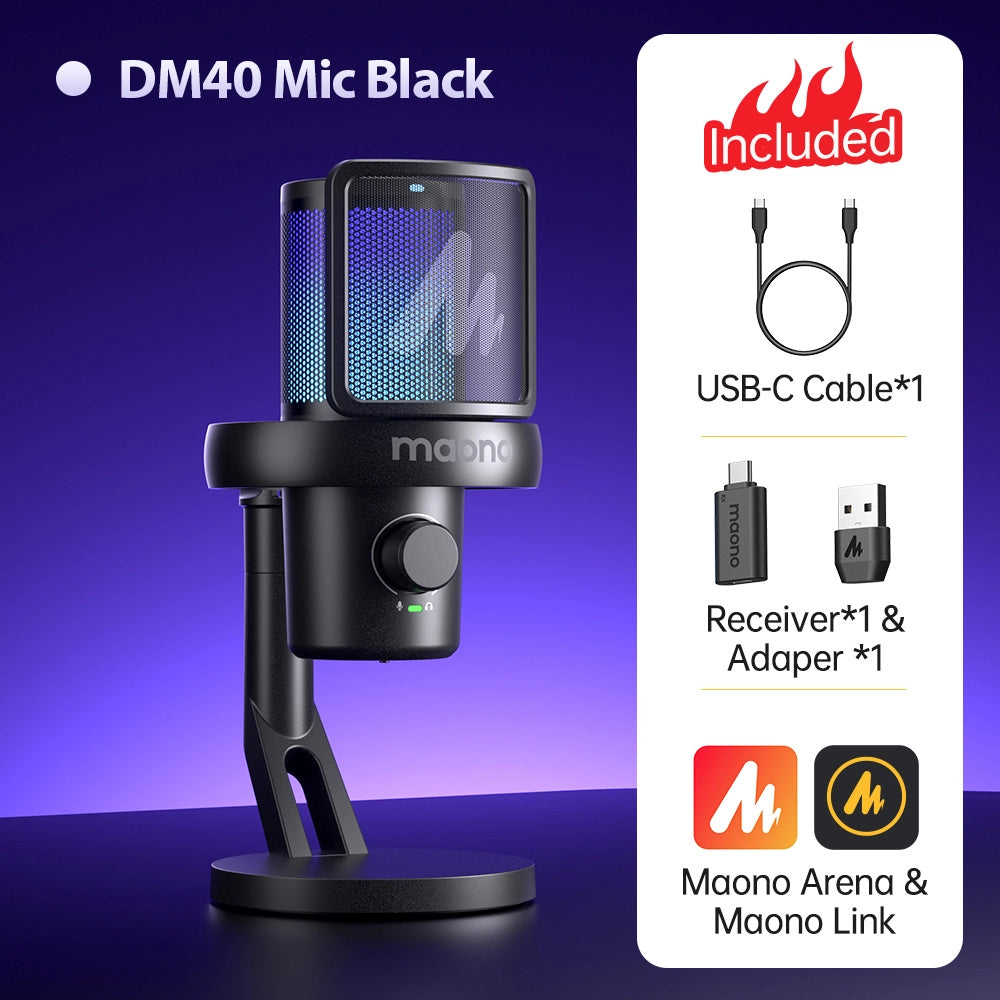
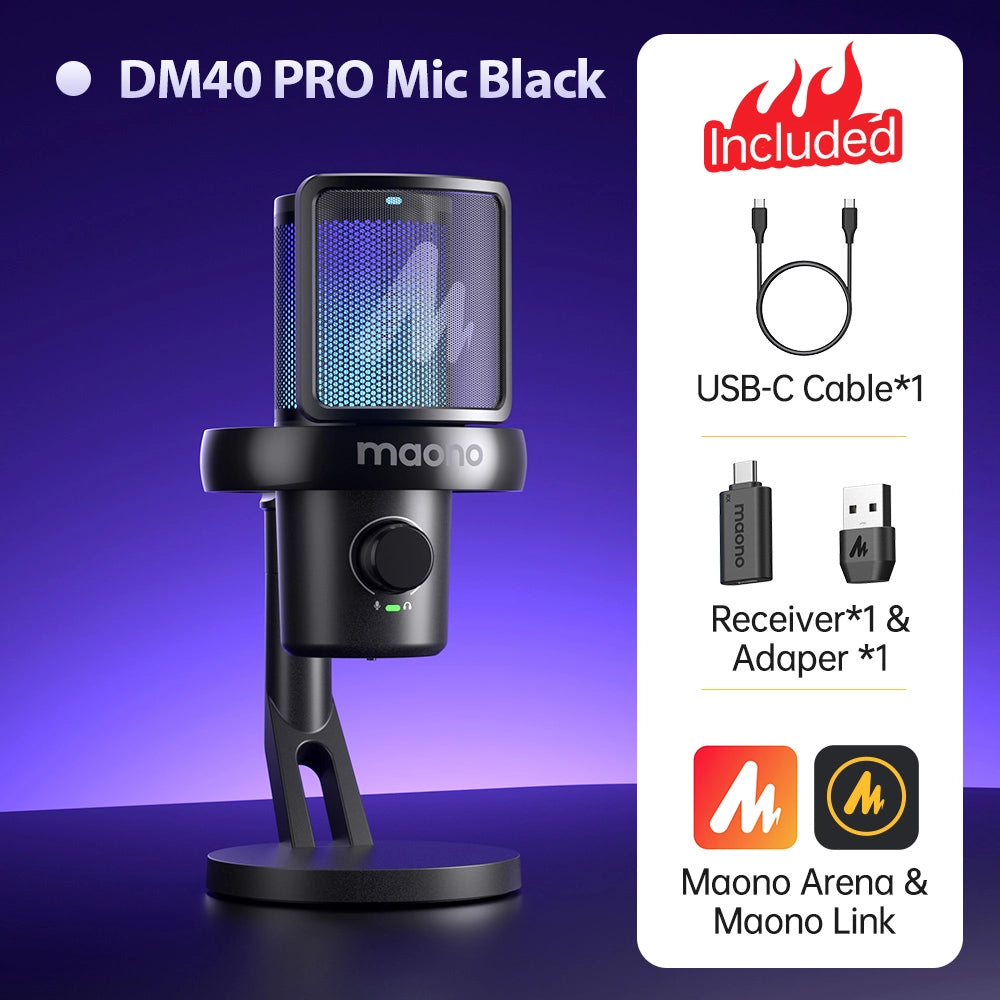
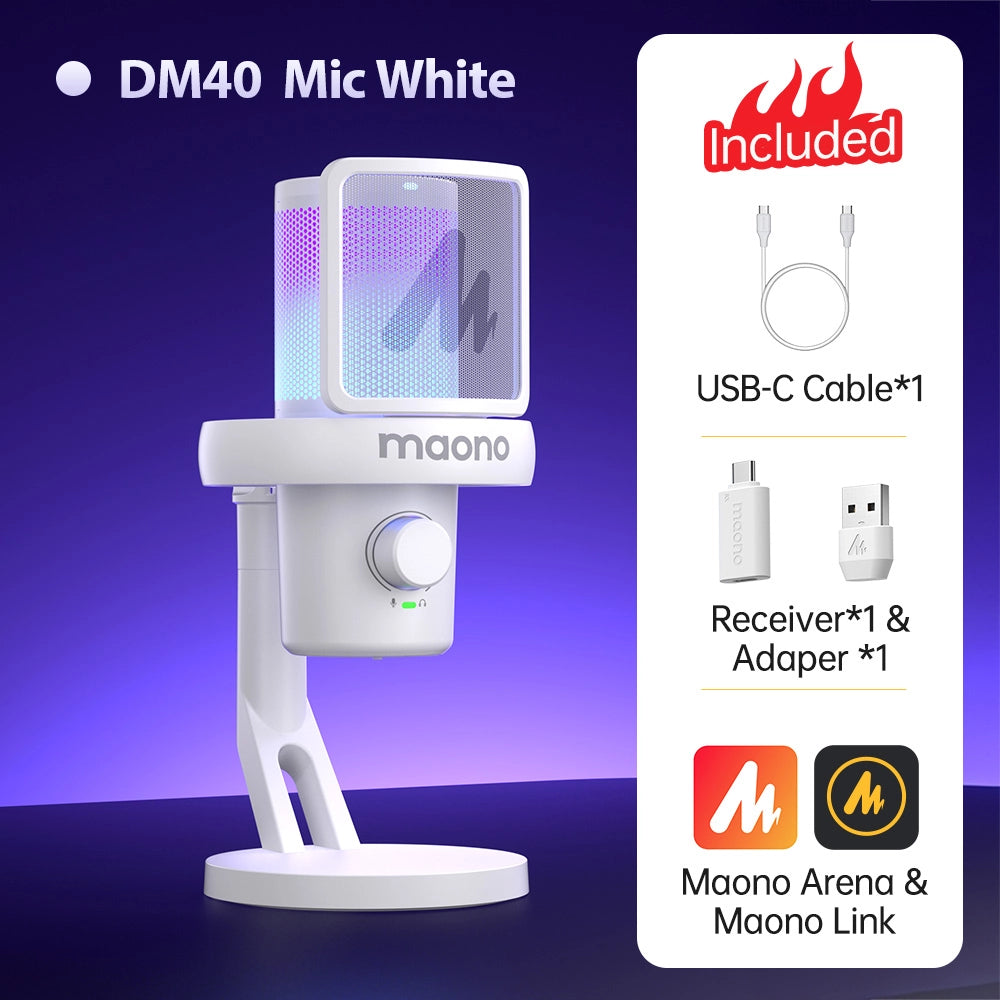
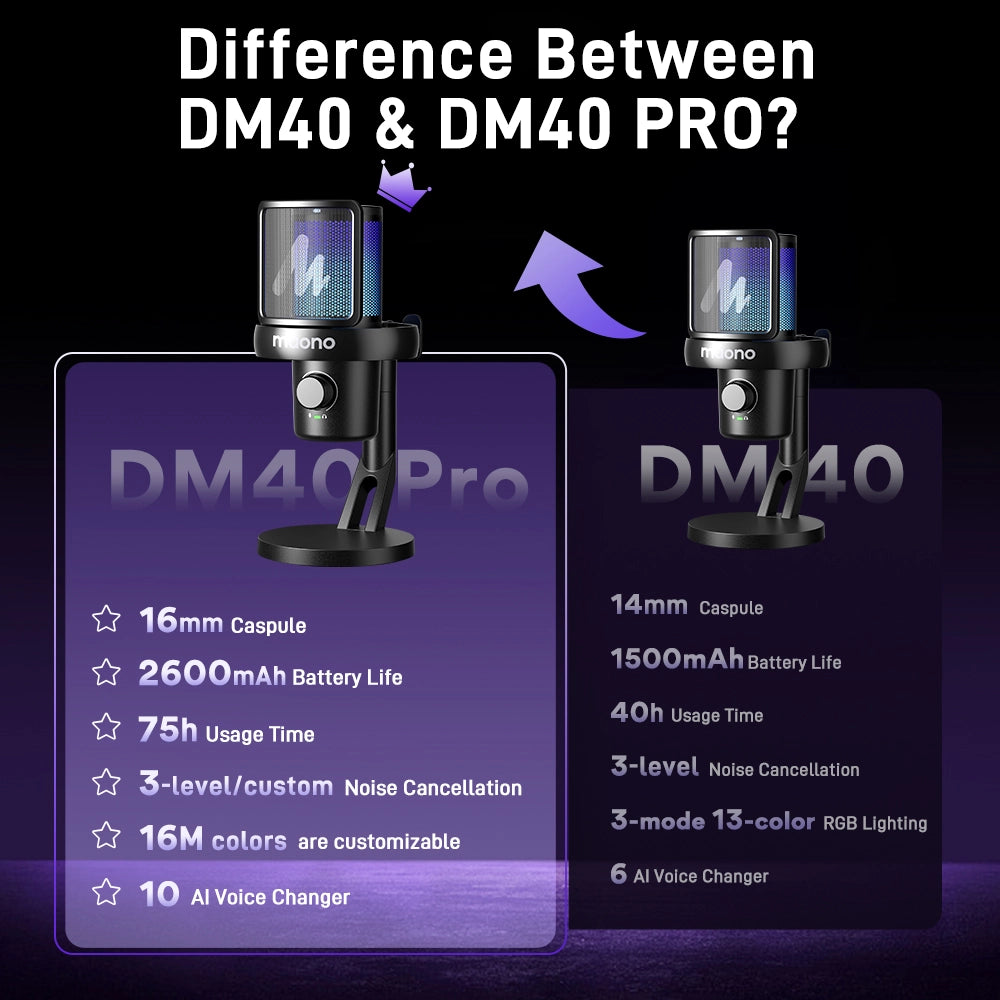
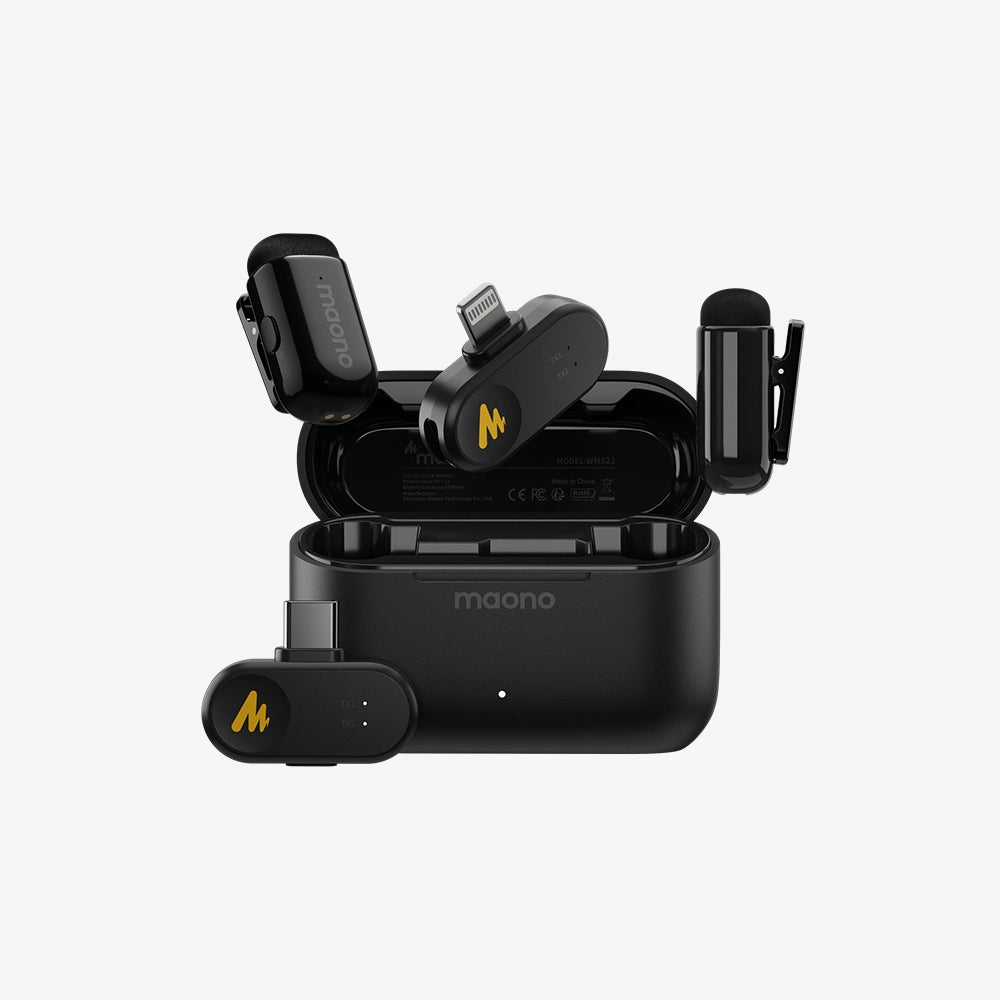
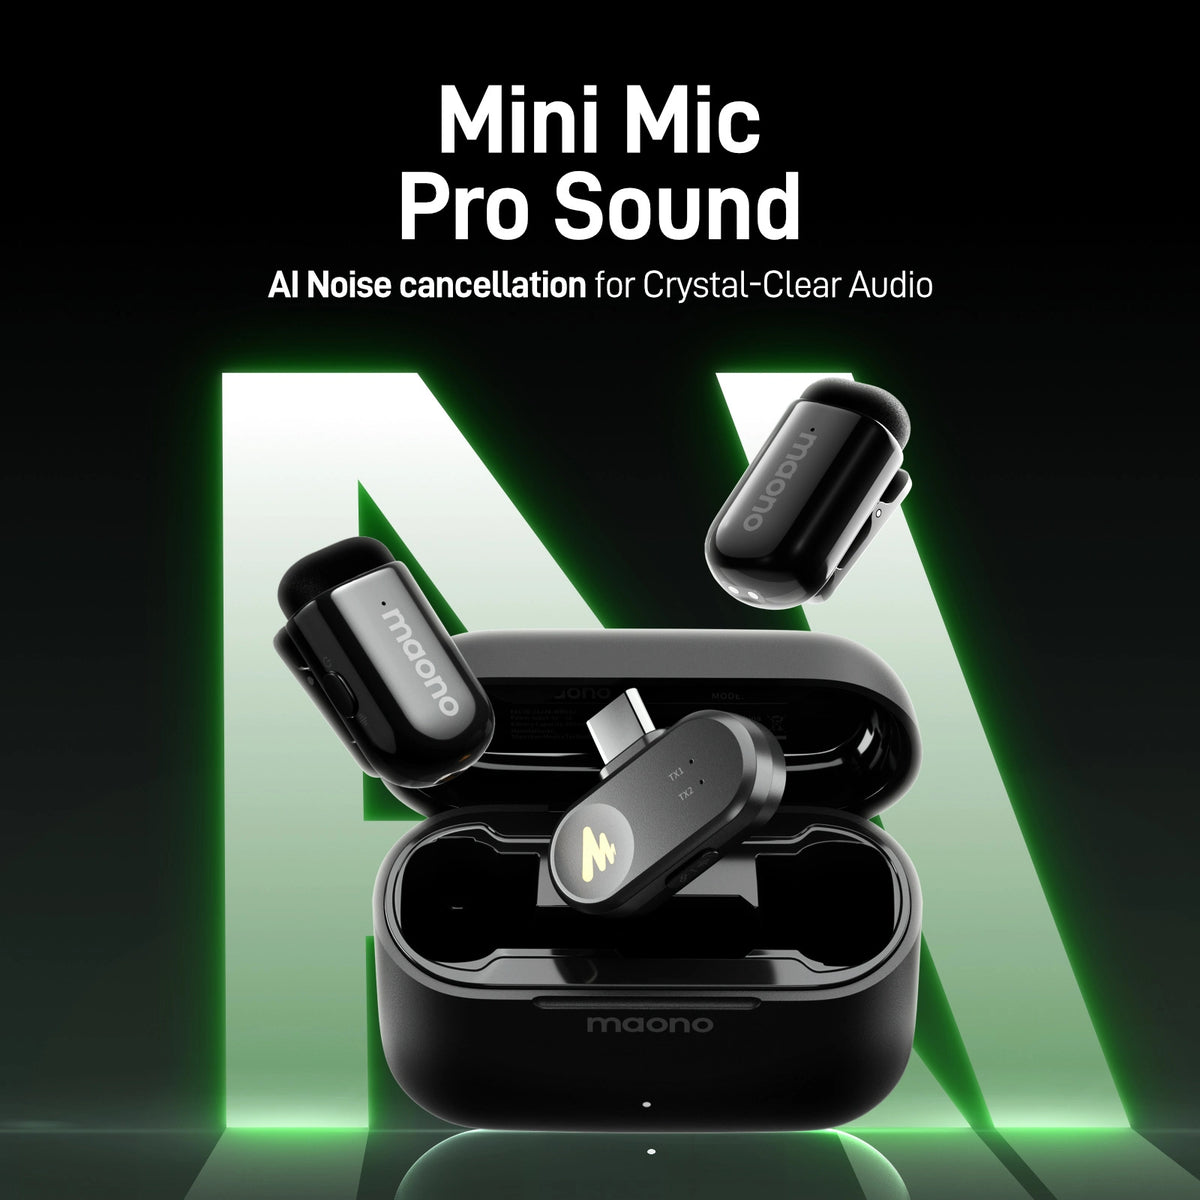
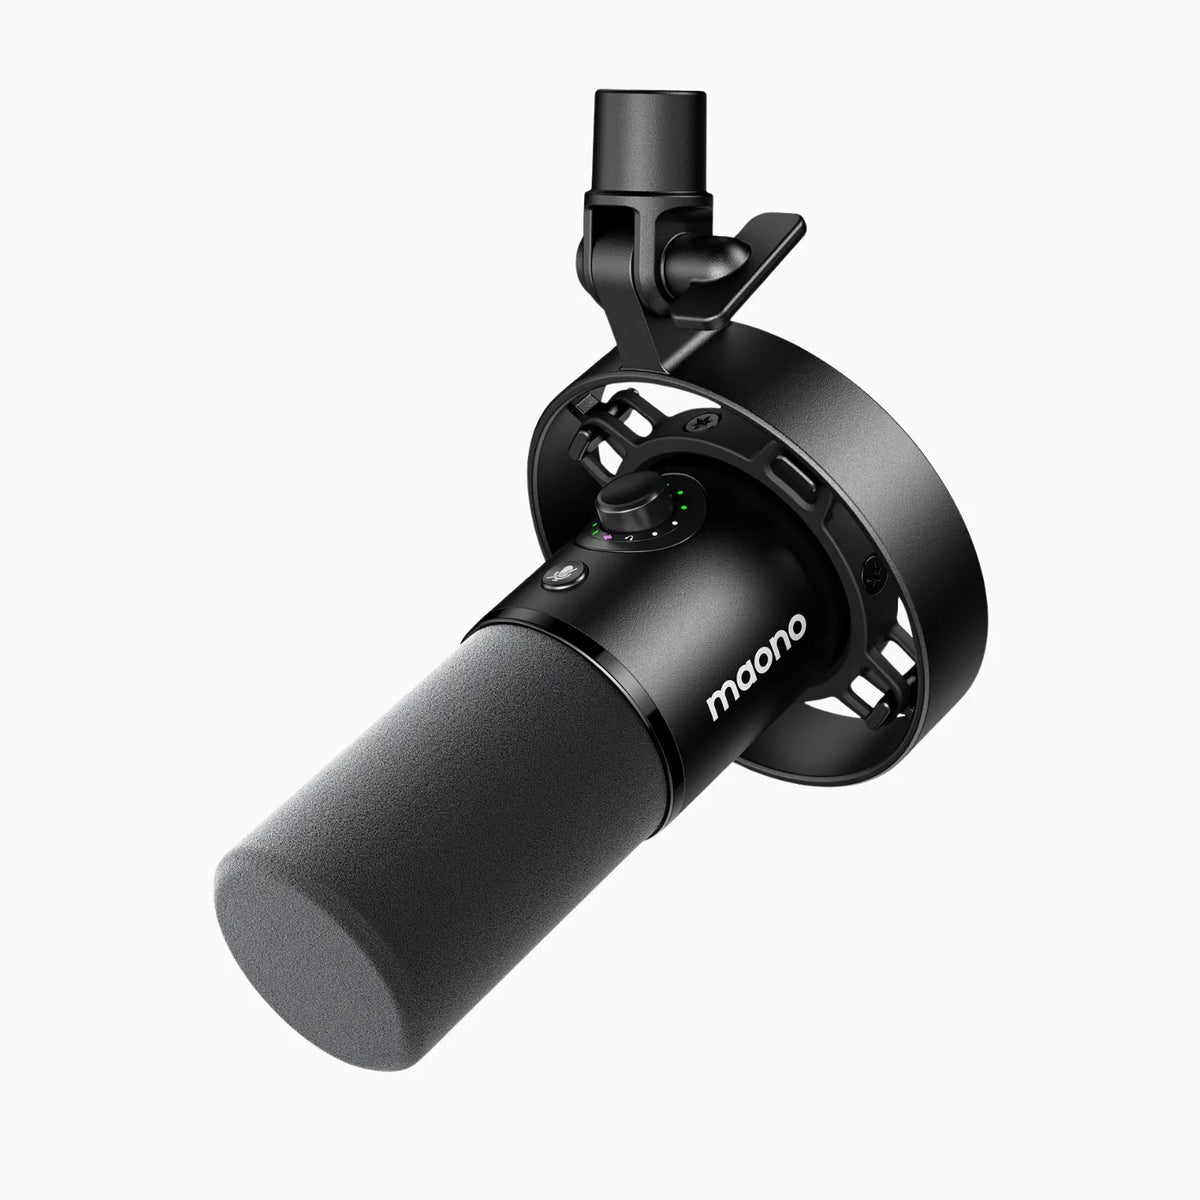
Whether you are a preacher on the podium, an audio technology tuner behind the scenes, or an online self-media person, a little understanding of the concept and skills of using the microphone correctly—especially with tools like Maono microphone software such as the Maono Link—will make you more comfortable in using it!
If you're planning to use a Maono microphone, make sure to connect it via the Maono link to ensure optimal performance and easy setup. Using the Maono link allows you to seamlessly integrate your Maono microphone with various recording software for enhanced audio clarity.
Maono Microphone Software: Enhancing Performance with Maono Link
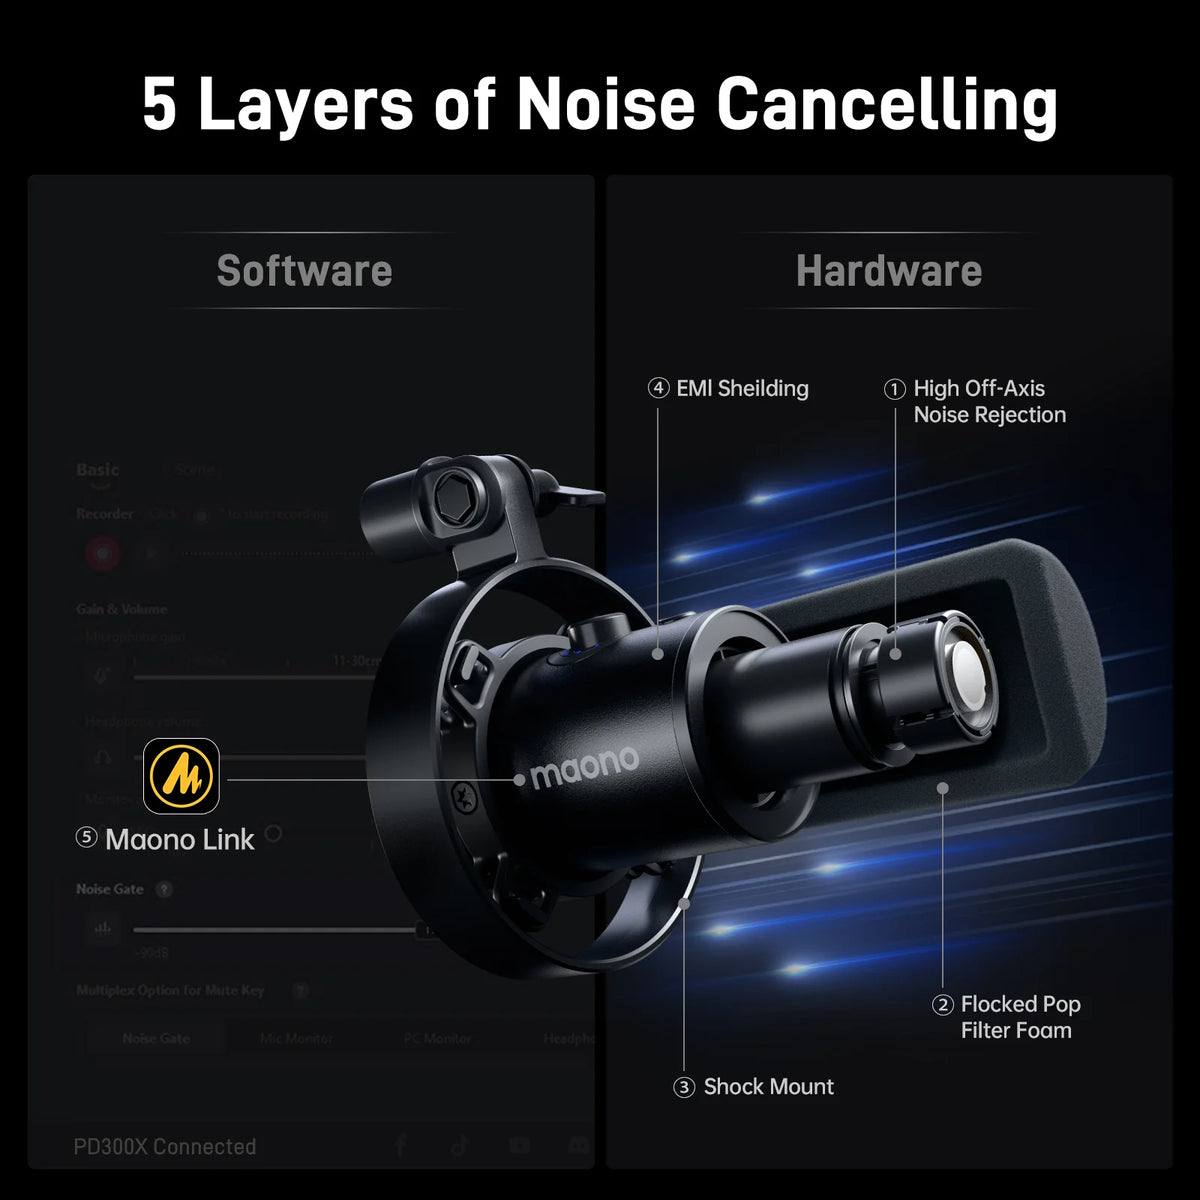
The Maono Link software is a game-changer for anyone using Maono microphones, offering advanced tools to elevate your audio quality. Designed for simplicity and efficiency, Maono Link provides a range of features that cater to content creators, podcasters, and musicians.
One of the standout features is real-time EQ adjustments, allowing you to fine-tune your microphone's audio output on the fly. Whether you need to boost bass, enhance mids, or refine treble, the software ensures your sound matches your desired style, from professional vocals to crisp spoken word.
Another key feature is noise suppression, which reduces background noise, ensuring clean and clear recordings even in less-than-ideal environments. This is especially valuable for streamers or podcasters who work from home or in shared spaces.
Maono Link also supports firmware updates, ensuring your microphone is always equipped with the latest features and improvements. The software's intuitive interface makes it easy to check for and apply updates, keeping your gear up-to-date without hassle.
With Maono Link, users gain complete control over their microphone settings, maximizing the potential of their Maono microphones. This software is particularly beneficial for fine-tuning the Maono PM461, Maono A04, and other compatible Maono models. By using the Maono Link, you can ensure a professional-grade audio experience, no matter the recording setup.
How to Set Up Your Maono Microphone Using the Maono Link
Setting up your Maono microphone using the Maono Link is quick and easy. First, plug the microphone’s USB cable into your computer or laptop's USB port. The Maono Link automatically detects the microphone and establishes a stable connection. Next, navigate to your sound settings and select the Maono microphone as your default input device. Depending on your software, you may also need to adjust the audio settings, such as gain and volume levels, to ensure optimal performance. Once everything is connected, you’re ready to start recording or streaming with clear, professional-quality sound. The Maono Link ensures a hassle-free setup, allowing you to focus on your content without worrying about complex configuration.
Understanding the Maono Link for Seamless Connectivity
The Maono Link is a versatile feature designed to streamline the connection between your Maono microphone and your computer. It allows for easy plug-and-play functionality, meaning you don’t need extra drivers or software to get started. By providing a stable, high-speed USB connection, the Maono Link reduces latency and enhances audio clarity, making it ideal for content creators, podcasters, and streamers. The seamless connectivity ensures that your Maono microphone will perform reliably across different devices and recording platforms, so you can focus on producing high-quality audio with minimal setup. Whether you’re using Windows or macOS, the Maono Link guarantees smooth, professional-grade performance every time.
Now that you know about the function of Maono link, here are some tips for proper usage of your microphone:

Tip#1 Reduce the distance between the microphone and the mouth
If the microphone is far away from the mouth, the output volume will be greatly reduced. If the volume of the amplifier is turned up, it is easy to produce feedback sound, which is a common problem encountered by ordinary microphone users.
If you want to increase the volume of the microphone without producing feedback sound, the easiest way is to use the principle that "the volume of the microphone is inversely proportional to the square of the distance from the sound source" to shorten the distance between the microphone and the mouth, and the sound of the microphone can be greatly improved.
But how to fix the microphone near the mouth?
There are many designs on the market, and the "headset microphone" design is one of the solutions. For example, MAONO C01 Voice Amplifier, by hanging on the head, can adjust the microphone capsule to the position closest to the mouth, so that the microphone can obtain the highest sensitivity and the largest volume output, and will not produce feedback sound.

Also...if you feel that the low frequency is not enough when using the microphone...you can also use the proximity effect of the capsule (Proximity effect)! Put your mouth close to the microphone to get the added low frequency!
Tip#2 Enhance the audio quality of the microphone and minimize superfluous noise
With the sensitive mic, the mouth is close enough to the mic... but the sound is starting to get noisy... what's going on?
When our mouths are speaking, for some pronunciations such as "B, F, P..." containing English letters, a strong "airflow" will be emitted from the mouth to impact the diaphragm of the microphone, causing the microphone to be overloaded ( Overload) distortion, causing the speaker to output a strong "Pop Noise" (Pop Noise), which seriously damages the normal sound quality.
This phenomenon is most obvious when the microphone is used in front of the mouth or near the chin, and the closer the microphone is to the mouth, The gas explosion noise is also getting worse.
So if the mic you are using has this problem. It is recommended that you adjust the microphone head to the position of "close to the left and right sides of the mouth, avoiding the noise of air explosion", so as to obtain the expected volume and normal sound quality.
After actual testing, "keep the front of the microphone capsule at a distance of about one finger from the corner of the mouth, and keep it at a horizontal direction of about 45 degrees from the corner of the mouth." Generally speaking, it is the most ideal position, which can avoid the damage of air explosion sound, and can show the best sensitivity and sound quality.
If the sound head is positioned beyond the front of the corner of the mouth, it will be more affected by the pop sound. However, you can use a windshield such as a sponge, which can slightly reduce the impact of air explosion noise and wind noise, but it will somewhat destroy the view of the face and attenuate the high-frequency response of the microphone.
Tip#3 Correct tuning concept... stop blowing the microphone!
First of all, make sure the microphone is turned on...test the volume and sound quality is what you want? If you think it is not good enough, then adjust the position and direction of the sound head.
First adjust the length of the microphone stand so that the position of the microphone head at the end of the sound head rod is not too far from the mouth, and then use the movable joint of the sound head rod holder to adjust the horizontal height of the microphone head to about below the corner of the mouth.
When adjusting the position of the sound head, it is best to use the on-site sound reinforcement system to test the sound while adjusting it. Please pronounce in English: "PUSH! PULL! ...", carefully fine-tune the position and direction of the sound head at the corner of the mouth until Get the most satisfying sensitivity and the best sound without popping.
How to Download, Install, and Use the Maono Link Software
Step 1: Download the Maono Link Software
- Visit the official Maono website (maono.com).
- Navigate to the "Support" or "Downloads" section.
- Select the Maono Link software compatible with your operating system (Windows/Mac).
- Click "Download" to save the installation file to your computer.
Step 2: Install the Software
- Locate the downloaded file in your computer's downloads folder.
- Double-click the file to start the installation process.
- Follow the on-screen prompts, agreeing to terms and conditions, and choose the installation location.
- Once installed, launch the Maono Link software.
Step 3: Connect Your Microphone
- Plug your Maono microphone (e.g., Maono PM461 or Maono AU-A04) into your computer using the provided USB cable.
- Ensure the microphone is recognized by your computer and the Maono Link software.
Step 4: Configure and Use the Software
- Open the Maono Link software.
- Adjust real-time EQ settings to customize your sound, such as boosting bass or enhancing treble.
- Enable noise suppression to minimize background noise for clear audio.
- Check for firmware updates in the settings menu to keep your microphone optimized.
- Test your settings by recording or streaming to ensure the audio quality meets your needs.
Pro Tip: Explore advanced features in Maono Link to tailor your audio settings based on your recording environment or vocal style.
Frequently Asked Questions about the Maono Link:
What is the Maono Link and How Does It Work?
The Maono Link is a Maono microphone software designed to simplify the setup and connectivity between Maono microphones and your computer. It allows for plug-and-play functionality, meaning you can easily connect your Maono microphone to your laptop or PC without the need for additional drivers or complex software. Once connected, the Maono Link ensures stable, high-quality audio transmission, reducing latency and ensuring clear, professional sound for recording or streaming.
Is the Maono Link compatible with both Windows and macOS?
Yes, the Maono Link is compatible with both Windows and macOS operating systems. Whether you're using a laptop or desktop, the Maono Link provides seamless connectivity for quick and reliable audio performance, without the need for additional drivers or setup.
In conclusion, using your microphone properly can significantly enhance your audio quality, whether for recording, streaming, or virtual meetings. The Maono Link simplifies this process by offering seamless, plug-and-play connectivity, ensuring clear sound with minimal setup. By understanding both the technical and practical aspects of microphone use, especially with the Maono Link, you can achieve professional audio performance effortlessly.
How does the Maono Link improve microphone performance?
Maono Link enhances microphone performance by offering real-time EQ adjustments, noise suppression, and firmware updates. These features allow users to customize their audio, reduce background noise, and keep their microphones updated for optimal sound quality.
What Maono microphones are supported by Maono link?
Maono Link supports a range of Maono USB microphones, including popular models like the Maono DM30, DM50, PD100X series, PD200X, PD400X, PDM450S , and other compatible USB Maono microphones designed for podcasting, streaming, and vocal recording.
Don't miss out on our amazing Christmas deals! Get your Maono microphone today and elevate your audio experience—whether you're podcasting, streaming, or recording. Hurry, these exclusive offers won’t last long! Shop now and enjoy unbeatable savings on top-quality microphones!


