Miniature DIY vlogs have become a soothing, satisfying, and captivating corner of the Internet. Whether you’re building a dollhouse kitchen or crafting a tiny garden, sharing the process on YouTube, TikTok, or Facebook has never been more accessible. But there’s one element that often separates amateur videos from polished, professional-looking ones: sound.
You’ve probably wondered, “What’s the easiest way to narrate while showing my building process?” Great audio can make your vlog more immersive—voiceover brings clarity and context, while background music adds emotion and pace. Using a wireless microphone or a lav mic system can also free up your movement while maintaining crisp, clear narration. When done right, it elevates your storytelling. In this guide, we’ll walk you through everything you need to know to add music and voiceover to your miniature DIY vlogs with confidence.

How to Add Music and Voiceover in Miniature Building Videos
Before diving into tools and techniques, it’s important to understand the goal: You want your audience to feel engaged and informed. Voiceover helps explain your thought process, while background music enhances the viewing experience. The challenge lies in balancing both without one overpowering the other.
To create engaging vlogs, narration and background music need to blend well. Start by filming your building process with clear audio. If you’re using a camera, also use a lav mic for camera which is a popular option among creators—it clips onto your shirt and captures your voice directly, minimizing background noise.
1. How Do I Record a Voiceover and Add Background Music at the Same Time?
Technically, you can record voice and music simultaneously, but it’s not recommended for beginners. Instead, record your voiceover separately from the music track. This gives you greater control over timing, volume, and editing.
If you prefer narrating live during recording, a lavalier mic and receiver combo ensures that your voice is captured clearly and transmitted without interruption. You can simultaneously play background music on a speaker or add it during editing.
For post-production narration, record your voiceover separately using editing software. A lavalier microphone and speaker setup works well if you're doing a live demo and want your audience to hear you clearly.
Here’s a simple step-by-step:
-
Record your miniature DIY project first (the video).
-
Write a short script or outline for narration.
-
Record your voiceover using a quality mic (more on that later).
-
Import both the voiceover and your chosen background music into your video editing software.
-
Adjust and sync as needed.
2. What’s the Best Software to Use for Adding Music Under a Voiceover?
There are several beginner-friendly and professional-grade tools available, depending on your comfort level and platform:
-
CapCut (Free, Mobile/Desktop): Great for quick edits with built-in voiceover and music layering.
-
iMovie (Mac/iOS): Simple interface and reliable performance for Apple users.
-
DaVinci Resolve (Free, Pro-Grade): More advanced, but excellent for detailed audio editing.
-
Adobe Premiere Pro (Paid): Used by many pros, includes advanced sound mixing tools.
-
Audacity (Free, Audio Only): If you want to mix audio separately and import it later.
3. Should I Record the Voiceover Before or After Adding the Background Music?
It’s usually better to record your voiceover first, then select background music that complements your tone and pacing. Once the narration is done, it becomes easier to match the music dynamically—speeding up, slowing down, or fading in at just the right moments.
4. How Do YouTubers Add Music Behind Their Voice in DIY Videos?
YouTubers typically record clean voice overs using tools like a lavalier microphone and receiver or even a lavalier mic for iPad (if they prefer to use a tablet). Then, using editing software, they import a background music track, lowering its volume so it doesn't overpower the narration.
Most creators use timeline-based video editors. Here’s how it works:
-
Drag your video footage into the editor timeline.
-
Add your voiceover track and align it with the scenes.
-
Drop the background music in a separate track.
-
Adjust the music’s volume to play softly beneath your voice.
Some platforms like CapCut and VN Editor also offer templates and auto-ducking, which lowers music volume when a voice is detected.
Tips for Balancing Music and Voice in DIY Vlog Recordings
Balancing music and voice is all about clarity. Your voice must remain the focus, while music supports the mood. Here’s how:
-
Keep music volume around -25dB to -20dB below your voice.
-
Use a lav mic system for isolated voice capture, minimizing ambient noise.
-
Fade music in and out around key spoken moments for a more cinematic feel.
5. How Can I Make Sure the Music Doesn’t Overpower My Voice?
Always monitor your mix with headphones. Ensure your microphone for voiceover, whether it’s a desktop mic or a lav mic for camera, is picking up your voice clearly. If the music drowns your narration, lower the music track in the editing software. Two essential tools help with this:
-
Volume automation: Adjust music levels at different points.
-
Audio ducking: Automatically lowers music when narration starts.
Some beginner-friendly editors like Camtasia, Filmora, and CapCut even offer auto-ducking features to simplify the process.
6. Is There an App That Lets Me Sync Voice and Music Easily for Vlogs?
Yes! Apps like InShot, VLLO, and KineMaster let you sync voice and music easily. They're especially helpful if you're using mobile-friendly audio gear like a lavalier mic for iPad, which connects directly to your tablet for quick editing on the go. If you're working on a phone or tablet, here are three great apps:
-
InShot (iOS/Android): Easy layering of music and voiceover.
-
CapCut: Offers multiple audio tracks and auto-ducking.
-
KineMaster: Good control over timeline audio, with EQ and filters.
For desktop editing, DaVinci Resolve and Shotcut (free) also let you sync and mix like a pro.
7. What Volume Level Should Background Music Be Under a Voiceover?
Aim for background music to sit at about 20%–30% volume relative to your voiceover. This ensures clarity without making your audio feel empty. Test the final version on multiple devices to ensure consistency.
8. How Do I Fade Music In and Out Around My Voiceover Narration?
Most video editors let you add keyframes to gradually raise or lower the music volume. This technique is helpful when transitioning between scenes or when pausing narration for a visual moment. Syncing this manually becomes easier with tools like CapCut or Premiere Pro. Most video editors have built-in fade controls:
-
CapCut: Tap the music track, select “Fade,” and adjust in/out.
-
iMovie: Drag the fade handles at the beginning or end of the audio track.
-
Premiere Pro: Use keyframes for precise fade timing.
You can also fade in music for intro/outro moments and then reduce its volume under your narration.
9. Can I Use CapCut or iMovie to Layer Voice and Music?
Absolutely. Both CapCut and iMovie allow you to insert multiple audio tracks. You can drag your recorded voiceover into the timeline and add music beneath it. Then adjust the audio levels accordingly. These tools are mobile-friendly, making them ideal when working with a lavalier microphone and speaker setup or a lav mic for iPad.
-
In CapCut, import your video, add your voiceover, then your music track. Use the volume slider to balance them.
-
In iMovie, use the "Voiceover" tool or import a separate audio file, then drag your music below the timeline and adjust accordingly.
10. Should the Voiceover Be Recorded in a Separate Session from the Music?
Yes, in most cases. Recording your voice in a separate, quiet session ensures higher quality and more control. Whether you're using a lav mic system or a wireless lavalier mic and receiver, the goal is to capture clean, consistent audio.
11. Are There Copyright-Free Music Sources for My Vlog Background Audio?
Yes! Sites like YouTube Audio Library, Epidemic Sound, and Artlist provide royalty-free music options for vloggers. Be sure to read their licensing terms carefully. Choose tracks that match the tone of your build to create a cohesive viewing experience. It's important to use them to avoid takedowns or demonetization. Here are top sources:
-
YouTube Audio Library (free, royalty-free)
-
Epidemic Sound (subscription-based, high-quality tracks)
-
Free Music Archive (public domain and Creative Commons)
-
Bensound (free with credit or paid license)
Look for instrumental, lo-fi, or cinematic tracks that won’t clash with your voice.
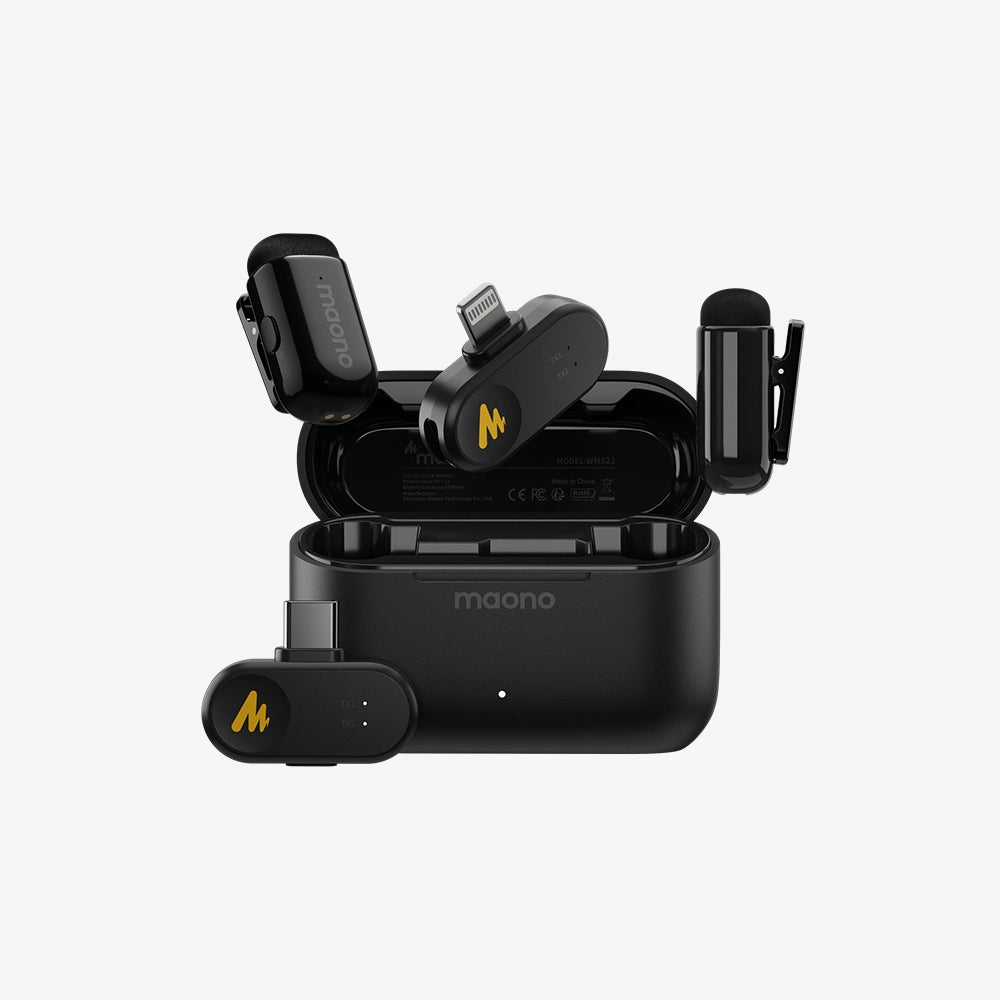
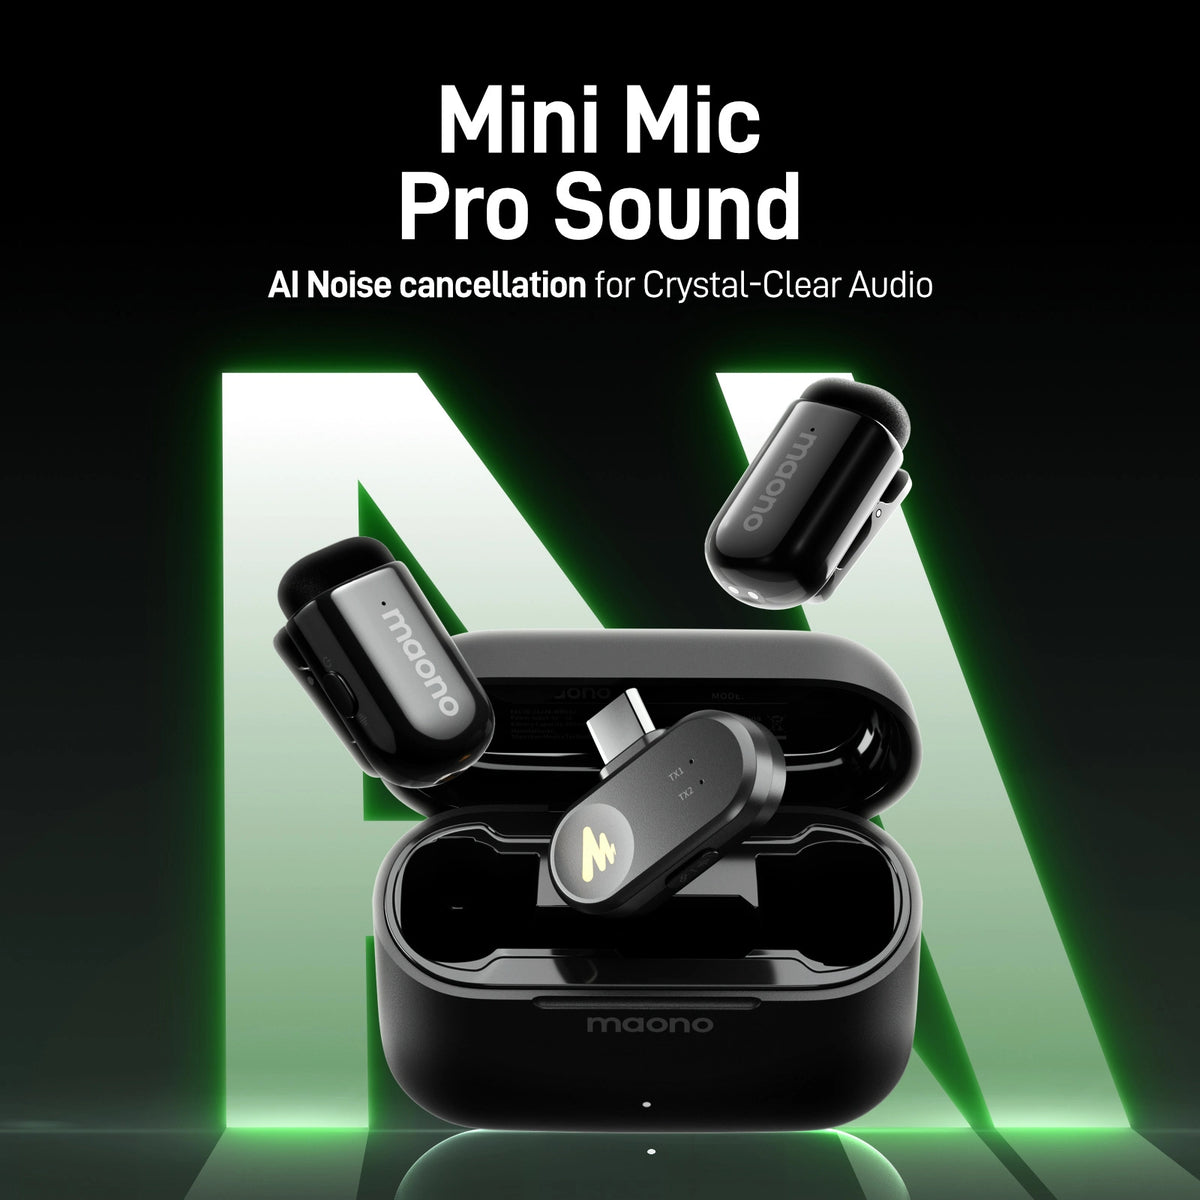
12. What’s the Best Mic for Voiceovers When Adding Background Music?
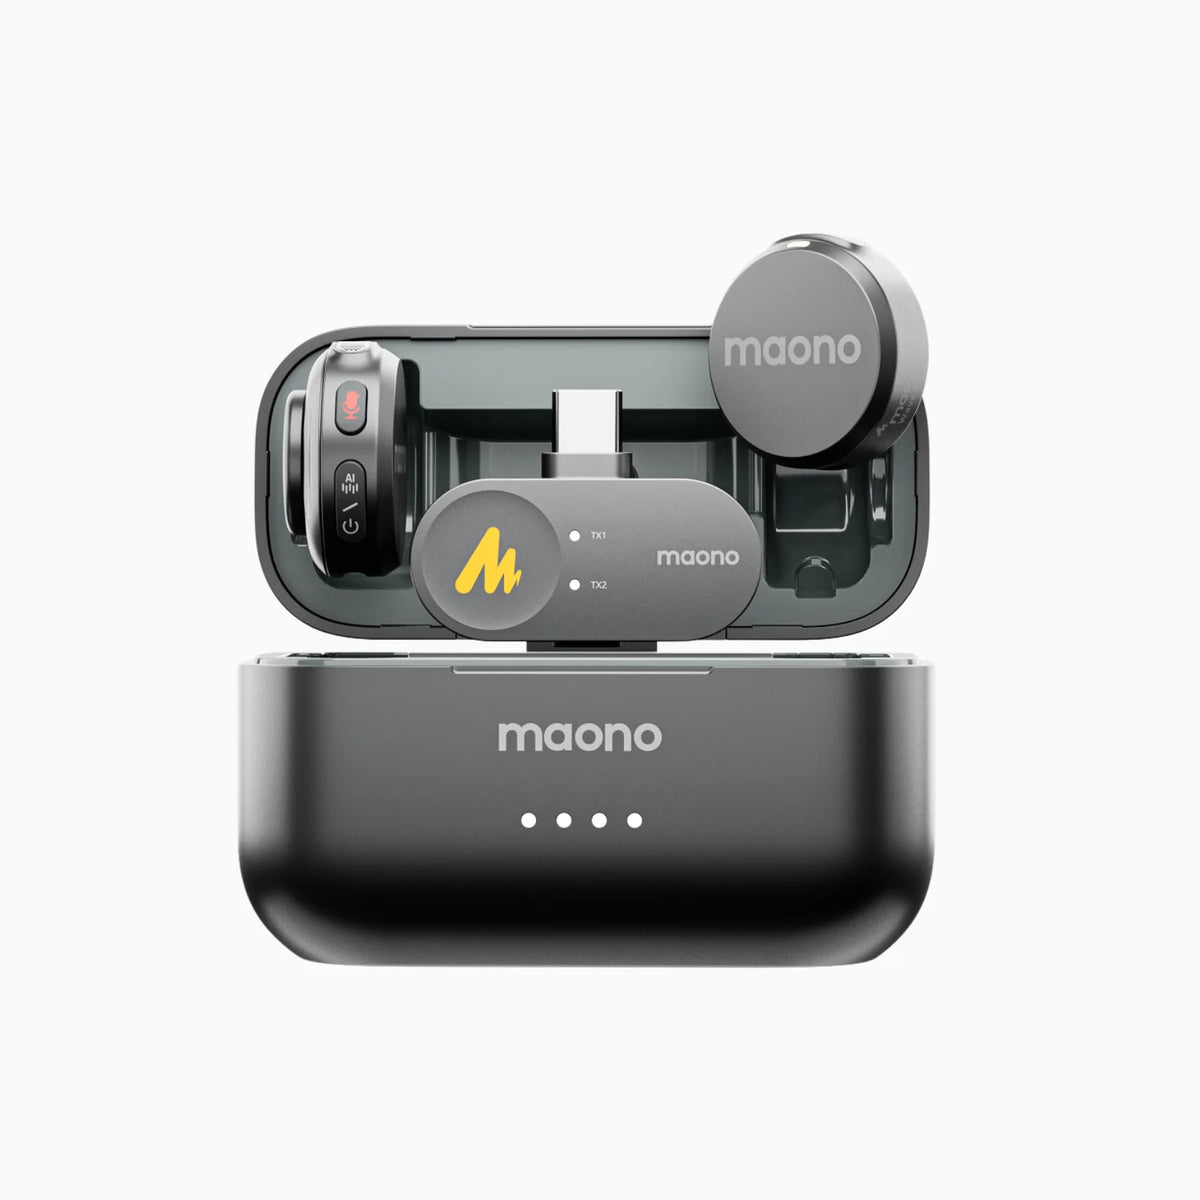
Clarity matters. A crisp voiceover enhances your entire video. One excellent choice is the Maono Wave T5—an affordable and high-performing wireless microphone ideal for voiceovers in vlogs. Here’s why it stands out:
-
Features playback and allows charging while recording
-
Noise cancelling mic: reducing background noise and focusing on your voice
- Smooth, clear tone ideal for narration
- Plug-and-play for beginners, with pro-level audio quality
Pair it with a windproof and record in a quiet room for best results.

Conclusion
Creating engaging miniature DIY vlogs goes beyond visuals. Your audio tells the story. Whether you're guiding viewers through intricate builds or simply adding a relaxing vibe, balancing your voiceover with background music can transform your content from good to great.
By integrating voiceover and background music effectively, you can make your content feel cinematic and personal. Whether you’re narrating the delicate placement of tiny bricks or explaining your creative inspiration, the right tools—like a lav mic for camera, a lavalier microphone and speaker, or even an editing app—can make all the difference.
With the right lav mic system, a solid understanding of editing software, and access to copyright-free music, you’re well on your way to producing vlogs that not only look great but sound incredible too. Happy building—and happy recording!