Say you have decided to use a wireless microphone for your vlog and you want to know more about optimizing its use. You've got to be thinking: "What are the common issues with wireless microphone kits?"
Wireless microphone kits offer unmatched convenience and flexibility for various applications, from live performances to professional video production and presentations. They offer the freedom to move without being tethered to a cable, making them ideal for various applications, including portable PA systems with wireless microphone setups. However, despite their advantages, users often encounter issues that can affect sound quality and reliability. Understanding these common problems and their solutions is crucial for ensuring seamless audio performance.
This article will address the most frequent challenges with wireless microphone kits, including frequency band conflicts, signal dropouts, and sound clarity problems. By understanding these issues and learning how to troubleshoot them effectively, you can enhance your audio experience and maximize the performance of your wireless microphone setup.
Understanding Frequency Bands & Avoiding Channel Conflicts
What is a Frequency Band?
A frequency band refers to a specific range of radio frequencies used for transmitting signals wirelessly. Wireless microphones operate within regulated frequency ranges to avoid interference from other devices. Common frequency bands include:
-
VHF (Very High Frequency): 174 – 216 MHz
-
UHF (Ultra High Frequency): 470 – 698 MHz (varies by region)
-
2.4 GHz Band: The exact radio frequency band that have been authorized for unlicensed wireless use are denoted by the numbers 2.4 GHz, 5 GHz, and 6 GHz. These include Bluetooth Wi-Fi, and wireless technologies.
-
5.8 GHz Band: Higher-frequency digital wireless transmission
Each of these bands has unique characteristics. For example, UHF systems generally provide a stable and clear signal with minimal interference, while 2.4 GHz and 5.8 GHz bands are more prone to congestion from Wi-Fi and Bluetooth devices.
Choosing the right frequency band is crucial for avoiding interference and ensuring clear audio transmission, especially when using a portable PA with wireless mic for presentations or performances.
What is the Importance of Knowing a Frequency Band in Handling a Wireless Microphone?
Understanding frequency bands helps prevent interference and signal disruptions. In crowded areas with multiple wireless devices, selecting the right frequency prevents cross-talk and dropouts. When using a transmitter mic wireless system, scanning for an available channel is key to maintaining a stable connection.
Knowing your wireless microphone’s frequency band is essential for several reasons:
-
Avoiding Interference
Many electronic devices, including Wi-Fi routers and other wireless mics, operate on similar frequencies. Choosing a clear, interference-free channel ensures stable audio performance.
-
Regulatory Compliance
Different countries have regulations governing frequency usage. Using an illegal or crowded frequency can result in fines or loss of signal.
-
Optimizing Performance
Selecting the right frequency band reduces dropouts and ensures consistent sound quality.
Solution:
-
Check your local frequency regulations before purchasing a wireless microphone.
-
Use frequency scanning features (if available) to identify the clearest channels.
-
Avoid using the same frequency as nearby wireless devices or broadcasting equipment.
Troubleshooting Wireless Mic Signal Dropouts
Signal dropouts are one of the most frustrating issues with wireless microphones. These occur when the microphone loses connection with the receiver, resulting in sudden audio loss.
How Can I Fix Static or Interference in My Wireless Mic in Case It Happens?
Static or interference can be caused by multiple factors, including:
-
Competing wireless signals: Nearby devices operating on the same frequency can disrupt your signal.
-
Physical obstructions: Walls, metal structures, and even people can block wireless signals.
-
Battery issues: Weak or low-quality batteries can cause inconsistent transmission.
-
Distance limitations: Most wireless microphones have a maximum operational range, usually between 50-300 feet. Exceeding this range can result in dropouts.
Solutions:
-
Change the Frequency Channel
If you experience static, manually switch to a different channel within your microphone’s frequency band.
-
Reduce Interference
Move away from sources of electronic interference, such as Wi-Fi routers, LED screens, and Bluetooth devices.
-
Optimize Line-of-Sight
Ensure there is a clear path between the microphone and receiver.
-
Upgrade to High-Quality Batteries
Use fresh, high-capacity rechargeable or alkaline batteries to ensure consistent power.
-
Check Antenna Positioning
Keep the microphone and receiver antennas fully extended and positioned correctly.
-
Use high-quality cables and connectors
Poor-quality accessories can introduce unwanted noise.
For those using a wireless bluetooth speaker with mic, ensure that both devices are paired correctly and that there are no competing bluetooth signals nearby.
What’s the Best Way to Improve Wireless Mic Sound Clarity?
Poor sound clarity in a wireless microphone can be caused by several factors, including environmental interference, microphone placement, and incorrect gain settings.
Common Causes of Poor Sound Clarity:
Low signal-to-noise ratio: If the microphone picks up more background noise than the intended audio source, clarity suffers.
Improper microphone positioning: Placing the microphone too far from the speaker’s mouth results in weak and muffled audio.
Overloading the microphone input: If the gain is set too high, distortion and clipping occur.
Latency in digital wireless systems: Some digital wireless microphones have a slight delay, affecting audio synchronization.
Solutions for Improving Sound Clarity:
-
Adjust Gain Settings
Ensure the input gain is set correctly to avoid distortion. Most wireless microphones have adjustable gain controls.
-
Use a High-Quality Lavalier wireless Mic
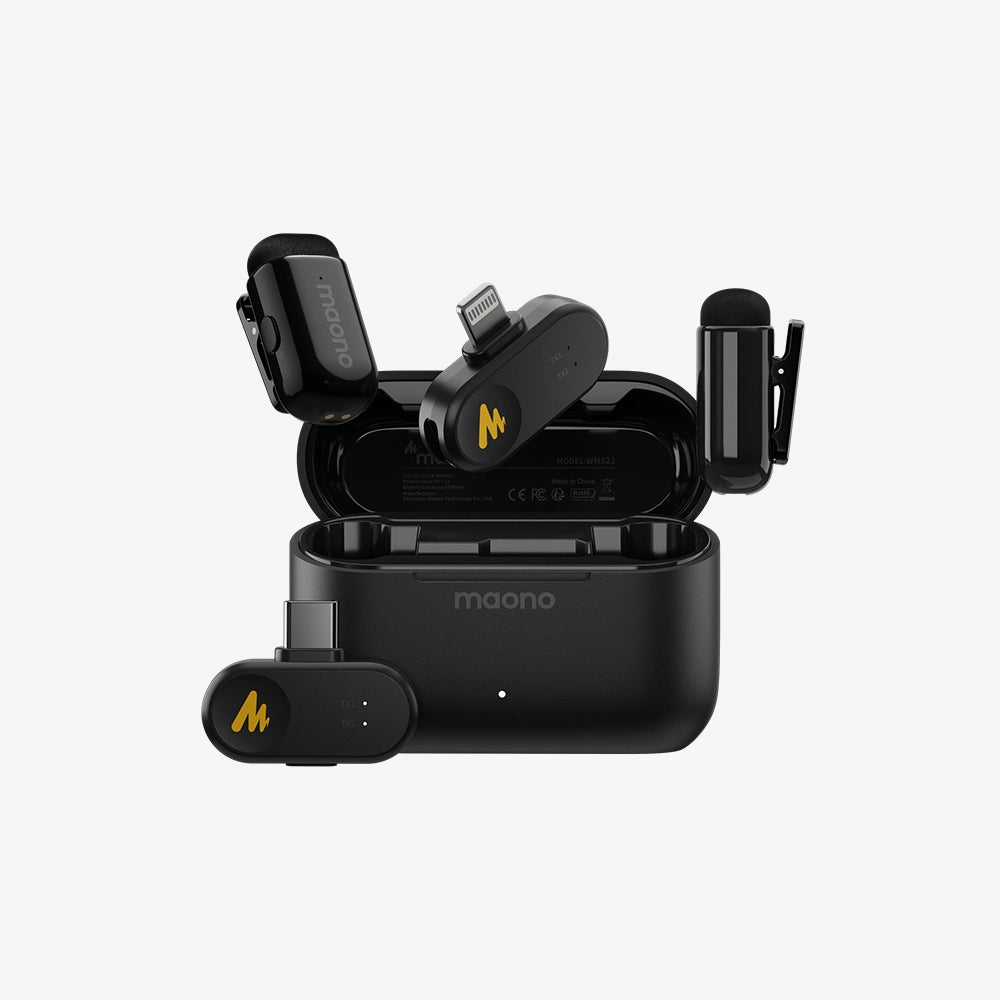
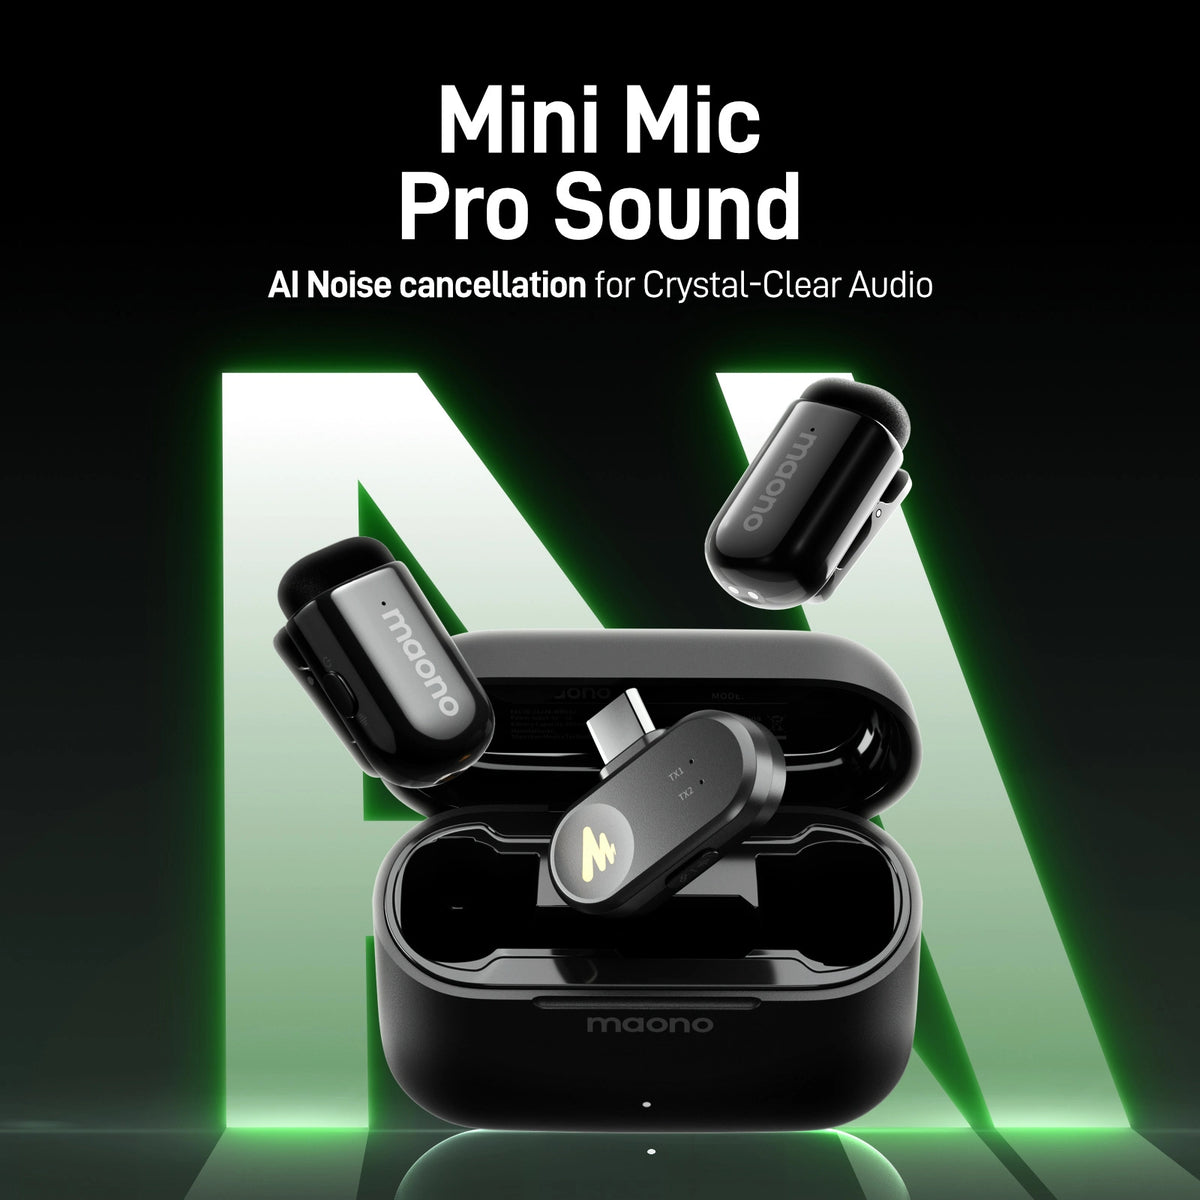
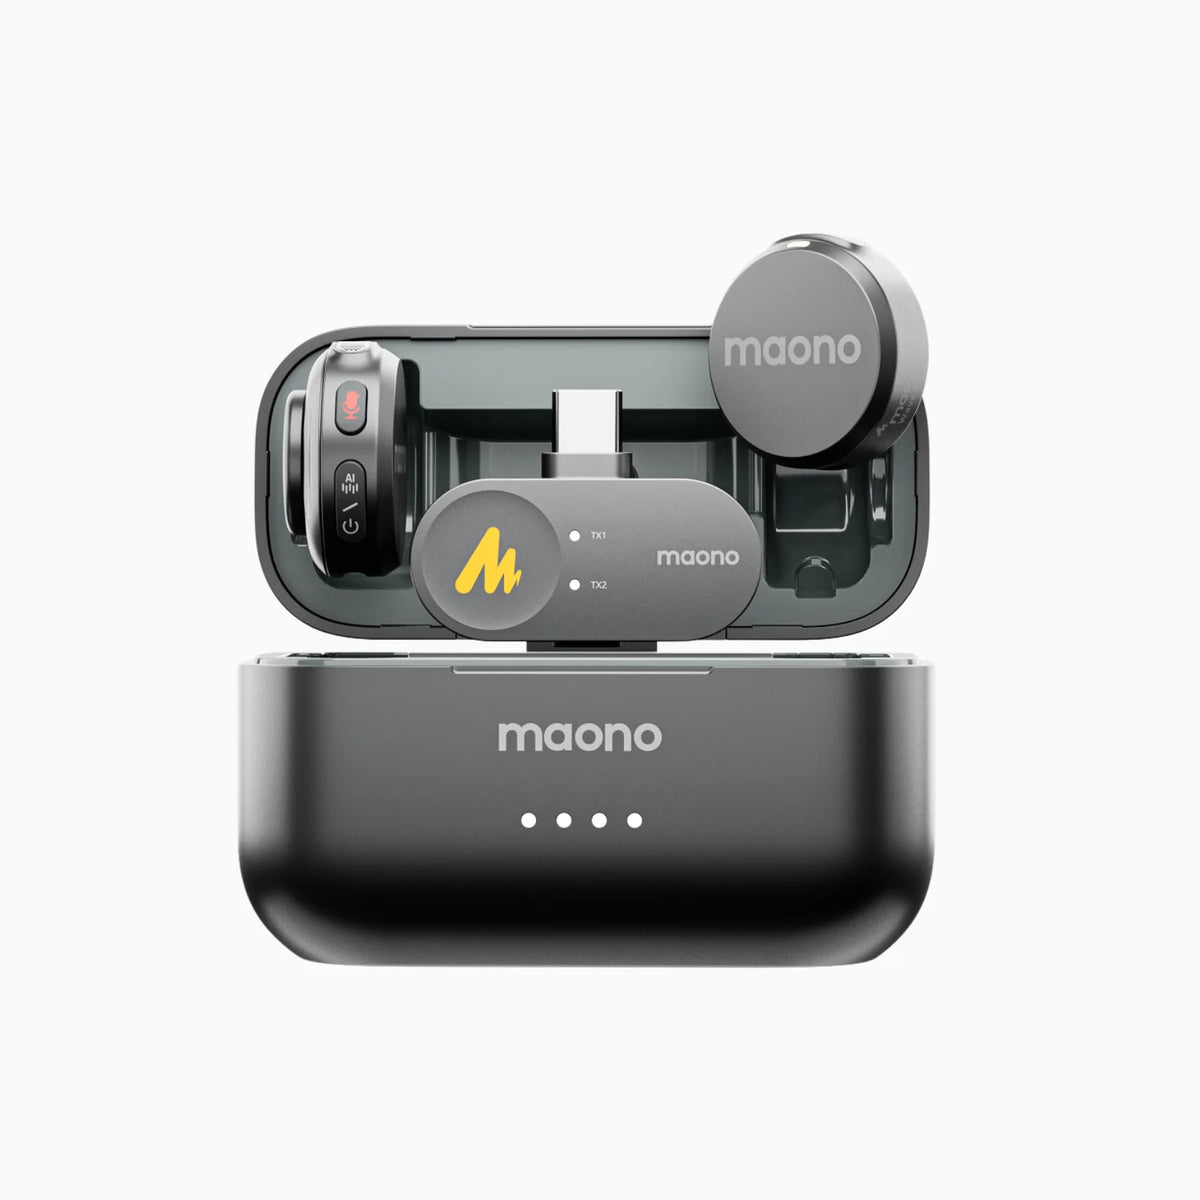
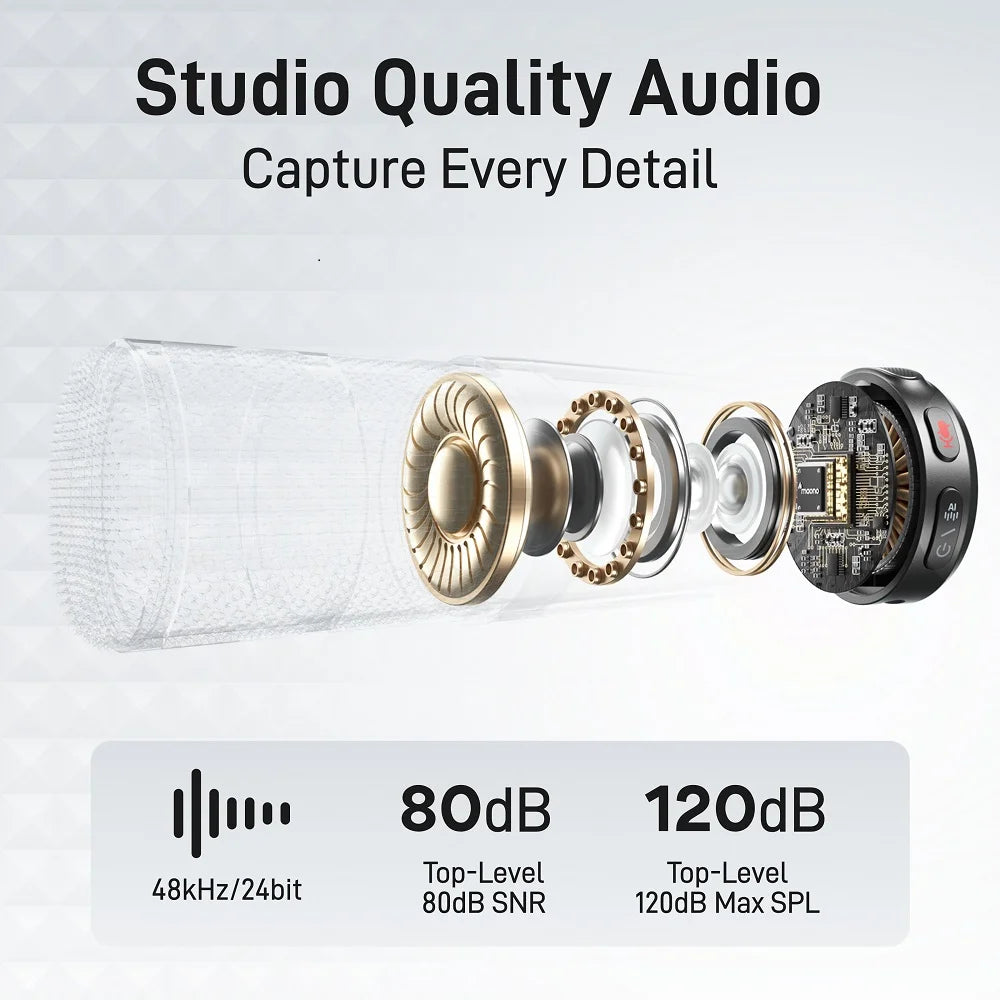
For applications requiring hands-free operation, a high-quality lapel wireless microphone, positioned correctly, can drastically improve clarity. Choose a wireless microphone with a noise-canceling feature, such as the Maono Wave T5. It can cover a stable and clear transmission up to 300 meters or 1000 feet.

-
Reduce Background Noise
Choose an environment with minimal background noise or use directional microphones to isolate the sound source.
-
Use a Windscreen or windshield
This helps minimize plosive sounds (e.g., “p” and “b” sounds) and wind noise when using a handheld microphone.
-
Update Firmware & Use High-Quality Receivers
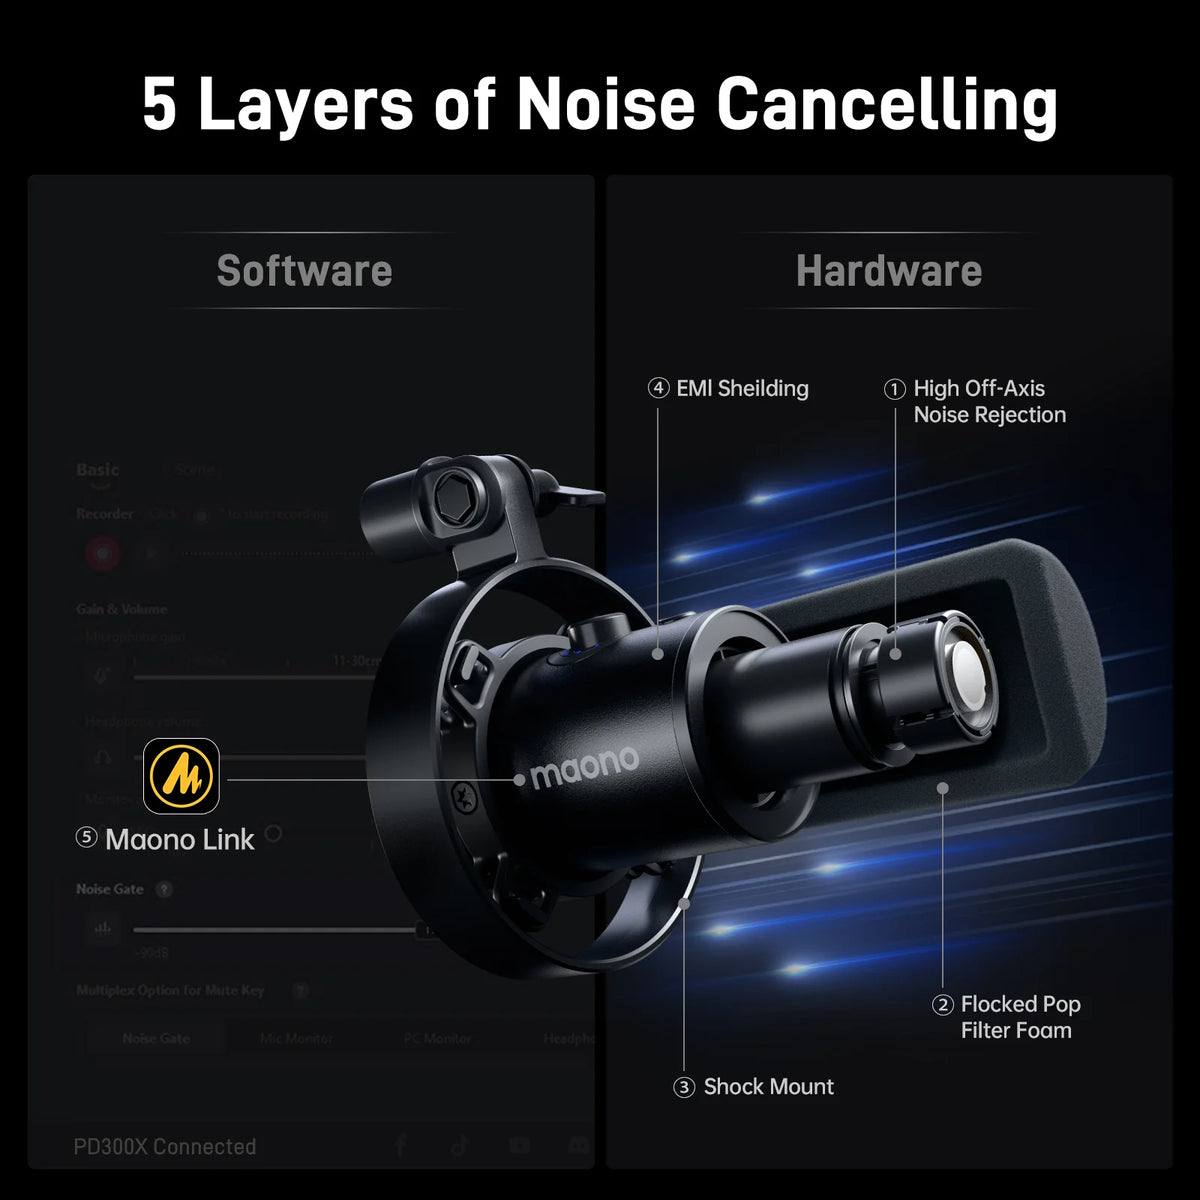
Some wireless microphone systems allow firmware updates to improve performance. Using a high-quality receiver ensures a stronger and clearer signal.
-
Check for RF interference
Move away from potential sources of signal disruption, such as Wi-Fi routers.
-
Optimize the gain settings
Adjust the input levels to avoid clipping or distortion.
For those using a wireless mic for Android phone, ensure the microphone is compatible with your device and use apps with advanced noise reduction features to improve sound quality.
Conclusion
Wireless microphones provide the freedom to move without being tethered by cables, making them essential for various professional and creative applications. However, they also come with challenges, including frequency conflicts, signal dropouts, and sound clarity issues.
By understanding frequency bands and choosing the right channel, troubleshooting interference and static, and optimizing microphone placement and settings, users can significantly improve their wireless microphone experience. Implementing these solutions ensures clear, uninterrupted audio and enhances the overall performance of your wireless microphone setup.
With proper knowledge and best practices, wireless microphone users can confidently overcome common issues and achieve professional-grade sound quality for any event or recording session.