Vlogging has evolved from a hobby into a full-fledged career for many creators. Since the goal of a blog is to engage the audience, audio quality is crucial. To achieve professional results in your vlog recording, it is important to choose your tools and equipment wisely.
Whether you're documenting your daily life, traveling the world, or sharing your expertise, producing content requires the right equipment to engage your audience effectively. Among the essential tools for creating high-quality vlogs, having a good microphone is crucial, as it ensures clear, professional-grade audio—something that’s often overlooked in favor of high-end cameras or editing software. If you're wondering, what is a Lavalier microphone? It’s a small clip-on mic, typically wireless, that allows you to capture clear sound while moving around freely—perfect for mobile vloggers.
In this guide, we’ll explore setting up a Lavalier wireless microphone for vlogging, discuss how to improve audio quality, which microphones are best for vlogging, and offer practical tips on getting the most out of your setup.
What Equipment Do I Need to Start Vlogging?
To start a vlog, you need more than just your phone or camera. Again, we emphasize that audio and video quality are equally important because poor audio can ruin the entire experience for your viewers. Here are the necessary tools or items you need for vlogging:
- Camera or Smartphone: Your camera or smartphone will be your primary tool for capturing footage. Modern smartphones can record high-quality video, but if you're aiming for higher production value, investing in a good camera will pay off in the long run.
- Microphone: A good microphone is crucial for clear and crisp audio. While built-in microphones may suffice in some cases, they often capture ambient noise and poor audio, making it harder for viewers to follow your message.
- Tripod or Stabilizer: To avoid shaky footage, a tripod or stabilizer will help keep your shots steady.
- Lighting: Good lighting can make a huge difference in video quality, so invest in some softbox lights or ring lights to brighten your filming area.
- Editing Software: Once you've filmed your content, editing software will help you clean up audio, color grade, and cut your video into a polished final product.
How Do I Start a Vlog on YouTube?
To start a vlog on YouTube, you'll need to:
- Create a YouTube Channel: If you don’t already have one, sign up for a YouTube account and create a channel. Your channel will serve as your personal space where you upload your vlogs and interact with your audience.
- Pick a Niche: Decide what type of vlogs you’ll create. Will you share your daily life, travel experiences, or focus on a specific topic such as technology, food, or fitness? Having a niche helps attract an audience who’s interested in your content.
- Invest in Equipment: As mentioned earlier, make sure to have a reliable camera and microphone setup.
- Create & Upload Content: Begin filming your vlogs and upload them consistently. Engage with your audience through comments and build a community around your channel.
What’s the Best Camera for Vlogging, and Do I Need a Microphone?
The best camera for vlogging depends on your budget and requirements. Popular choices include:
- Sony ZV-1: Known for its vlogging-friendly features like a flip-out screen, excellent autofocus, and great low-light performance.
- Canon EOS M50 Mark II: A versatile, budget-friendly option with a flip-out screen, good autofocus, and 4K video.
- GoPro Hero 11: Ideal for adventure and travel vlogs, with excellent image stabilization and portability.
Regardless of the camera you choose, it’s important to remember that sound quality is just as important as the video. Even the best cameras can’t deliver great audio without the right microphone. Built-in microphones on cameras often pick up surrounding noise and lack clarity. For clear, professional-quality audio, investing in a lavalier microphone will vastly improve your sound.
Can I Vlog with Just My Smartphone?
Yes! Many successful vloggers use their smartphones to create content. The key is ensuring that your smartphone is equipped with a quality external microphone. Smartphone microphones tend to pick up too much ambient noise and have limited sound clarity, especially in windy or crowded environments.
Investing in a wireless Lavalier microphone can dramatically improve the audio quality of your smartphone vlogs without requiring additional equipment like a bulky camera.
How Do I Come Up with Ideas for Vlogs?
Coming up with vlog ideas can be overwhelming at times, but creativity often strikes when you least expect it. Here are a few tips to help you get started:
- Document Your Daily Life: Many vloggers start by sharing snippets of their daily routines, which resonate with audiences who are interested in personal stories.
- Travel Vlogs: If you're traveling, document your experiences, local food, culture, and the places you visit.
- Challenges and Trends: Participate in viral challenges or create your own to engage your audience.
- How-To and Tutorials: Share your expertise by teaching something useful, whether it’s a cooking recipe, a tech tutorial, or fitness advice.
How to Set Up a Lavalier Wireless Microphone for Clear Audio Recording
A Lavalier wireless microphone is a small, clip-on microphone that provides high-quality sound recording while offering the freedom of wireless mobility. Here's how to set it up for optimal audio:
- Choose a Location: Pick a quiet location to minimize background noise. For best results, set the microphone close to your mouth, ideally near your collar or chest.
- Connect to Your Camera/Smartphone: Ensure the microphone is compatible with your recording device. Most Lavalier mics come with a receiver that can connect to your camera via the 3.5mm audio jack or a USB connection.
- Clip On the Mic: Clip the Lavalier mic securely onto your shirt or jacket. Make sure it’s not rubbing against clothing, as this can create unwanted noise.
- Check Audio Levels: Before you start recording, check the audio levels. Ensure that your voice is clear and there is no distortion.
- Test the Signal Range: Wireless microphones have a limited range. Test the microphone by moving around to ensure that the signal doesn’t cut out or distort.
Tips To Consider Before Starting Your Vlog
- Plan Your Content: Start with a clear idea of what you want to share with your audience. Create a content calendar to stay organized.
- Be Consistent: Consistency is key to growing your audience. Try to post regularly and stick to a schedule.
- Engage with Your Audience: Respond to comments, ask for feedback, and involve your viewers in the process. This builds a loyal community.
- Invest in Good Equipment: Invest in decent audio and video equipment, as poor-quality content can turn viewers away.
Frequently Asked Questions:
1. What is the Best Lavalier Wireless Microphone for Vlogging? Are There Any Decent Wireless Lavalier Microphones Under $60?
Here are some great options for Lavalier wireless microphones under $60 that work well for vlogging:
Top 7 Lavalier Wireless Microphones for Vlogging:
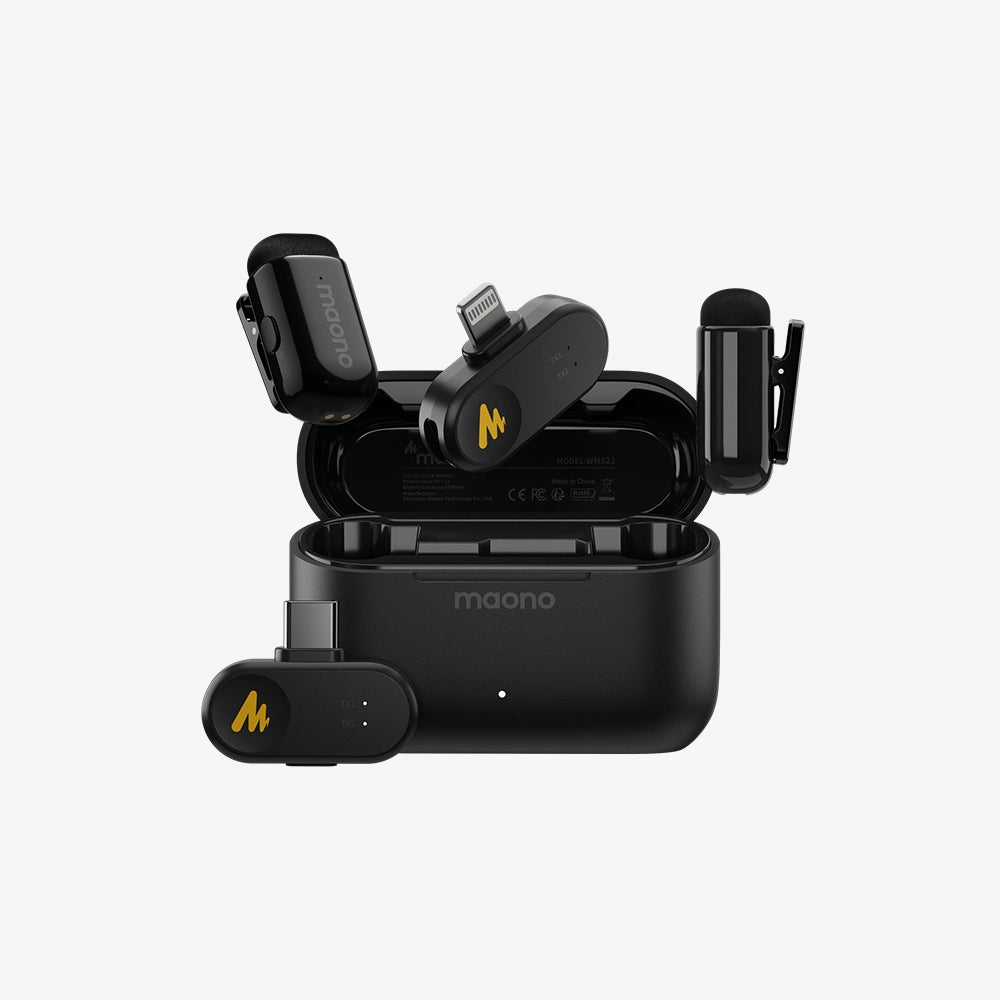
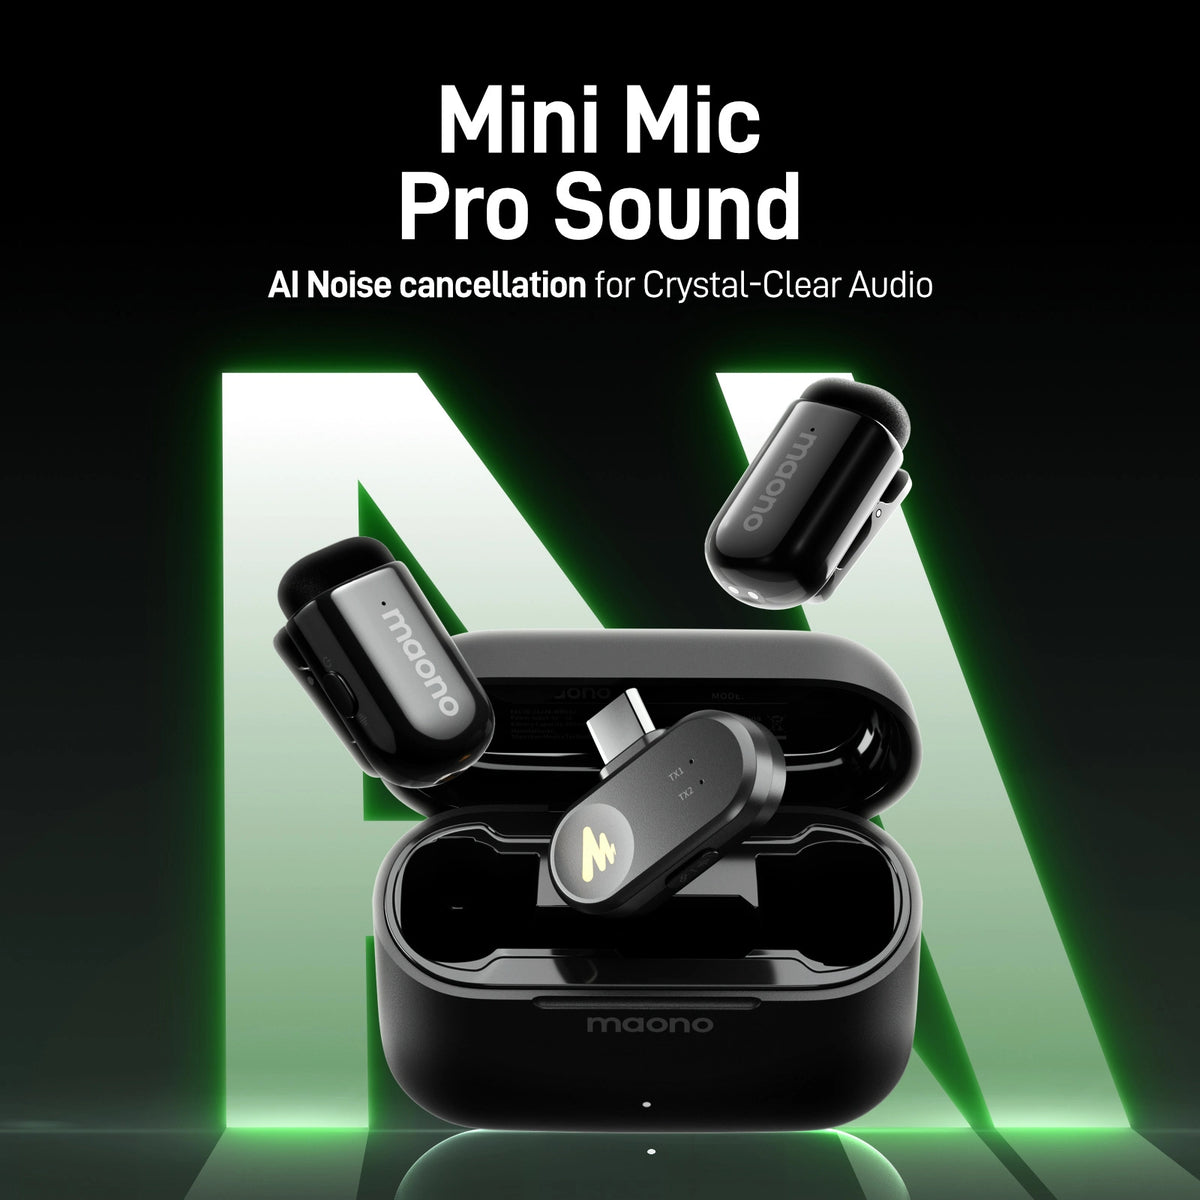
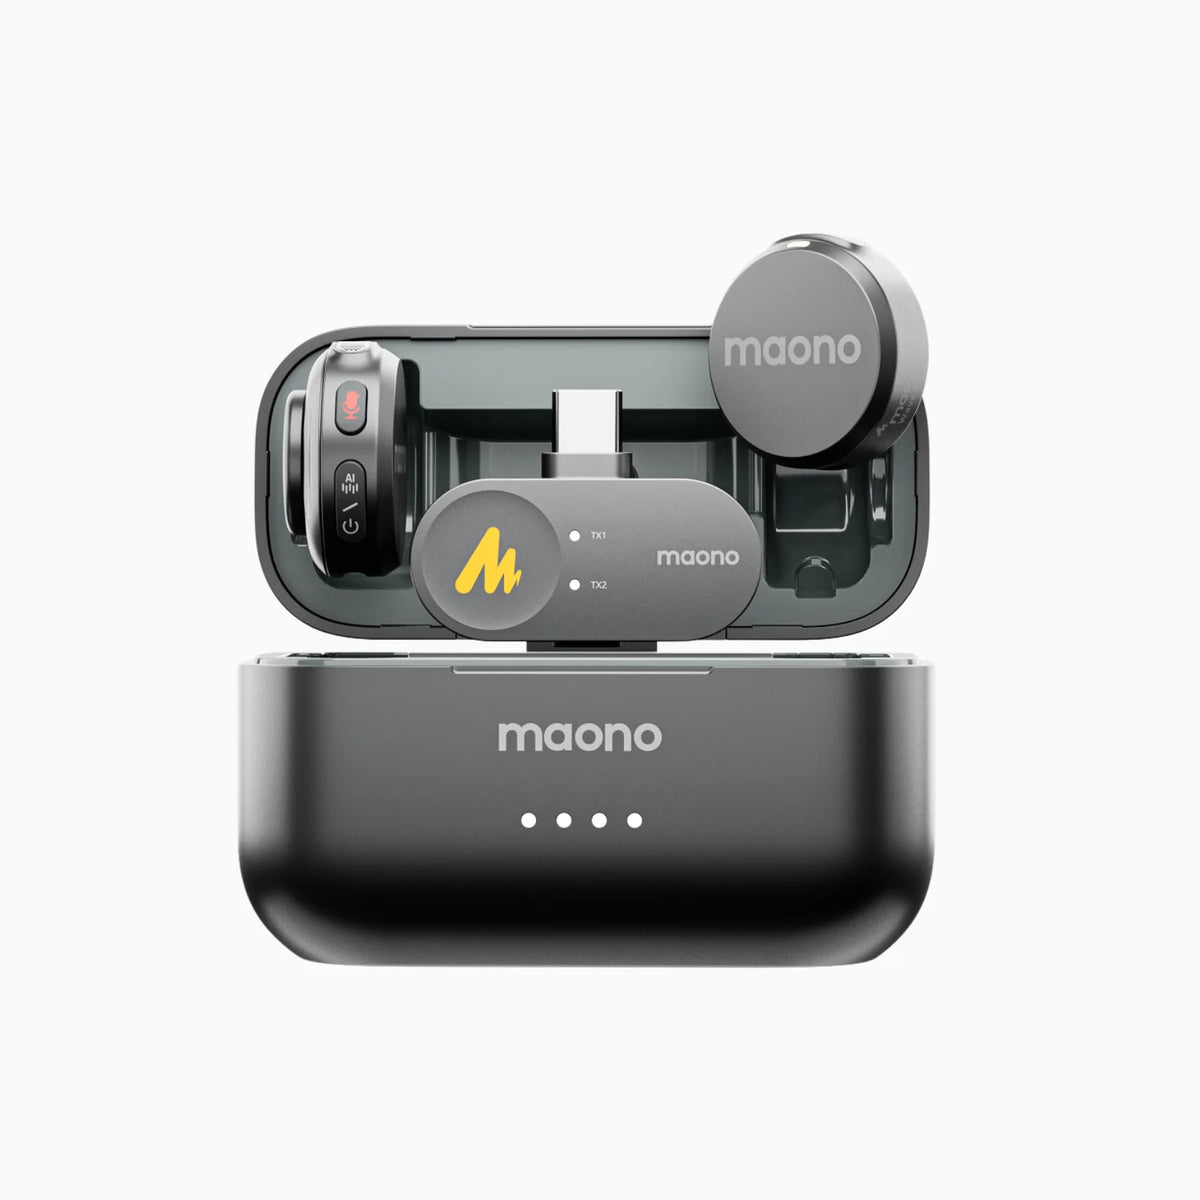
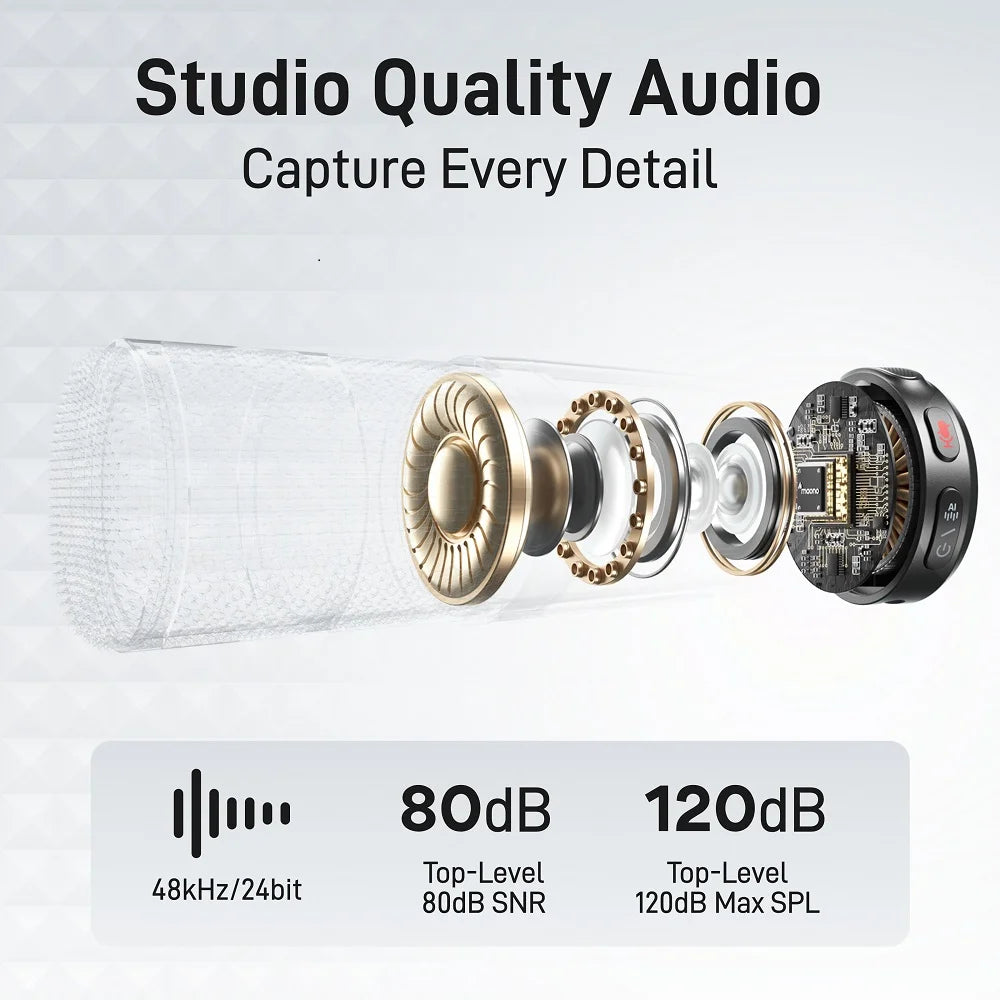
1. Maono WM620: The Maono WM620 is an affordable wireless Lavalier microphone that offers clear audio quality and is compatible with both cameras and smartphones. It's a great choice for podcasters and streamers. It is round, sleek, compact, easy to use, and produces clear and clean audio that focuses on the speaker and reduces the background noise. This clip-on mic can be used for vlog or live stream. If you're a student, you can use it for your class presentations or if you're working, use it for your Zoom meetings/calls and use the other mic during an interview, it's perfect if you plan to use it for a podcast, it’s easily charges using its own Lavalier compartment.
2. Maono WM600: Alternatively, if you prefer a tick mic with a receiver that directly plugs into your phone, the Maono WM600 also offers improved sound quality, stability, and noise reduction. his wireless clip-on mic is easy to use. It has a mute button and noise reduction so you can use it both indoors or outdoors, making it an excellent option for beginners or pros.

3. Boya BY-WM4 Pro K2: A compact and reliable microphone system with a range of up to 60 meters, perfect for vlogs, interviews, or podcasts.
4. Rode Wireless GO II: Although a bit on the higher end, the Wireless GO II offers premium sound quality and versatile compatibility with cameras and smartphones.
5. Comica CVM-WM100 Plus: A great budget-friendly choice for wireless audio with a good range and clear sound, ideal for vlogging on the go.
6. Sennheiser XSW-D: Compact and easy to use, this microphone offers robust wireless connectivity and high-quality audio, making it perfect for mobile vloggers.
7. Pop Voice PV-5000: A great budget option with a decent range and clear sound for vloggers who need a reliable wireless solution on a tight budget.
2. How Do I Connect a Wireless Lavalier Microphone to My Camera?
To connect a wireless Lavalier microphone to your camera:
- Insert the Receiver: Plug the receiver into your camera’s audio input (usually a 3.5mm jack).
- Pair the Microphone: Turn on both the transmitter (microphone) and the receiver, and pair them. This process varies by model, so refer to the manual.
- Check Audio Settings: Ensure that your camera is set to receive external audio input, not the built-in microphone.
- Adjust Audio Levels: Test the microphone, and adjust the audio settings on your camera if necessary to ensure proper sound levels.
Final Thoughts
Choosing the right Lavalier wireless microphone is crucial for ensuring that your vlogs sound as good as they look. While many vloggers focus on cameras and video quality, investing in a high-quality microphone like the Maono AU-100 or Boya BY-WM4 Pro K2 can make all the difference in improving your audio.
With the right setup, including a quality microphone, you’ll be able to create professional, engaging content that keeps your audience coming back for more. Whether you're a beginner or an experienced vlogger, remember that clear, crisp audio is just as important as great video in creating content that resonates with your viewers.


