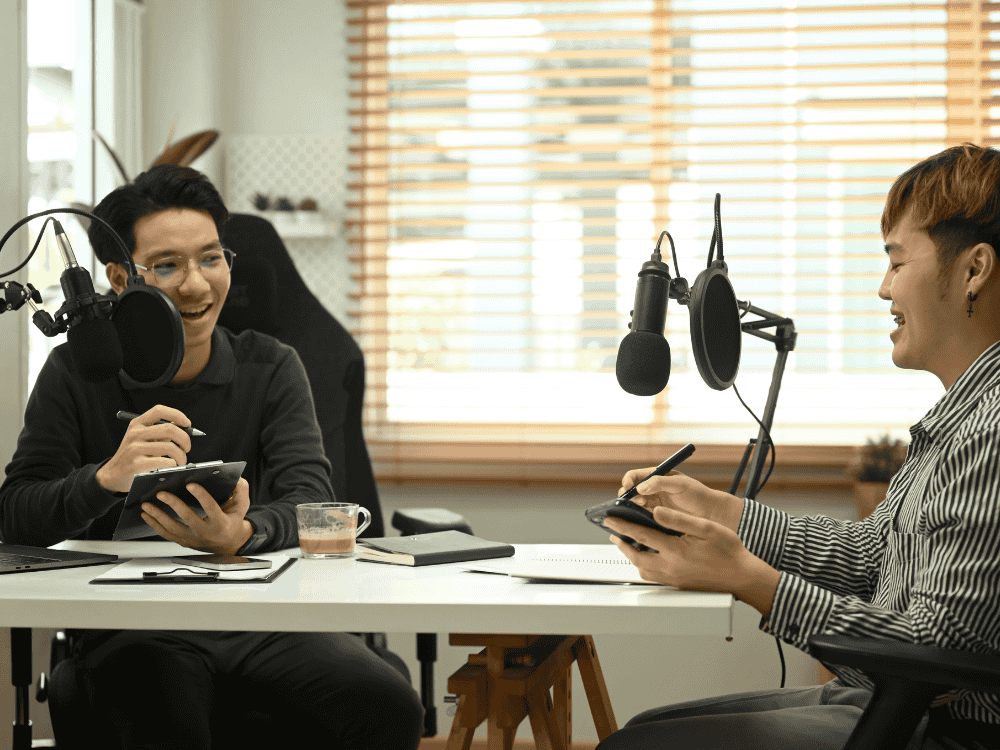
Imagine recording a voiceover for a podcast, video, or advertisement. You want every word to sound engaging and crystal clear. However, even with meticulous recording, raw audio is often insufficient. This is where a voiceover audio mixer changes everything. By mastering basic mixing techniques with a voiceover audio mixer, you can turn any recording into a polished, professional piece that connects with your audience and enhances the production value. Whether you're an experienced voice actor, content creator, or beginner, understanding how to mix your voiceovers with a voiceover audio mixer can make your work stand out from the competition.
Voiceover audio mixing is an essential skill for creating polished and professional-sounding recordings, whether you’re working on ads, YouTube videos, ASMR content, or video tutorials. At its core, voiceover audio mixing involves blending recorded voice tracks with various audio effects to improve clarity, warmth, and overall quality. This process can transform raw audio into an engaging, immersive experience that captivates the listener. In this guide, we’ll break down the basics of voiceover audio mixing, explore essential techniques, and answer common questions from users of such devices.
What is Voiceover Audio Mixing?
Voiceover audio mixing refers to the post-production process where recorded voice is enhanced, adjusted, and balanced using audio effects like EQ (equalization), compression, reverb, and more. The goal is to achieve a clear and balanced sound that highlights the voice and reduces any unwanted noise. In addition to ensuring clarity, effective mixing allows the voice to sound full and dynamic, making it more engaging for listeners.
Is Podcasting the Same as Voice Over?
While podcasting and voiceover share similarities, they have distinct purposes and production methods. Podcasting typically involves conversational dialogue and may include multiple voices, ambient sounds, and music. In contrast, voiceover often focuses on a single voice recorded to convey specific information, emotion, or mood. In voiceover work, the mixing process generally emphasizes making a single voice sound compelling without overwhelming background music or effects.
What Are the Most Common Audio Effects Used in Voiceover Mixing?
For a professional voiceover, audio engineers frequently apply these core effects:
- Equalization (EQ): Adjusts frequency ranges to create a balanced sound.
- Compression: Controls volume dynamics, making quiet parts louder and loud parts softer.
- De-Esser: Reduces harsh “s” and “sh” sounds that can be unpleasant.
- Noise Reduction/Gate: Removes background noise, hum, or static.
- Reverb: Adds depth and presence but should be applied sparingly to voiceovers.
How Can I Achieve a Professional Sound in My Voiceover Mixes?
Achieving a professional voiceover mix requires a combination of clean recording practices and skilled audio processing. Here are a few foundational tips:
- Record in a quiet, sound-treated environment: Use acoustic panels or a soundproof room to minimize echo and external noise.
- Choose a quality microphone: Select a microphone that captures vocal nuances well (more on this in the FAQ section).
- Start with clean audio: Minimize background noise and use a noise gate to prevent low-level hum or interference from becoming distracting.
- Use EQ and compression effectively: These tools help to balance the voice’s tonal quality and maintain consistent volume.
What Settings Should I Use for EQ in Voiceover Mixing?
EQ settings can vary based on voice characteristics, but there are general guidelines:
- Low-end cut (below 80-100 Hz): To remove rumble or unwanted bass frequencies.
- Boost mids (around 1kHz - 4kHz): Enhances clarity and helps the voice cut through a mix.
- High-end cut (above 10kHz): Softens sibilance and high-end harshness, especially useful for warmer vocal tones. Start with subtle adjustments and tweaks based on the individual’s voice to create a natural, polished sound.
What Are the Top 7 Audio Mixers for Voiceover?
Selecting the right mixer is key to voiceover quality. Here’s a look at the top seven best audio mixers, including two best-selling models from Maono:
- Rode Rodecaster Pro II: A versatile and powerful mixer ideal for voiceover and podcasting with built-in sound effects and high-quality preamps.
- Yamaha MG10XU: Compact, with high-quality preamps and built-in effects, it’s a solid choice for home studios.
- Behringer Xenyx Q802USB: An affordable option with USB connectivity, perfect for beginners.
- Focusrite Scarlett 18i20: Known for high-quality audio, this interface is ideal for larger setups.
- Tascam Model 12: Features multitrack recording, making it ideal for both live and recorded sessions.
- MaonoCaster Lite AM200
A compact, affordable mixer designed for podcasting and voiceovers with built-in sound effects and controls.


Each of these mixers has strengths that can enhance your voiceover projects, from simple USB mixers to full-featured audio interfaces.
FAQs
1. What Are the Best Microphones for Voiceover Artists and ASMR Creators That Will Produce Professional Results?
For voiceover and ASMR work, choosing a quality microphone is essential to capturing clear, nuanced sound. Here are some top choices:
- Audio-Technica AT2020: A highly recommended condenser mic for voiceovers with a flat frequency response, delivering natural sound reproduction.
- Shure SM7B: Known for its warm, smooth output, this mic is excellent for minimizing background noise, making it a favorite among professionals.
- Blue Yeti USB Microphone: This versatile USB mic is a popular choice for ASMR creators and voiceover artists who need clear audio without complex setups.
- Rode NT1-A: Praised for its ultra-low self-noise, it captures every detail and subtle sound, ideal for quiet environments like ASMR recordings. Each of these mics is designed to capture vocals with high fidelity, clarity, and detail, making them great choices for achieving professional-quality voiceovers.
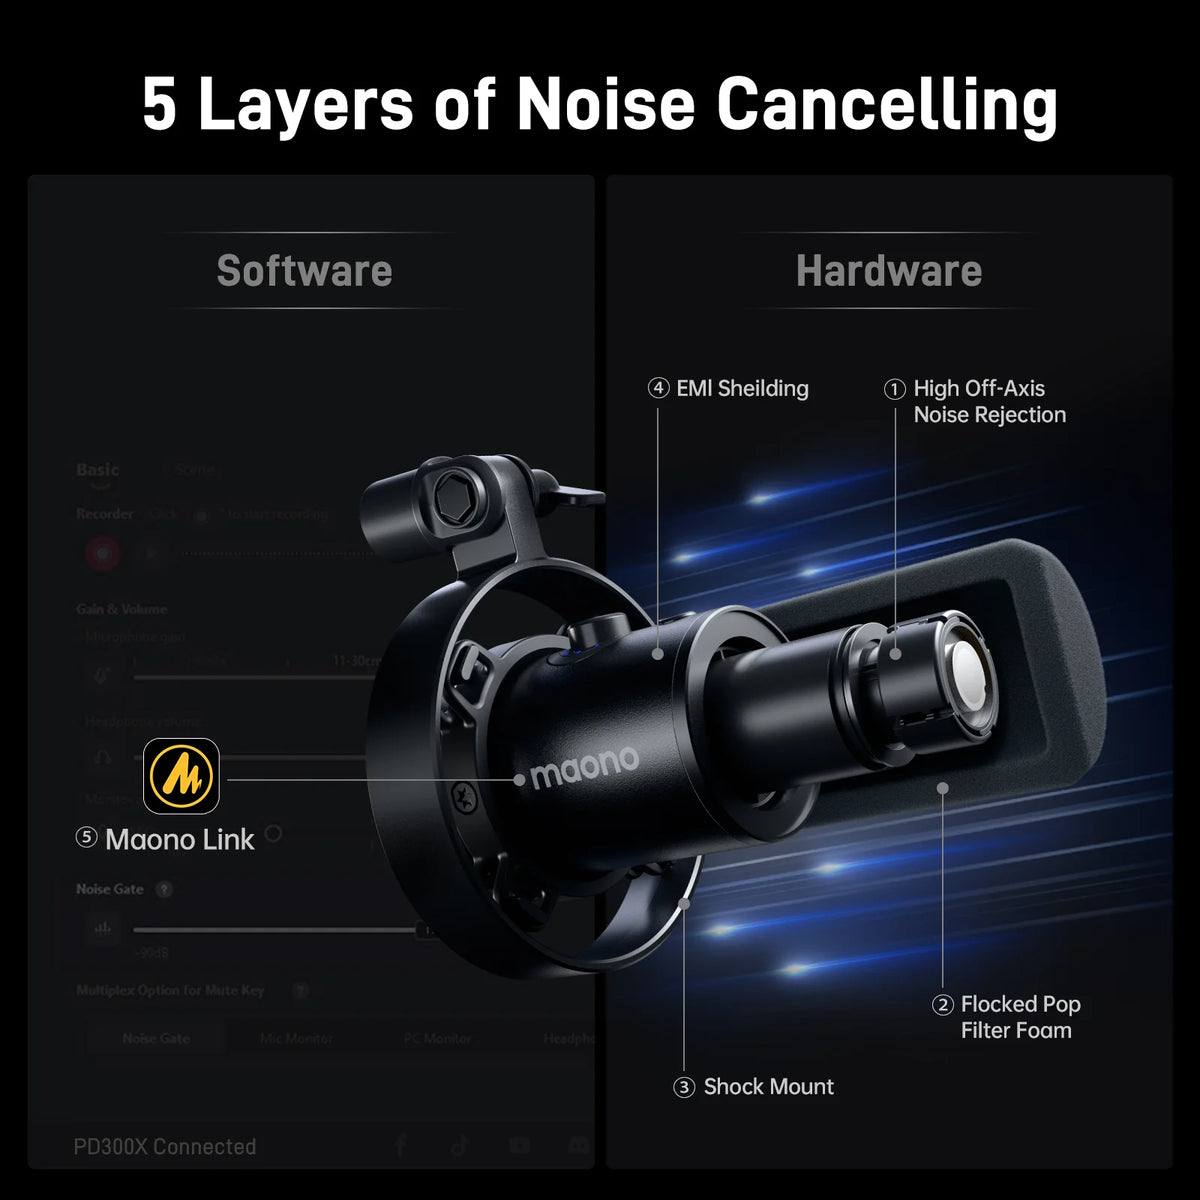
- Maono PM320: For voiceover artists looking for a budget-friendly option, the Maono PM320 is a best-seller that provides impressive sound quality, making it perfect for beginners or home studios.

2. How Can I Optimize the Audio Quality of a Voiceover for a Video Ad or Video Tutorial?
To ensure that voiceover audio sounds professional in video ads or tutorials, keep these optimization steps in mind:
- Match the audio levels to the content: The voice should be clear and audible without competing with background music or sound effects. Aim for voice audio to peak around -3dB to -6 dB.
- Use compression for consistency: Compression smooths out volume fluctuations, so the voice sounds even throughout the recording.
- Balance EQ for clarity: Remove low-end rumble and boost mids to make the voice clear and intelligible on any device, from headphones to smartphone speakers.
- Add light reverb if necessary: Adding a slight reverb can make the voice feel more present, but avoid overdoing it to prevent a “hollow” sound. These techniques help achieve a clean and balanced audio mix that complements the visual elements of your ad or tutorial.
3. How to Make an Impressive Voiceover Video for YouTube?
Creating a compelling voiceover video for YouTube involves good preparation and attention to technical details:
- Script carefully and practice delivery: A clear script with smooth pacing makes the voiceover engaging. Practicing your tone and inflection helps convey the intended emotion.
- Invest in quality gear and software: Using a good microphone, headphones, and editing software ensures the audio quality is up to par.
- Edit for pacing and clarity: Trim any long pauses, and adjust timing to maintain a steady flow. Remove any distracting breaths or unwanted sounds.
- Apply audio effects thoughtfully: Use EQ, compression, and de-essing to polish the audio, but avoid overprocessing to keep a natural sound. Quality production will make your YouTube voiceover engaging and keep viewers focused on your content.
Summary
Mastering voiceover audio mixing requires a blend of skill, the right equipment, and an understanding of audio effects. From using the right microphone to applying essential effects like EQ and compression, each element of the process helps in achieving a clean and professional result. By choosing a quality mixer or interface and honing your mixing skills, you can transform your voice recordings to stand out in various media forms, from podcasts and audiobooks to YouTube videos and commercials.
Mastering these techniques will take practice, but with the right approach and equipment, you can achieve a polished, professional voiceover that captures and holds listeners’ attention. Whether you’re a beginner or a seasoned voiceover artist, understanding these fundamentals will set you up for success in producing high-quality audio.


