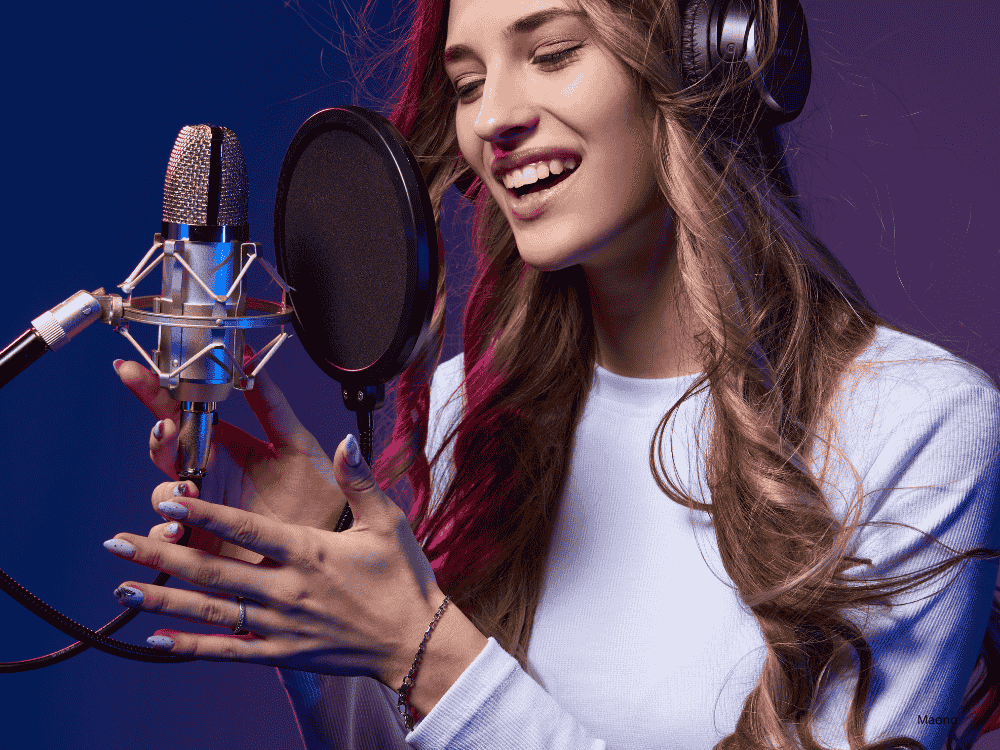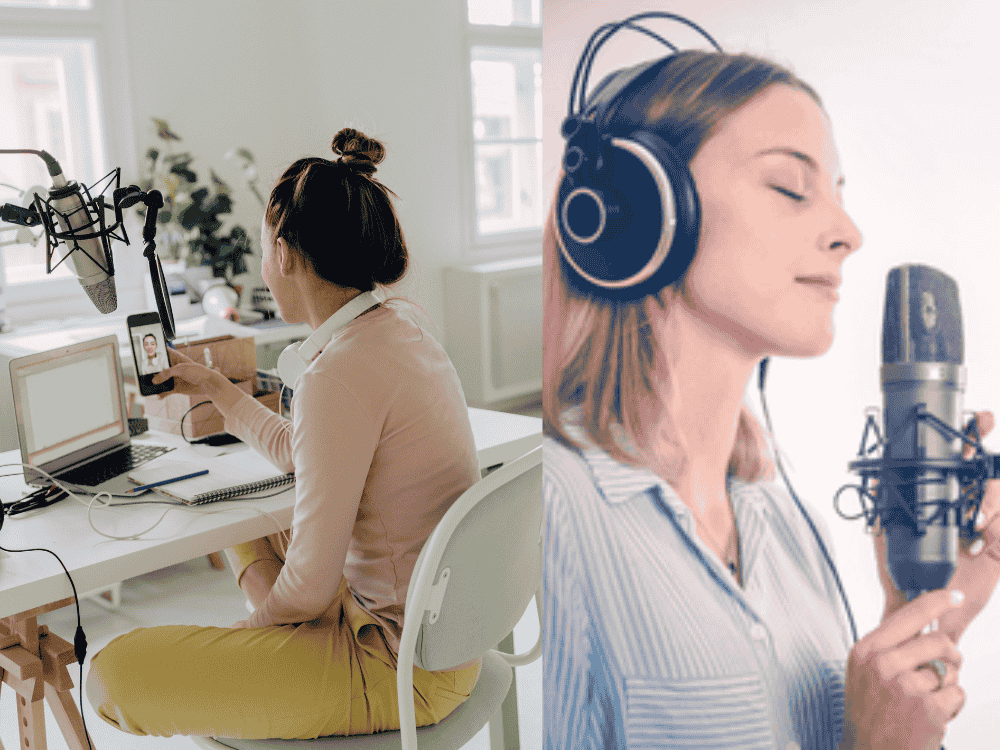


Voice-over work has become increasingly popular and essential in various media- from podcasts, animated films, and commercials to audiobooks. The voice-over quality largely depends on the microphone used, making it crucial to understand the ins and outs of this vital equipment.
It's also important to know that there is a specific microphone designed for voice-over and a microphone for recording vocals.
In this guide, we will walk you through ten critical aspects of voice-over microphones, ensuring you make informed decisions about buying the right one and achieving your professional-grade recordings. These are the topics:
- When To Use a Recording Microphone
- Choosing the Right Type of Microphone
- Specs to Look for When Choosing the Best Microphone
- Improving Your Voice Over Recording Technique
- Essential Equipment for Professional Voice-Over Work
- 5 Quick Tips for Using a Recording Microphone for Beginners
- The Polar Patterns and Their Impact on Voice-Over
- Maintenance and Care Tips for Your Microphone
- The Role of Preamps in Microphone Selection
- 4 Ways on How To Optimize Your Voice-Over Recording Space
When To Use a Recording Microphone
Using a recording microphone is really important if you want to get good sound quality. Whether you're talking in a documentary, making a how-to video, or recording an audiobook, the microphone is your main tool for clear sound. A good microphone makes sure your voice sounds clear and detailed, which helps keep your audience interested. For any project where sound quality matters, a dependable recording microphone is a must.
Choosing the Right Type of Microphone
There are various types of microphones available, but the most common for voice-over work are condenser and dynamic microphones.
Condenser Microphones
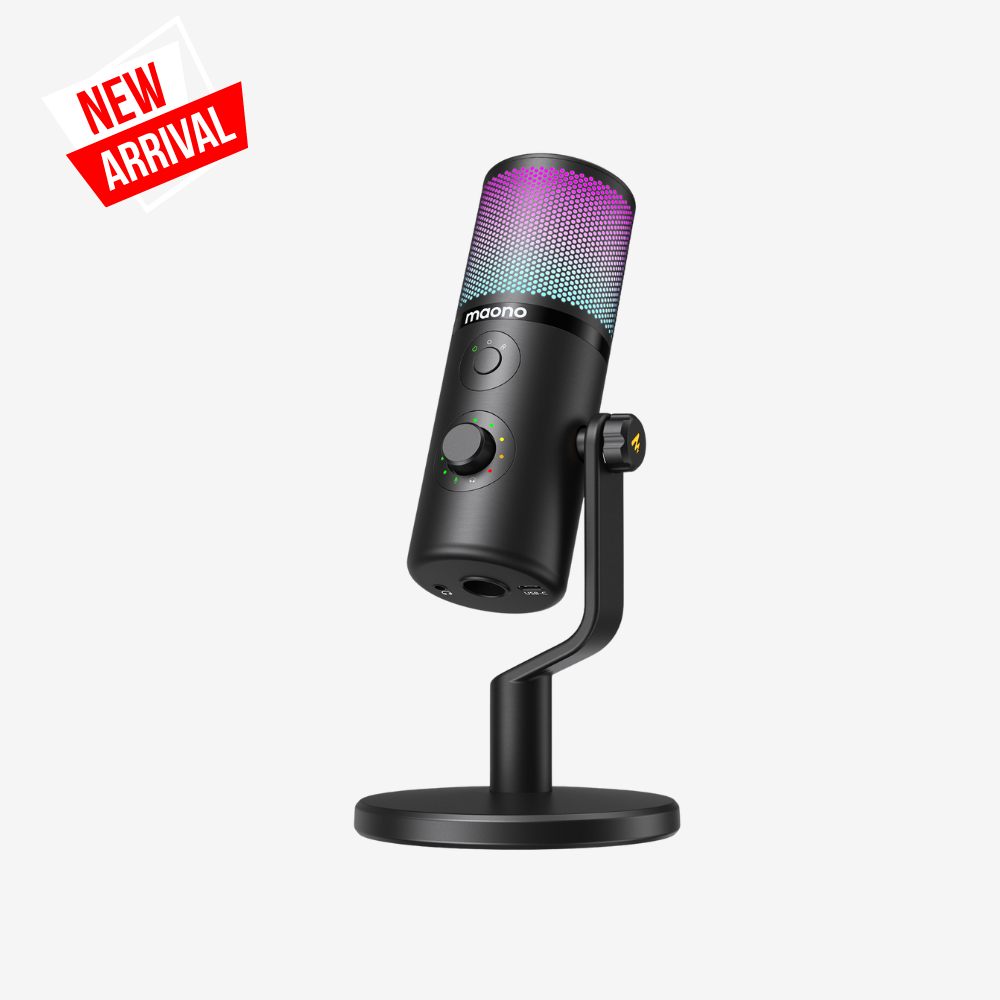
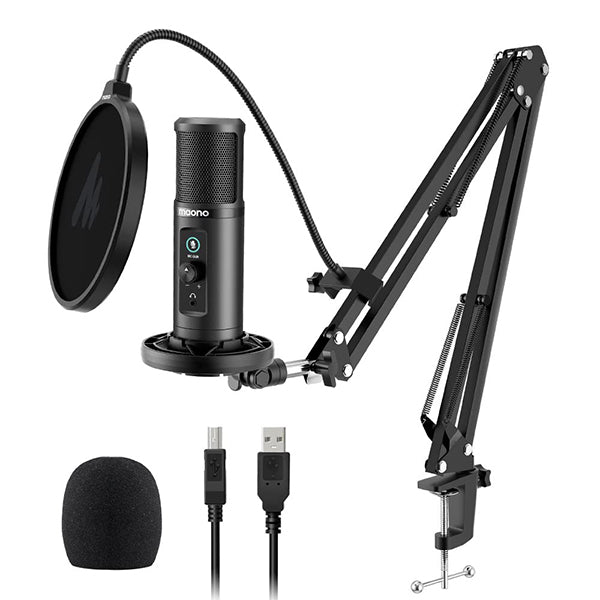
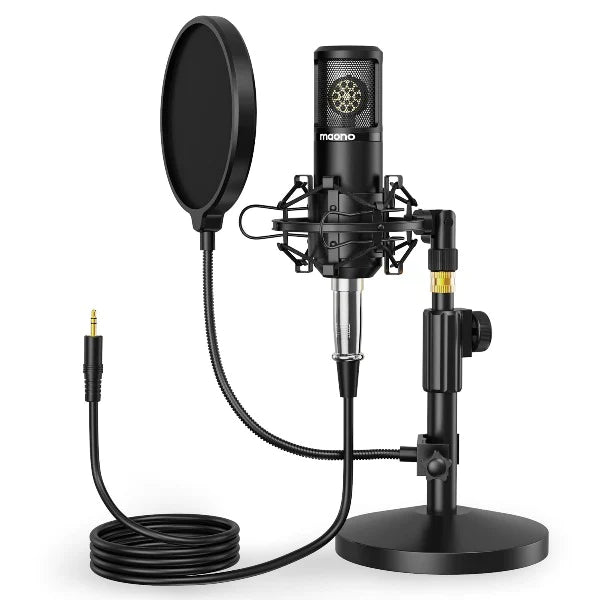
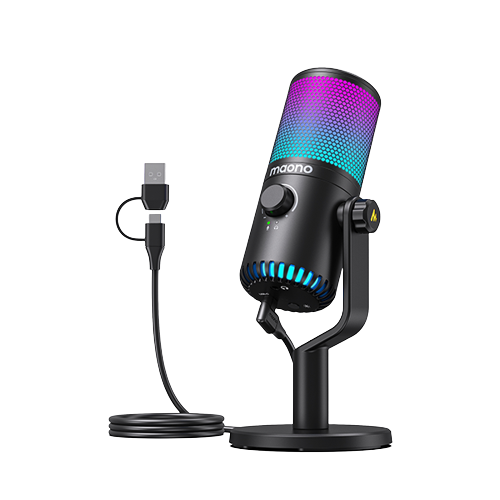
These are the most popular choices for voice-over artists due to their sensitivity and wide frequency response. They capture the subtleties of the voice, providing a rich and detailed sound. Examples of good condenser microphones include the: DM30RGB and DGM20 GamerWave of the Maono series if you’re looking for a mic with USB connectivity. Moreover, if you’re into home studio recording, the PM422 is known for being the best microphone for recording vocals at home. It's a user-friendly USB condenser mic with a boom arm that's perfect for beginners who want to start recording vocals from home. It's easy to set up, has a simple mute button, and delivers professional sound quality.
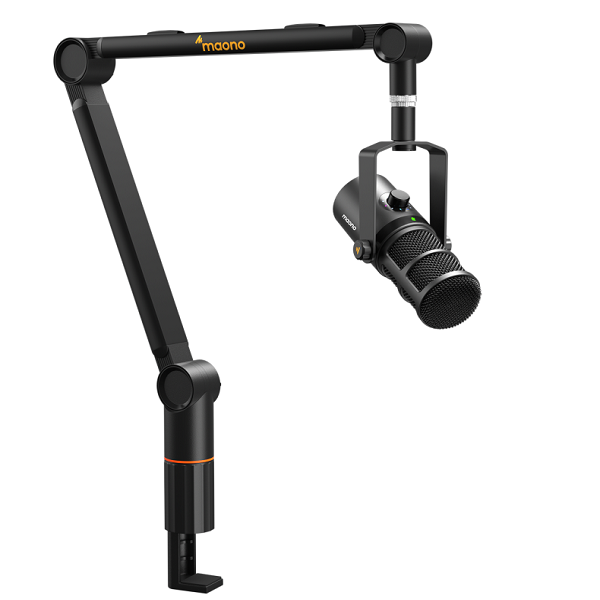
If you’re looking into investing in a more professional and detailed sound condenser XLR microphone, the Maono PM320 is the perfect choice for recording vocals or creating YouTube voice-overs.
PM422 Review
Dynamic Microphones
While less sensitive than condensers, dynamic microphones are durable and handle high sound pressure levels well. They are ideal for less controlled environments and can produce a warm, punchy sound. Popular models include the Maono’s PD400XS and PD200XS.
Choosing between these depends on your recording environment and the specific qualities you want in your recordings.
Specs to Look for When Choosing the Best Microphone
To select the best microphone for voice-over work, consider the following specifications:
- Frequency Response
A good voice-over microphone should have a flat or tailored frequency response that captures the full range of the human voice without distortion. Look for microphones with a response range between 20Hz and 20kHz.
- Polar Pattern
Cardioid microphones are preferred for voice-over work as they capture sound from the front while rejecting noise from the sides and rear. This helps to minimize background noise and focus on your voice.
- Sensitivity
Higher-sensitivity microphones capture more detail and nuance in your voice, but they also pick up more ambient noise. Choose a sensitivity level that matches your recording environment.
- Signal-to-noise ratio (SNR)
A higher SNR indicates that the microphone can produce a clear signal without much background noise. Look for microphones with an SNR above 70dB for professional quality.
- Self-Noise
Lower self-noise (the inherent noise produced by the microphone) is crucial for voice-over work to ensure clean recordings. Aim for a self-noise level below 20dB-A.
Improving Your Voice-Over Recording Technique
Achieving professional voice-over recordings involves more than just having a good microphone. Here are some tips to enhance your recording technique:
Acoustic Treatment
Treat your recording space with sound-absorbing materials to minimize reflections and background noise. This can include foam panels, carpets, and heavy curtains.
Proper Microphone Placement
Position your microphone about 6-12 inches from your mouth, slightly off-axis to reduce plosive sounds (like "p" and "b"). Use a pop filter to further minimize plosives.
Consistent Vocal Performance
Maintain a consistent distance and angle to the microphone to ensure uniform sound quality. Practice proper breathing techniques to control breath noise.
Use of Headphones
Monitor your recordings with closed-back headphones to catch any unwanted noise or issues in real time.
Post-Processing
Monitor your recordings with closed-back headphones to catch any unwanted noise or issues in real time.
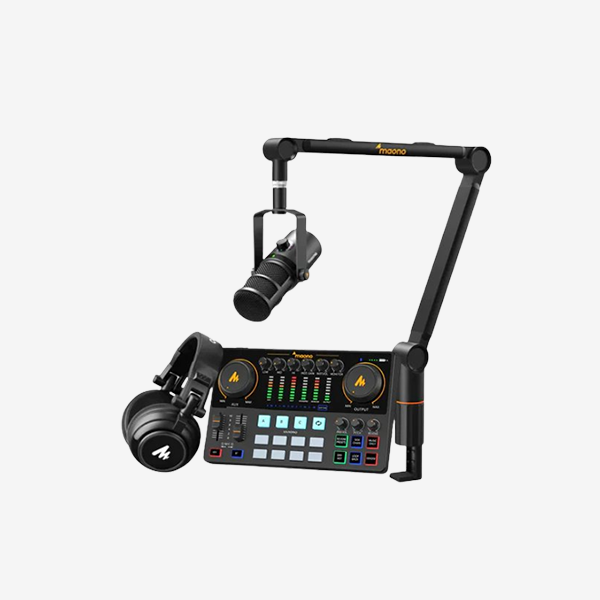
Essential Equipment for Professional Voice-Over Work
In addition to a quality microphone, other equipment is essential for a professional voice-over setup:
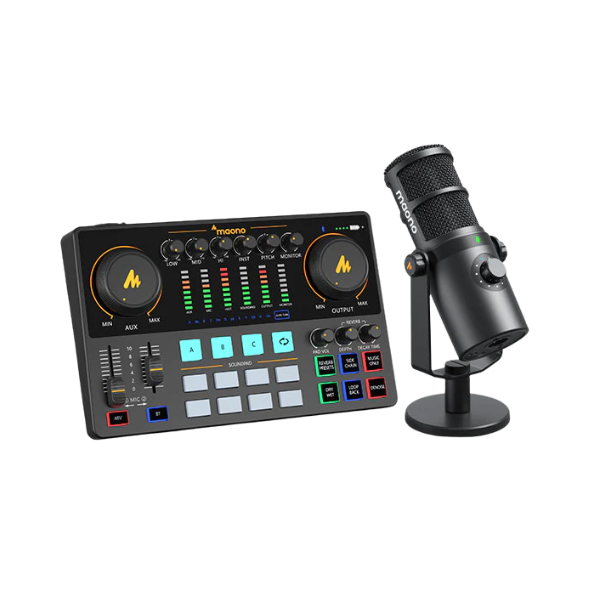
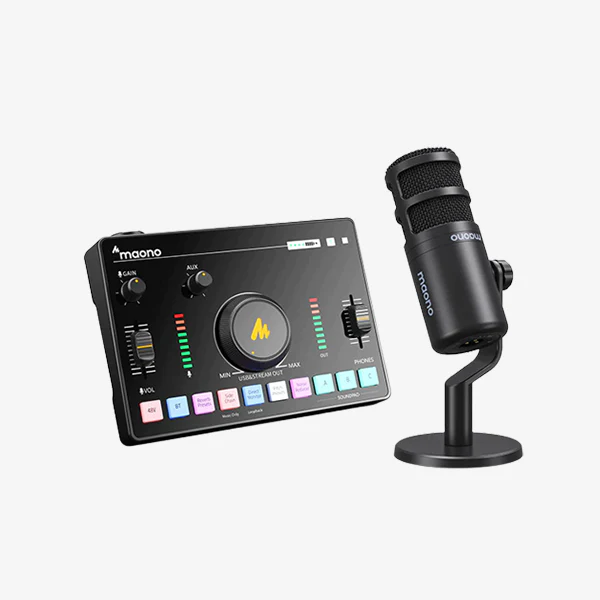
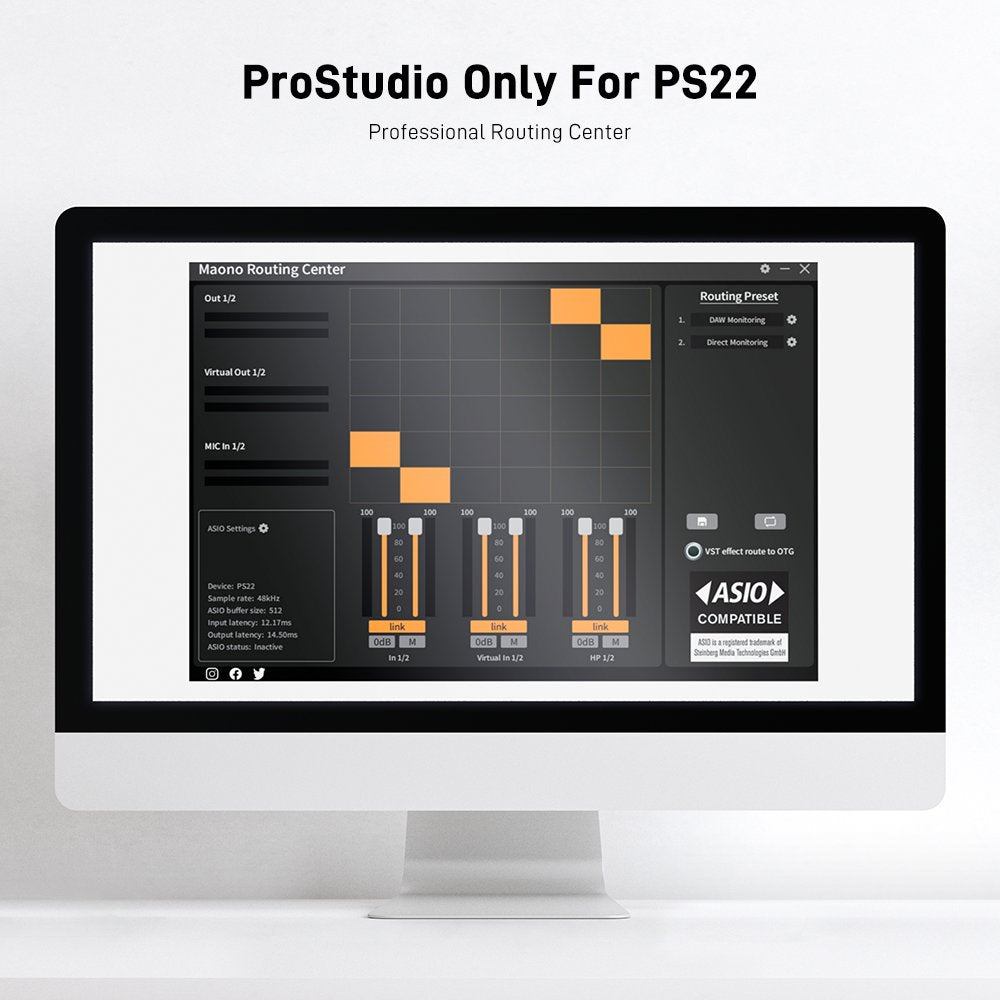
Audio Interface
Converts your analog microphone signal into digital data. Look for interfaces with high-quality preamps and low latency.
Pop Filter
A mesh screen is placed in front of the microphone to reduce plosive sounds. This helps maintain clear and consistent audio.
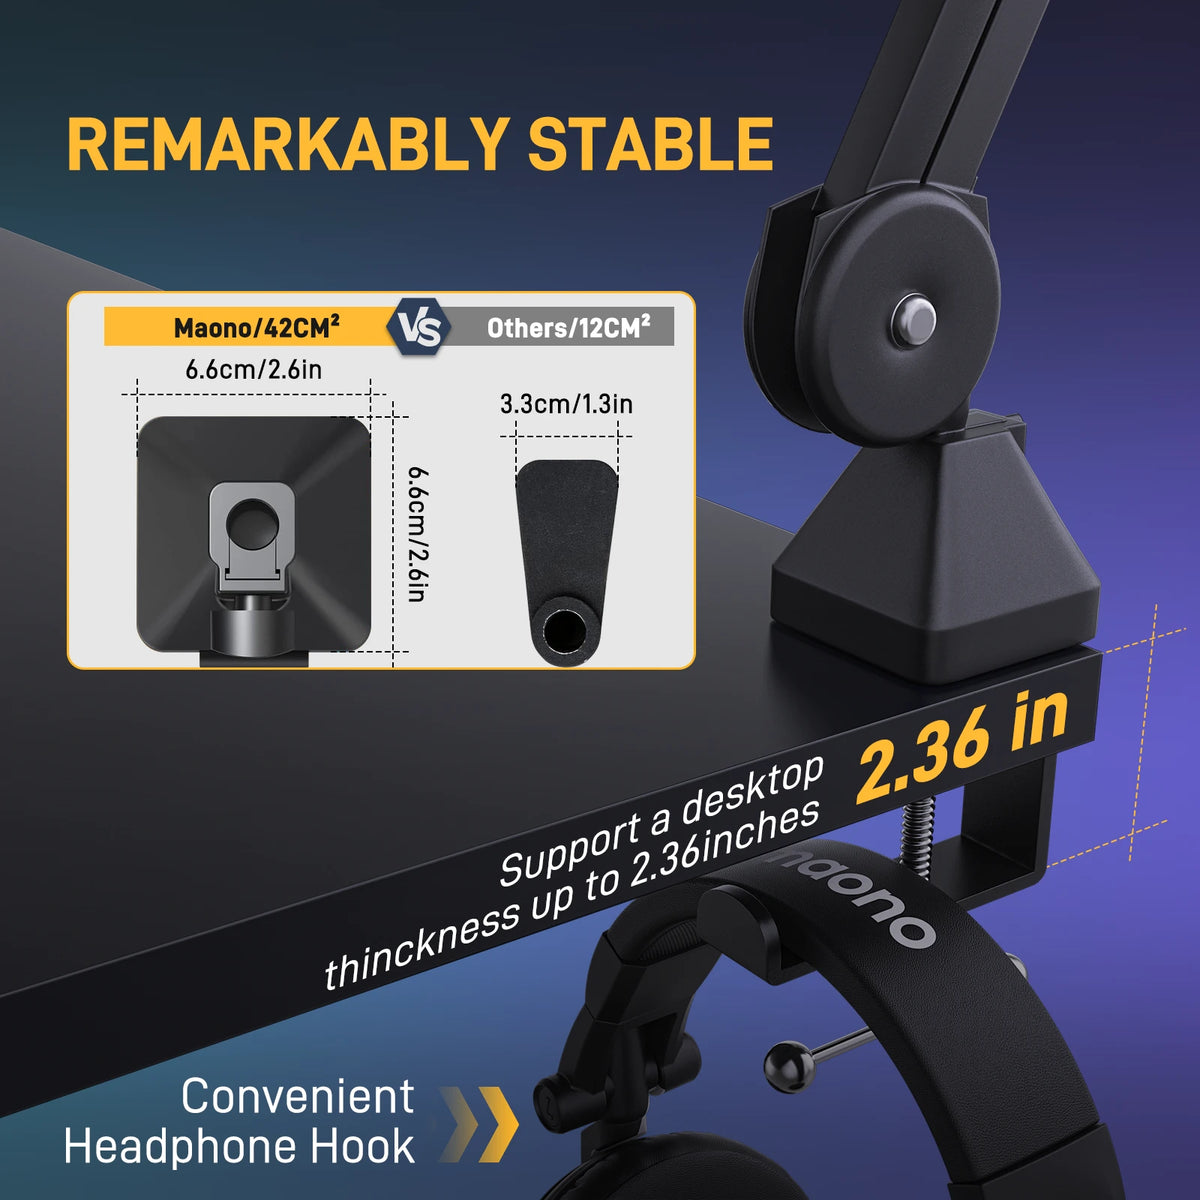
Microphone Stand
A stable stand or boom arm to hold your microphone in the optimal position. This reduces handling noise and allows for hands-free operation.
Shock Mount
A suspension system that isolates the microphone from vibrations and handling noise. Essential for maintaining clear audio quality.
Closed-Back Headphones
Essential for monitoring your recordings and editing. Closed-back designs prevent sound from leaking into the microphone.
Acoustic Panels
To treat your recording space and reduce reflections. This ensures a clean, professional sound.
Digital Audio Workstation (DAW)
Software for recording, editing, and processing your voice-over tracks. Popular DAWs include Adobe Audition, Pro Tools, and Audacity.
5 Quick Tips for Using a Recording Microphone for Beginners
Here are five quick tips for beginners using a recording microphone
1. Maintain Proper Mic Technique
Position the microphone at a consistent distance from your mouth (typically 6-12 inches) and angle it slightly off-axis to minimize plosive sounds.
2. Use a Pop Filter
Invest in a pop filter to reduce plosive sounds (like "p" and "b") and improve overall sound clarity.
3. Monitor Your Levels
Keep an eye on your microphone levels to ensure you're capturing clear audio without clipping or distortion. Adjust the gain or input level as needed.
4. Mind Your Environment
Record in a quiet space free from background noise and distractions. Consider using acoustic treatments or blankets to minimize echoes and reverberations.
5. Experiment and Listen
Take the time to experiment with different microphone placements and settings to find the best sound for your voice. Don't be afraid to listen back to recordings and make adjustments as needed.
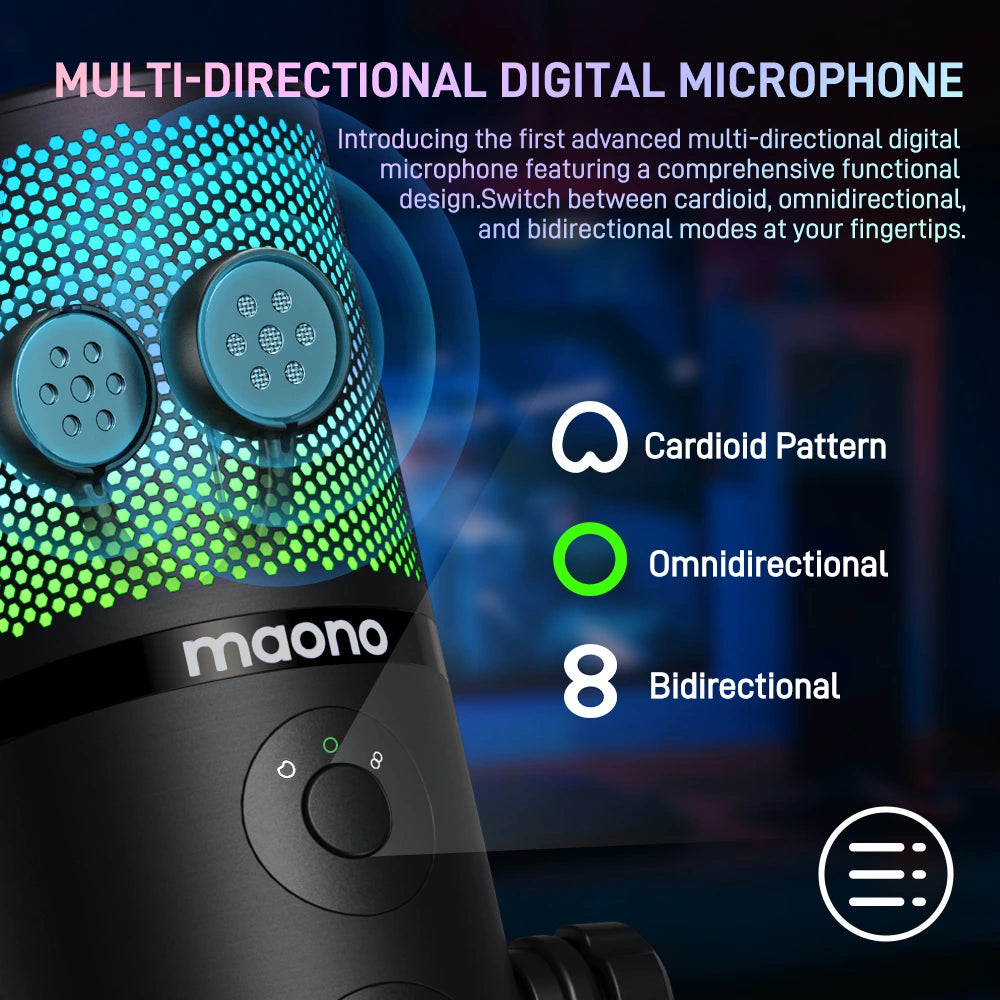
The Polar Patterns and Their Impact on Voice-Over
Understanding microphone polar patterns is essential for achieving desired sound capture and minimizing unwanted noise.
Cardioid polar patterns, which capture sound primarily from the front while rejecting noise from the sides and rear, are commonly used in voice-over applications due to their focused and directional nature.
Omnidirectional and bidirectional polar patterns offer versatility for specific recording scenarios.

Maintenance and Care Tips for Your Microphone
Regular cleaning, storage in a suitable environment, and gentle handling practices are essential. Furthermore, investing in protective accessories such as microphone cases and covers can safeguard your microphone against damage and prolong its lifespan.
The Role of Preamps in Microphone Selection
Preamps play a vital role in shaping the sound of your microphone and optimizing its performance. High-quality preamps provide clean and transparent amplification, preserving the integrity of your audio signal. When selecting a microphone, consider compatibility with your existing preamp setup and explore options with built-in preamps for added convenience and flexibility.
4 Ways How To Optimize Your Voice-Over Recording Space
Creating an optimal recording environment is crucial for achieving pristine audio quality in voice-over productions. Here are four ways to optimize your voice-over recording space:
1. Acoustic Treatment
Install acoustic panels, bass traps, and diffusers to minimize reflections and reverberations in your recording space. These treatments help create a more controlled and acoustically balanced environment, resulting in cleaner and more professional-sounding recordings.
2. Soundproofing
Reduce external noise and interruptions by soundproofing your recording space. This can involve sealing windows and doors, adding weather stripping, and using soundproof curtains or blankets to block out unwanted noise from entering your recording area.
3. Furniture Placement
Arrange furniture and equipment strategically to optimize sound diffusion and absorption. Avoid placing hard surfaces directly opposite your microphone, as this can cause sound reflections and affect the quality of your recordings. Experiment with different layouts to find the most acoustically favorable setup.
4. Isolation
Create a dedicated recording area within your space to minimize outside interference. Use room dividers, portable vocal booths, or DIY isolation shields to isolate yourself from external noise sources and focus on capturing clean audio. Additionally, consider recording during times when ambient noise levels are at their lowest, such as early mornings or late evenings, to further enhance isolation.
Conclusion
Mastering the art of voice-over recording requires a comprehensive understanding of microphone selection, recording techniques, and equipment essentials to achieve high-quality recordings. By familiarizing yourself with the ten key aspects outlined in this guide, you can start your voice-over career with confidence and be equipped to produce professional-grade recordings that captivate and engage audiences across various platforms.