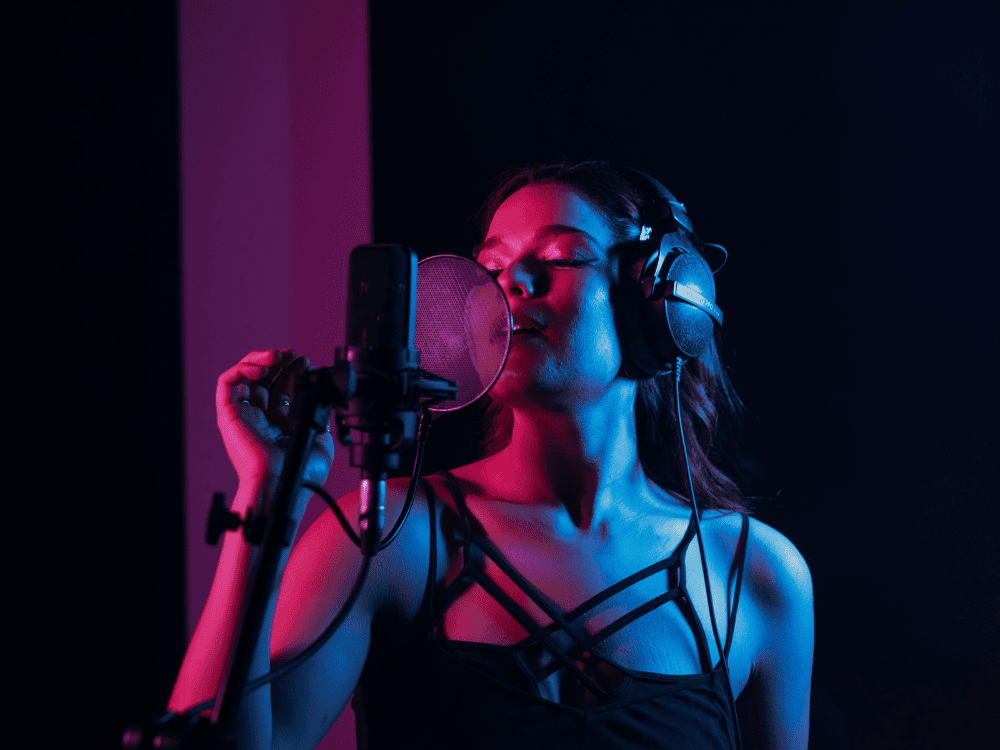
Ready to unlock studio-quality sound? Using XLR for microphone setups can be the game-changer that transforms your recordings, offering depth, clarity, and control that USB mics simply can’t match. In this guide, you’ll learn how to set up an XLR mic, explore budget-friendly picks, and discover why this professional setup is favored by top creators.
What is an XLR Cable, and Why is it Used for Microphones?
An XLR cable is a type of professional audio connector commonly used in the audio industry for microphones, audio interfaces, and other equipment requiring stable and high-quality sound transmission. Known for its durability and balanced signal, the microphone XLR cable typically has three pins and uses a locking mechanism to ensure a secure connection. This structure helps prevent unwanted noise or interference, making XLR cables especially popular in live performances, studio recordings, and broadcasting. Compared to other cables, such as USB, the XLR cable delivers superior audio quality, reducing potential signal loss and distortion over long distances.
How Do I Connect an XLR Microphone to an Audio Interface?
Connecting an XLR microphone to an audio interface is straightforward. You’ll need an XLR cable, an audio interface compatible with XLR input, and an XLR microphone. Here’s a step-by-step guide on how to set up an XLR mic:
- Attach the XLR Cable: Connect one end of the XLR cable to the microphone’s output and the other end to the XLR input on your audio interface.
- Power on the Interface: Ensure your audio interface is powered on and connected to your computer, usually through a USB or Thunderbolt connection.
- Enable Phantom Power if Necessary: If you’re using a condenser microphone, turn on the Phantom power (+48V) on the audio interface. Phantom power is required to power the condenser mic.
- Adjust Gain Settings: Set the gain on the audio interface to an appropriate level, usually around the halfway mark as a starting point. Adjust until you have clear, distortion-free sound.
What Are Some Budget-Friendly Beginner XLR Microphone Options for Talking and Instruments or Singing?
Choosing the right XLR microphone can be challenging for beginners, especially on a budget. Here are eight affordable options that deliver quality performance for various uses, including talking, instruments, and singing:
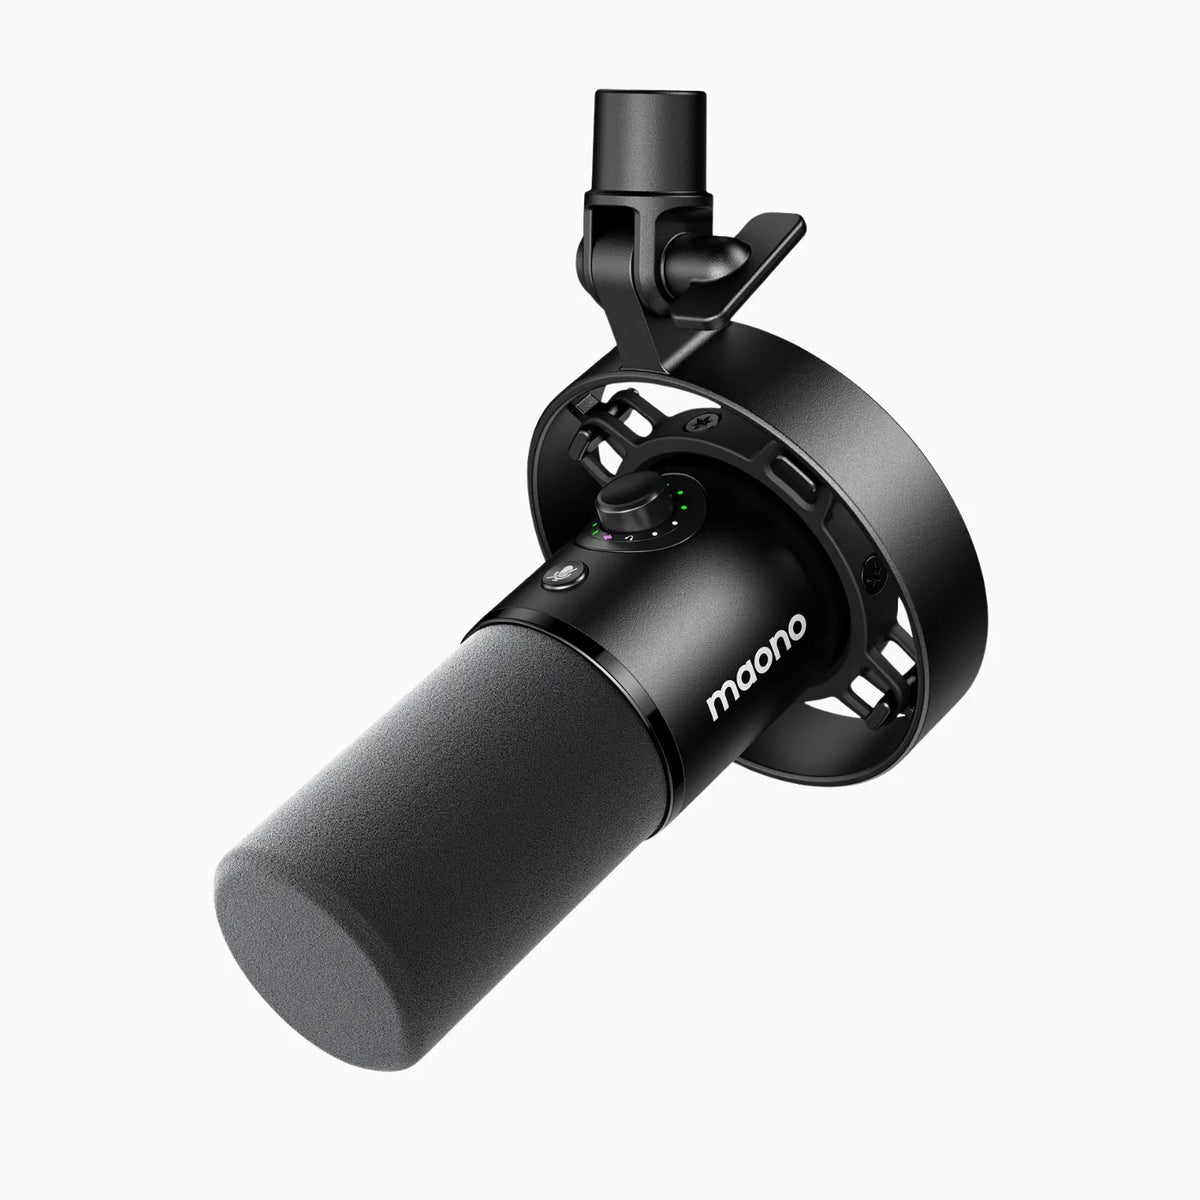
1. Maono HD300:

2. Maono PM500:

3. Audio-Technica AT2020:
4. Shure SM58:
A classic choice, this dynamic mic is favored for live vocals but works well in a studio for voice recording.
5. MXL 770:
This condenser mic captures smooth mids and highs, making it suitable for singing and general studio use.
6. Behringer XM8500:
A great option for beginners, this dynamic mic is rugged and handles high volumes well.
7. Samson Q2U:
With both XLR and USB connectivity, the Q2U offers flexibility and high-quality sound on a budget.
8. Rode M3:
A versatile condenser mic with excellent audio detail for both instruments and voice, the M3 is ideal for beginners and hobbyists.
What Are the Advantages of Using XLR Over USB Microphones?
There are several benefits to using an XLR microphone compared to a USB microphone:
- Superior Audio Quality: XLR microphones often provide higher fidelity and better dynamic range than USB options. This is partly because XLR mics connect through audio interfaces, which have dedicated preamps and other circuitry designed to enhance sound quality.
- Enhanced Customization: XLR setups allow you to customize your audio chain by adding preamps, mixers, or other audio effects processors, which isn’t possible with a USB mic.
- Balanced Signal: XLR cables use balanced connections, which reduce noise and interference, making them ideal for longer cable runs.
- Scalability: With XLR, you can upgrade individual components of your setup—such as switching to a different microphone or upgrading your audio interface—without having to replace the entire system.
What Length of XLR Cable Should I Choose for My Setup?
When choosing the length of your XLR cable, consider the distance between your microphone and your audio interface. Shorter cables (e.g., 3 to 6 feet) are ideal for compact setups to minimize potential signal interference. However, if your recording environment requires a bit more reach, a 15 to 25-foot cable should work well without degrading sound quality. Avoid unnecessarily long cables, as they can increase the risk of signal loss and add clutter to your setup.
FAQs
1. Can You Use an XLR Mic with a PC?
Yes, you can use XLR mic with PC, but you’ll need an audio interface or a mixer with a USB output to connect it. An audio interface converts the analog XLR signal into a digital signal that your PC can process. After connecting the audio interface to your PC, select it as the primary audio input source in your computer’s settings. Some interfaces are even plug-and-play, making setup simple.
2. Do Different XLR Cable Brands Affect the Quality of Sound?
In general, the brand of the XLR cable has minimal impact on sound quality, but cable construction does matter. Look for cables with quality shielding, sturdy connectors, and high-grade materials, as these factors help reduce interference and improve longevity. Reputable brands often deliver better durability, and while premium cables may offer slight improvements, most users won’t notice a difference unless they’re in professional settings.
3. What Else Do I Need with an XLR Mic?
To create a complete setup with an XLR microphone, consider the following components:
- Audio Interface: This device is essential for connecting an XLR mic to a computer, as it converts analog audio to digital.
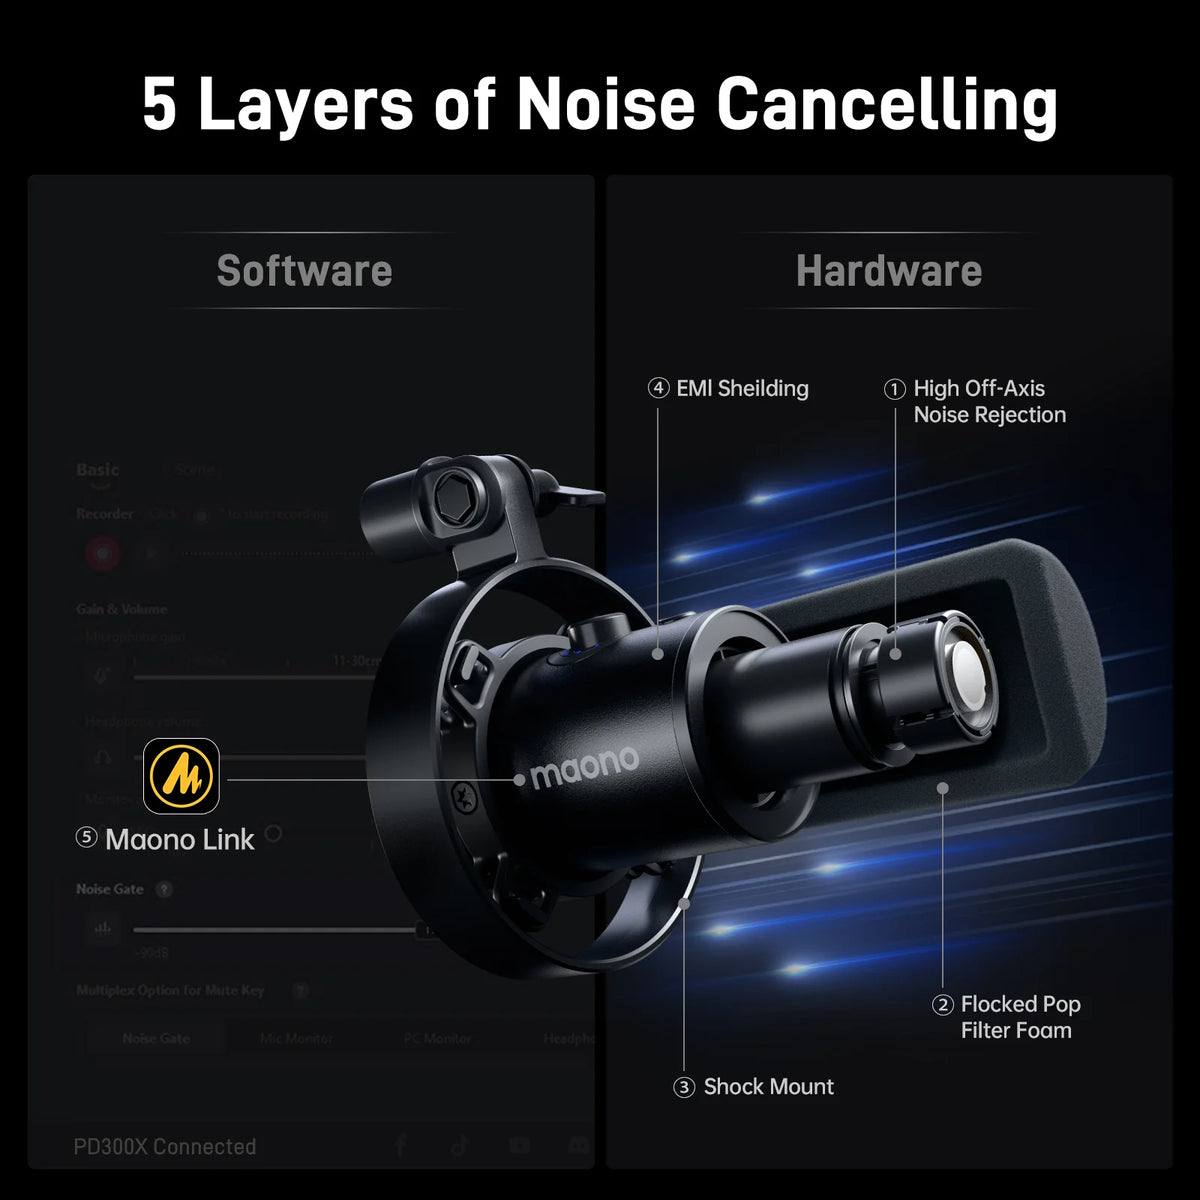
- Pop Filter or Windscreen: These reduce plosives and harsh sounds, creating a cleaner recording.
- Shock Mount: A shock mount helps isolate the microphone from handling noise and vibrations.
- Mic Stand or Boom Arm: A sturdy stand or arm provides stability and allows for optimal mic positioning.
- Headphones: Studio-quality headphones let you monitor your sound accurately while recording.
Conclusion
Using an XLR microphone can significantly elevate the quality of your recordings, especially for those looking to improve their skills in vocal recording, instrumentals, and general audio production. XLR microphones offer superior sound quality, customization, and scalability compared to USB options, and with the right setup, they’re incredibly versatile. By selecting the appropriate XLR microphone, choosing the correct cable length, and investing in necessary accessories like an audio interface and pop filter, you can achieve professional-grade recordings, even as a beginner.
With the right knowledge and equipment, you’re well on your way to mastering the art of using XLR studio microphones for any audio project.


