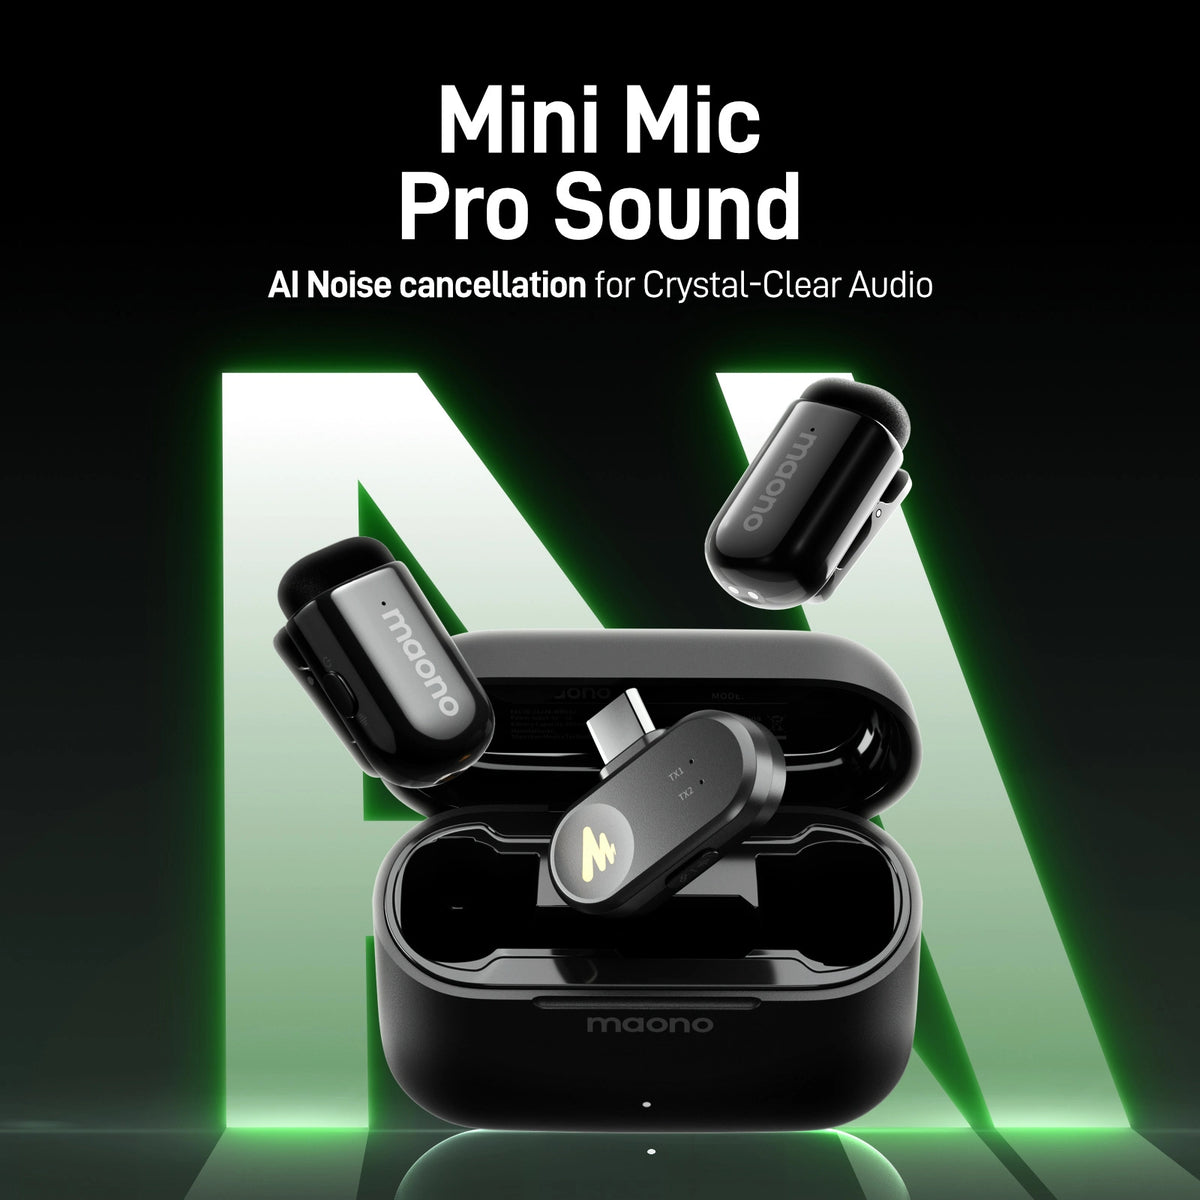
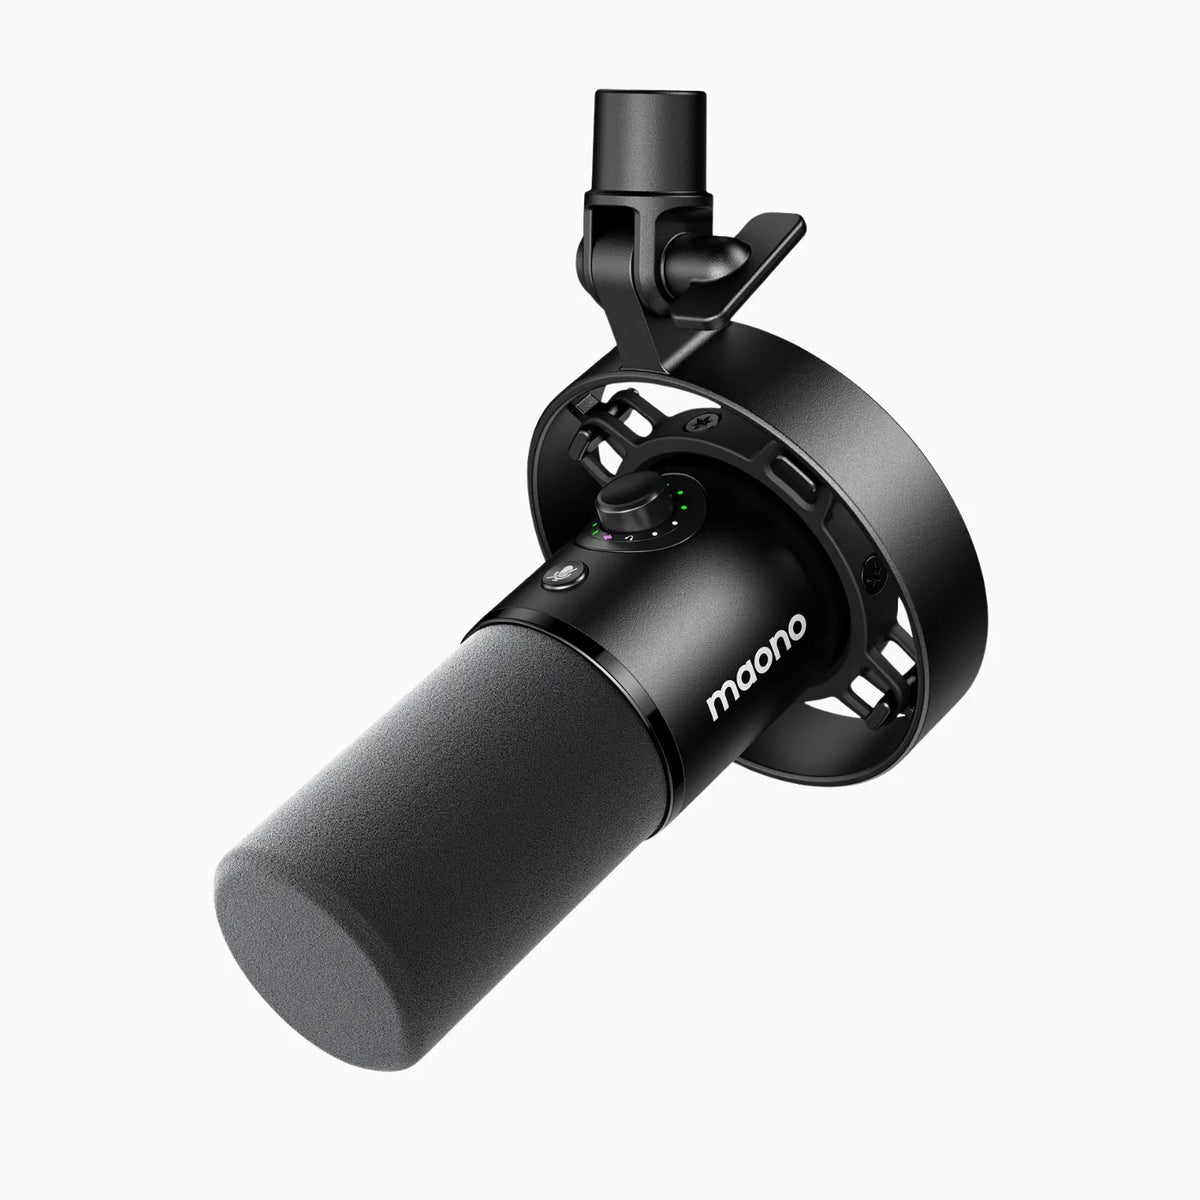
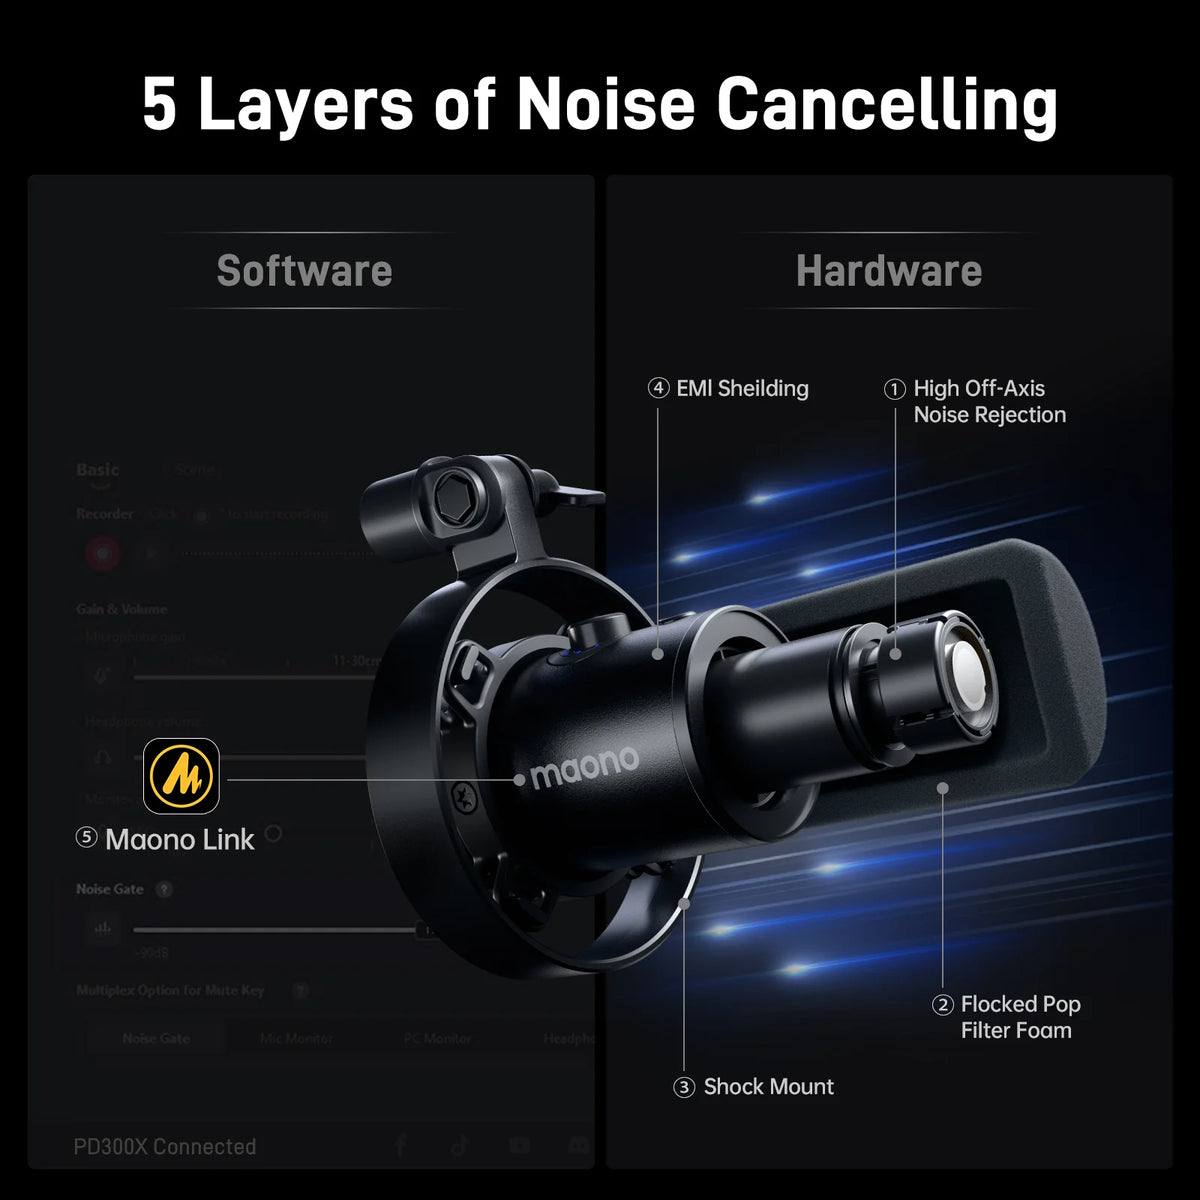
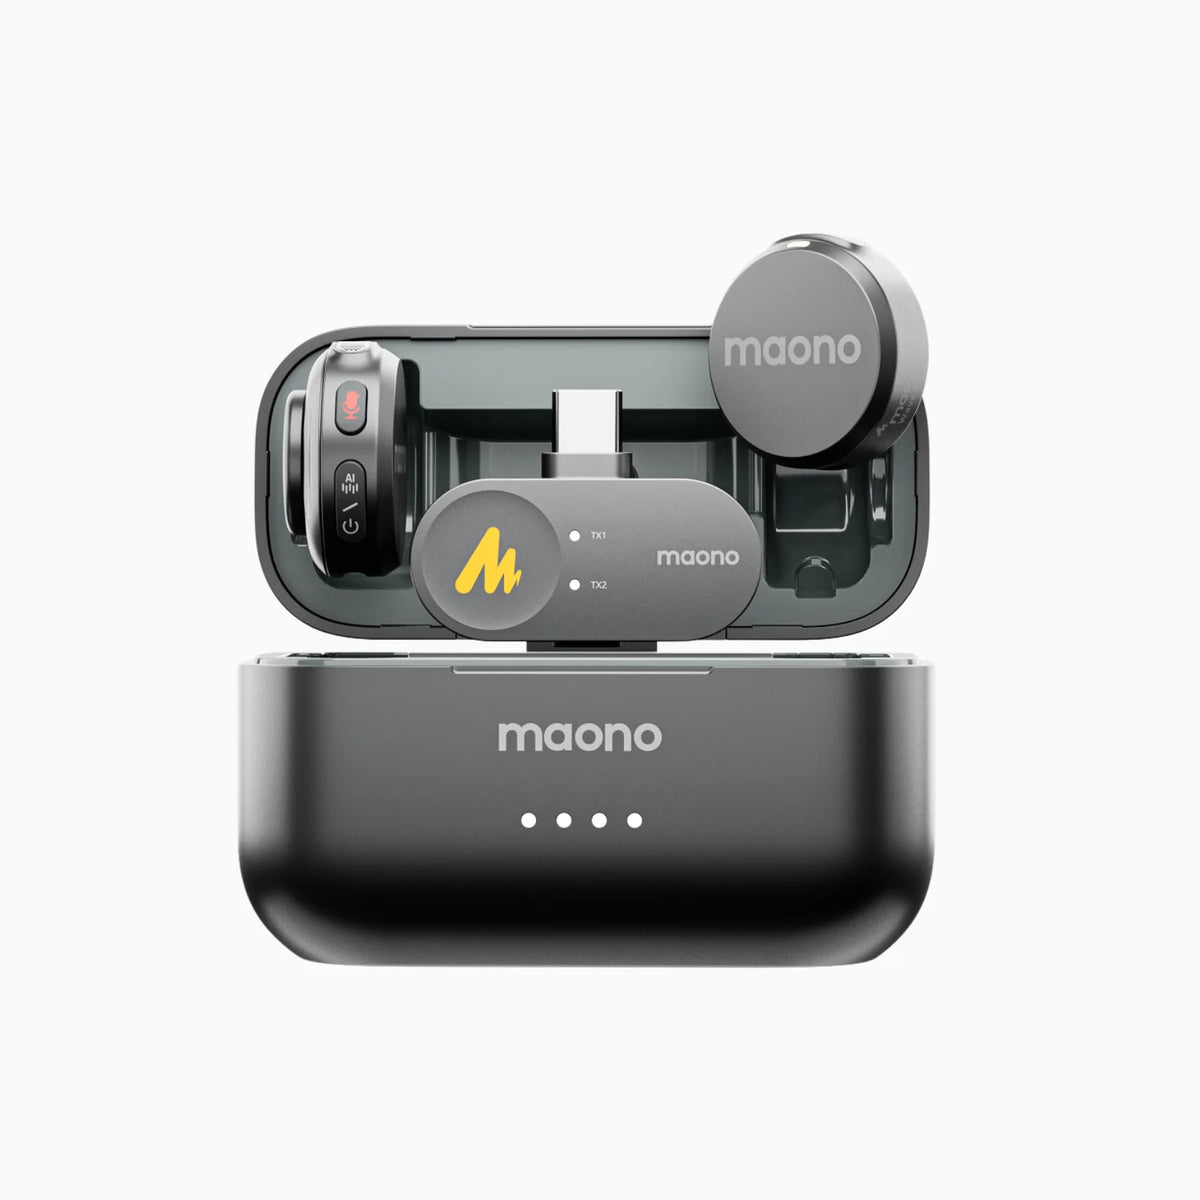
Ready to take your vlogging game to the next level? Whether you're capturing on-the-go adventures or filming engaging content for your audience, the best wireless Lavalier mic can make all the difference, delivering crisp, professional audio that keeps viewers hooked from start to finish.
As vlogging has become one of the most popular ways to share stories, express creativity, and connect with audiences worldwide, convenience and portability also has become an important component in content creation. Whatever your passion is: travel, food, or daily life, starting a vlog might feel intimidating, especially if you're unsure of the gear and techniques you need. This guide is designed to simplify the process, offering practical tips for beginners to create professional-looking vlogs and recommend tools for your setup without breaking the bank.
The Ideal Vlogging Setup for Beginners
Starting your vlogging journey doesn’t mean investing thousands of dollars. An effective beginner setup focuses on balancing affordability with functionality. The essentials include:
- Camera: A smartphone with a good camera (1080p or higher) is a solid starting point.
- Microphone: Audio quality is crucial, so invest in a basic external mic like a lavalier or shotgun mic. A reliable vlogging microphone ensures your audio is as engaging as your visuals.
- Lighting: Natural light works wonders, but a portable ring light can help in dim conditions.
- Stabilization: A tripod or handheld gimbal ensures smooth, professional-looking footage.
With these basics in hand, you’re ready to begin filming. The key is focusing on storytelling and authenticity, which matter more than expensive equipment.
How to Edit Vlogs to Make Them Look More Professional
Editing is where your raw footage transforms into a polished vlog. Even if you're a beginner, user-friendly tools and a few essential techniques can elevate your content:
-
Choose Easy-to-Use Editing Software: Apps like iMovie (free for Mac) or Movavi and Filmora (budget-friendly options) are excellent for beginners. For advanced editing, Adobe Premiere Pro or Final Cut Pro provide more features.
-
Cut Unnecessary Clips: Trim your footage to remove awkward pauses, shaky segments, or irrelevant content.
-
Add Background Music: Use royalty-free music from platforms like YouTube Audio Library or Epidemic Sound to enhance your vlog's mood.
-
Incorporate Text and Graphics: Introduce captions, titles, and on-screen prompts to make your videos more engaging.
-
Color Correction: Enhance brightness, contrast, and saturation for a vibrant, professional finish.
- Consistency in Style: Maintain a cohesive theme for intros, outros, and transitions to establish your brand.
How Much Does It Cost to Start a Vlog?
Starting a vlog doesn’t need to drain your savings. Here’s a breakdown of typical costs for beginners:
|
Item |
Budget Options |
Estimated Cost |
|
Camera |
Smartphone (1080p or better) |
$0 - $200 |
|
Microphone |
Lavalier mic (e.g., Maono WM820) |
$30 - $80 |
|
Lighting |
Ring light or small LED panel |
$20 - $50 |
|
Editing Software |
Free apps (iMovie, CapCut) |
$0 |
|
Stabilization Tools |
Basic tripod or gimbal |
$15 - $50 |
Total Cost: $65–$380, depending on your current gear and upgrades.
Alternatively, you can always start with your smartphone if you’re on a really tight budget.
Do I Need to Create an Intro and Outro for My Vlogs?
While not mandatory, having an intro and outro helps establish your brand and makes your videos more memorable. Here’s why:
- Intro: A short, engaging clip (5–10 seconds) introduces your vlog’s theme and sets the tone.
- Outro: Encourage viewers to like, comment, and subscribe while adding a personal touch with a sign-off message.
Use tools like Canva for simple animations or templates, or explore professional designers on platforms like Fiverr.
How Do I Get More Subscribers for My Vlog?
Growing your audience requires consistent effort and smart strategies:
- Post Regularly: Uploading on a predictable schedule helps retain viewers.
- Engage With Your Audience: Reply to comments, ask questions, and encourage interaction.
- Optimize Titles and Thumbnails: Use eye-catching visuals and descriptive titles to attract clicks.
- Promote on Social Media: Share your videos on platforms like Instagram, Facebook, and Twitter to reach a broader audience.
- Collaborate With Other Vloggers: Partner with creators in your niche for cross-promotion.
- Be Authentic: Viewers value genuine content over overly polished or scripted videos.
FAQs
Which Camera and Microphone Are More Suitable for YouTube Vlogging in the Style of Walking Around and Filming Myself While Talking?
For a walk-and-talk vlog style, portability and quality are key:
- Camera: Action cameras like the GoPro Hero 12 or compact mirrorless cameras like the Sony ZV-1 offer excellent stabilization and video quality.
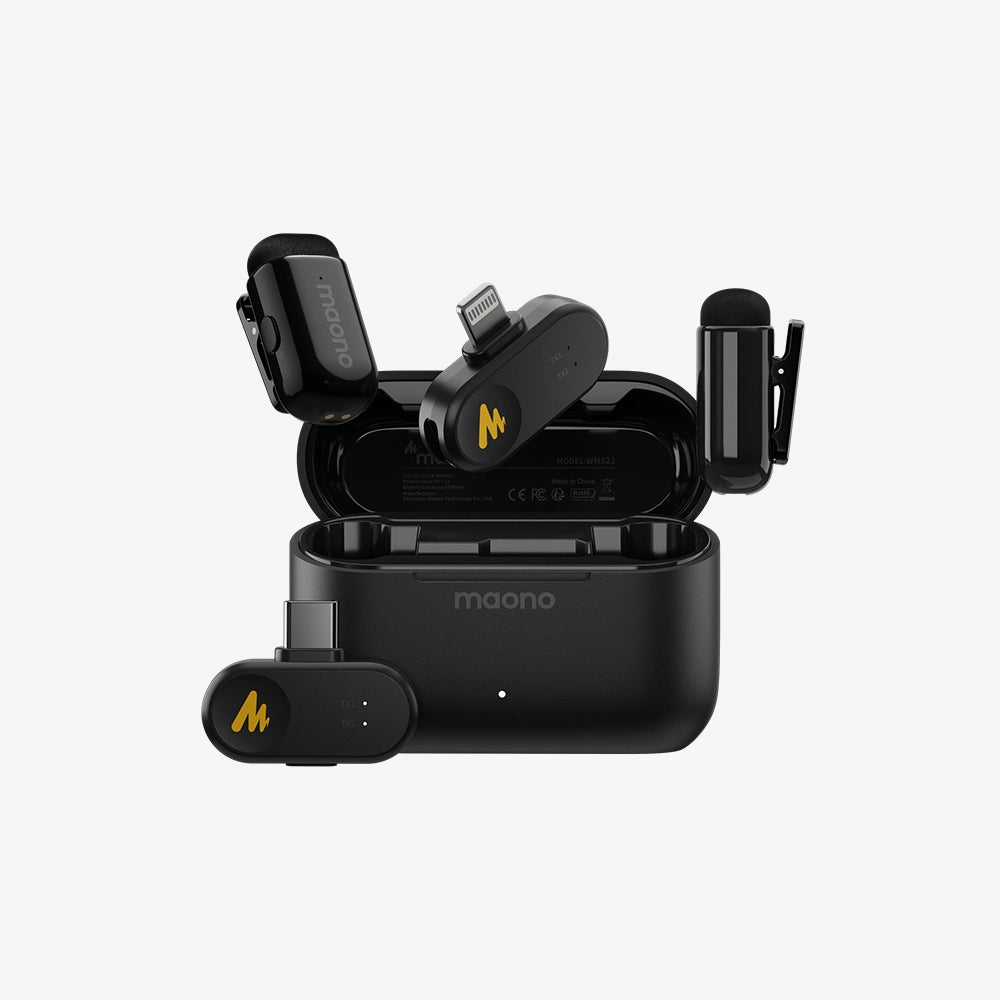
- Microphone: A wireless lavalier microphone, such as the Maono WM820, provides clear audio without needing a fixed position. Discreet or not discreet, you can choose to hide or show the brand once you clip it on your clothing.

Could Someone Recommend an Affordable Microphone for ASMR Mukbang Vlogs That Captures Both the Crunchiness of the Food and the Sounds of Drinking?
For ASMR and mukbang content, capturing subtle sounds is essential. Affordable options include:
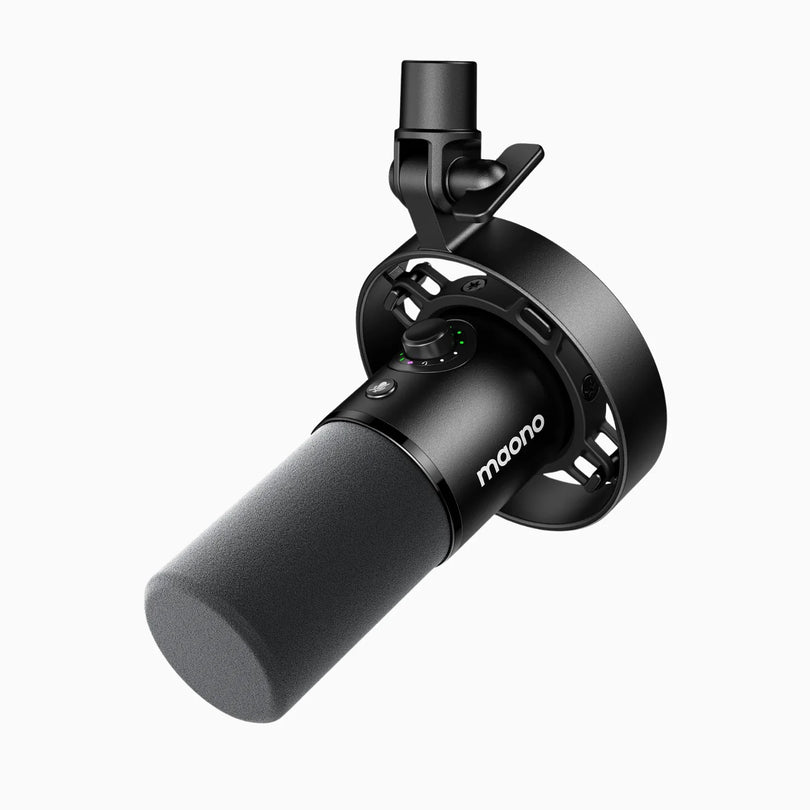
- Microphones: The Maono PM461 condenser mic or Blue Yeti Nano. These mics pick up intricate details, from crunches to sips.
- Setup Tip: Record in a quiet environment to maximize sound clarity.

What Is Your Advice on a Super Simple Shoot and Video Edit Setup for Travel Vlogs?
Travel vlogs require portability and efficiency. Here's a streamlined setup:
- Gear:
- Camera: Smartphone or GoPro for lightweight filming.
- Microphone: Small shotgun mic like the Rode VideoMicro. Or a wireless Lavalier microphone for vlogging that ensures clear sound capture.
- Stabilization: Compact tripod or selfie stick.
- Editing:
- Use mobile apps like CapCut or InShot for quick edits on the go.
- Focus on transitions, music, and minimal text for a cinematic feel.
What Is the Audio Recording Quality of a Maono Wireless Lavalier Mic for Vlogging?
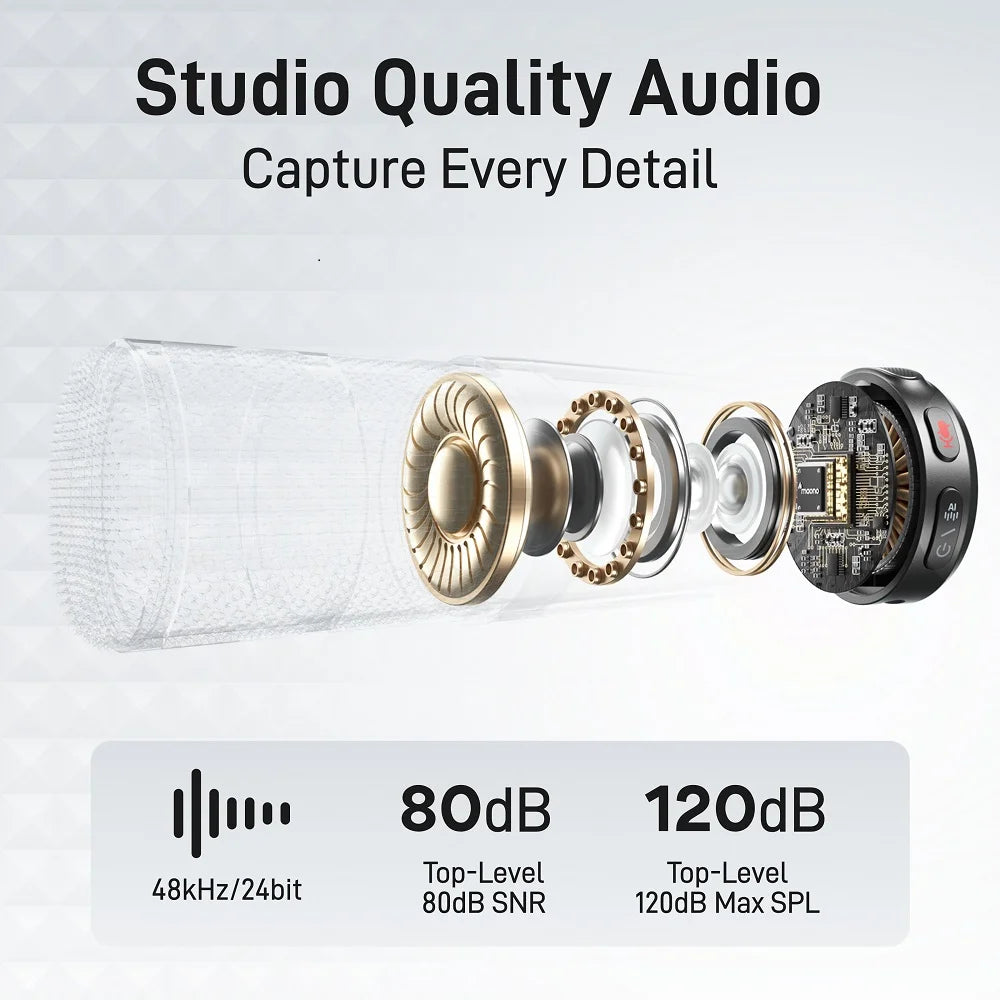
The Maono wireless lavalier microphones, such as the WM820, deliver clear and reliable audio for vlogging. They offer:
- Crisp sound quality with minimal background noise.
- Easy setup and connectivity, making them ideal for on-the-go recording.
- Affordable pricing compared to high-end wireless systems.
What Software Can I Use for Recording My Voice in a Noisy Environment for a YouTube Video?
Recording in noisy environments requires noise-reduction tools. Recommended software includes:
- Audacity: Free and robust, with built-in noise-reduction filters.
- Adobe Audition: A professional option with advanced audio cleaning features.
- Krisp: AI-powered software that eliminates background noise in real-time.
For best results, pair the software with a unidirectional microphone to reduce unwanted sounds during recording.
Final Thoughts
Creating a successful vlog doesn’t require high-end equipment or years of experience. With a clear plan, some affordable gear, and dedication to consistent improvement, you can produce engaging, professional-looking content. Focus on your unique voice and storytelling style, and don’t hesitate to experiment with different formats. Remember, the most compelling vlogs come from creators who share their passion and connect with their audience authentically.


