


When looking for a mic, you must hear about condenser microphones, one of the most common types in the market. However, how to use a condenser microphone effectively is just as important as understanding its features. What is a condenser mic? What are its pros and cons? Having some basic knowledge of condenser mics will definitely help you make a wise choice. Now let's get started and take a look!
Define condenser microphone:
What is a condenser microphone? A condenser microphone is a highly sensitive mic that uses a capacitor (condenser) to convert sound waves into electrical signals. It captures detailed, high-frequency audio with precision, making it ideal for studio recording, vocals, and broadcasting. Condenser mics require phantom power (48V) and are known for their wide frequency response and superior sound clarity compared to dynamic microphones.
Condenser mics are microphones that operate by the movement of a conductive diaphragm against a charged capacitor capsule and electrostatic principles.
Types of condenser microphones
If you're looking to define a condenser microphone, it comes in two types: small diaphragm and large diaphragm condenser mics.
- Small-diaphragm condenser mic
Small-diaphragm mics offer a solid and wide-frequency transient response and excel at reproducing sound evenly. If you are recording string instruments, go for a small-diaphragm condenser mic.
- Large-diaphragm condenser mic
Large-diaphragm mics feature low frequencies that deliver warm and full sounds and are often lower in noise, which makes them perfect for vocal and instrument recordings where a deeper sound is desired.
How to Use a Condenser Microphone?
To get the best results from a condenser microphone, follow these essential steps for optimal sound quality.
1. Setting Up the Microphone
First, determine whether your condenser microphone uses USB or XLR connectivity. A USB condenser microphone plugs directly into your computer, making it ideal for beginners. An XLR microphone requires an audio interface or mixer with phantom power (48V) to function properly. Ensure all connections are secure before proceeding.
2. Adjusting Settings
Once connected, adjust the gain and volume levels to avoid distortion or excessive background noise. In your computer’s sound settings or recording software, set the microphone as the default input device. If using an XLR mic, enable phantom power on your audio interface. Fine-tune the gain until your voice or instrument sounds clear without peaking.
3. Positioning the Mic for Different Recording Scenarios
Proper placement enhances audio quality. For vocals or podcasts, position the microphone 6-12 inches away from your mouth at a slight angle to reduce plosive sounds. For instrument recording, place the mic at an optimal distance (e.g., near the 12th fret of a guitar or above a drum kit) to capture natural tones.
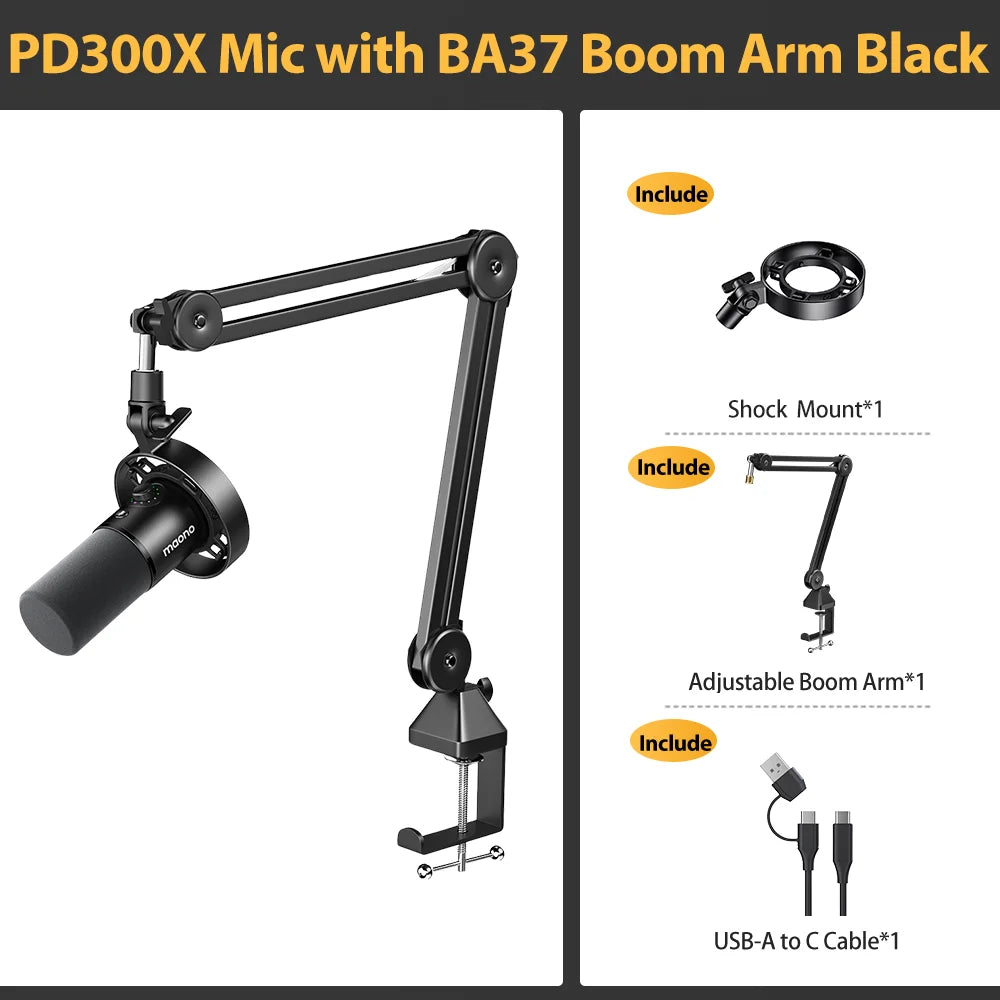
4. Using Accessories for Better Sound
To further improve clarity, use a pop filter to reduce harsh plosives and a shock mount to minimize vibrations. A boom arm stand helps position the mic correctly, while an acoustic panel or foam cover can enhance sound isolation.
Following these steps ensures professional-grade audio, whether you're recording podcasts, music, or voice-overs.
Advantages of Using a Condenser Microphone:
- Deliver crisp, clear, and detailed sounds
- Capable of capturing high-frequency sounds
- Small and compact in design
- More responsive to lower and mid-range frequency
- Flat frequency response and extended frequency ranges
Disadvantages of Using a Condenser Microphone:
- More delicate
- Require external power source (phantom power or internal battery)
- A limit to the lower maximum sound pressure levels
What are the 3 common uses of condenser microphones?
Condenser mics are commonly used for:
- Studio recordings
- Recording high-frequency instruments
- Recording vocals
The Best Condenser Microphone for Podcasters: Maono PM500
-
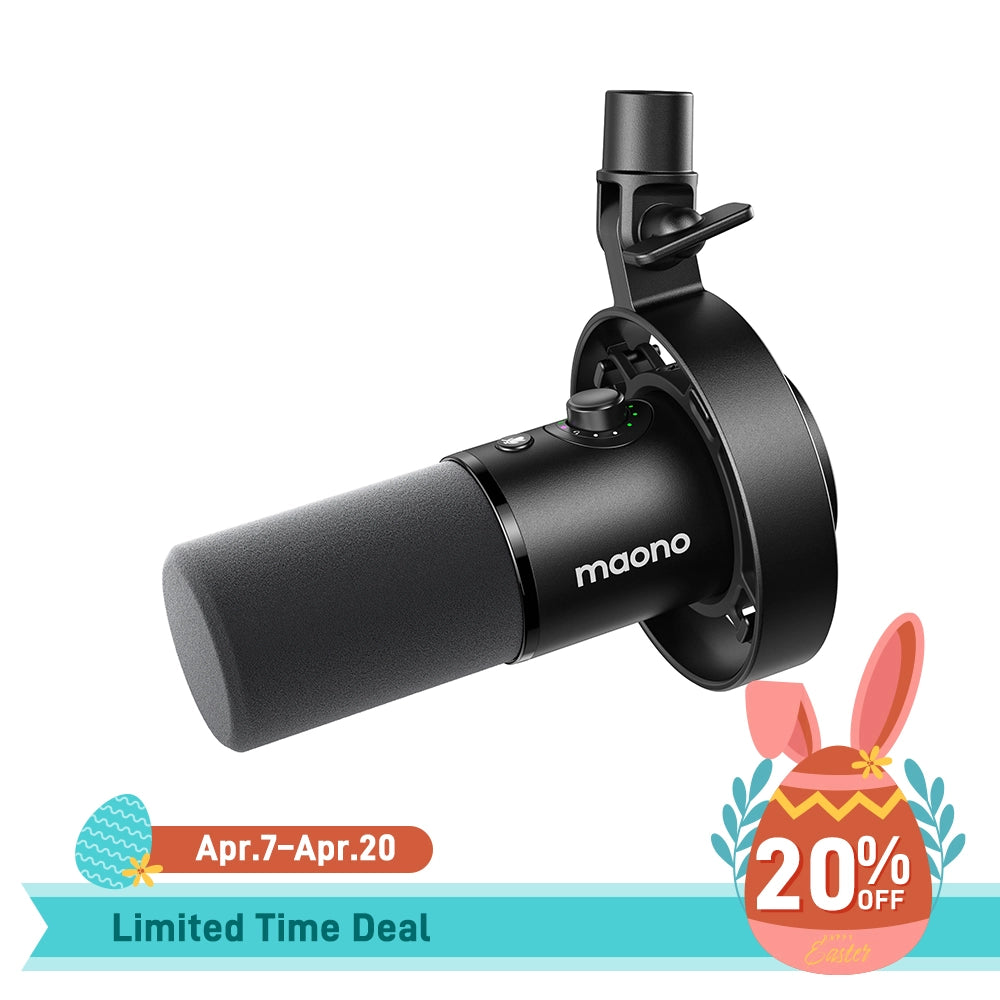
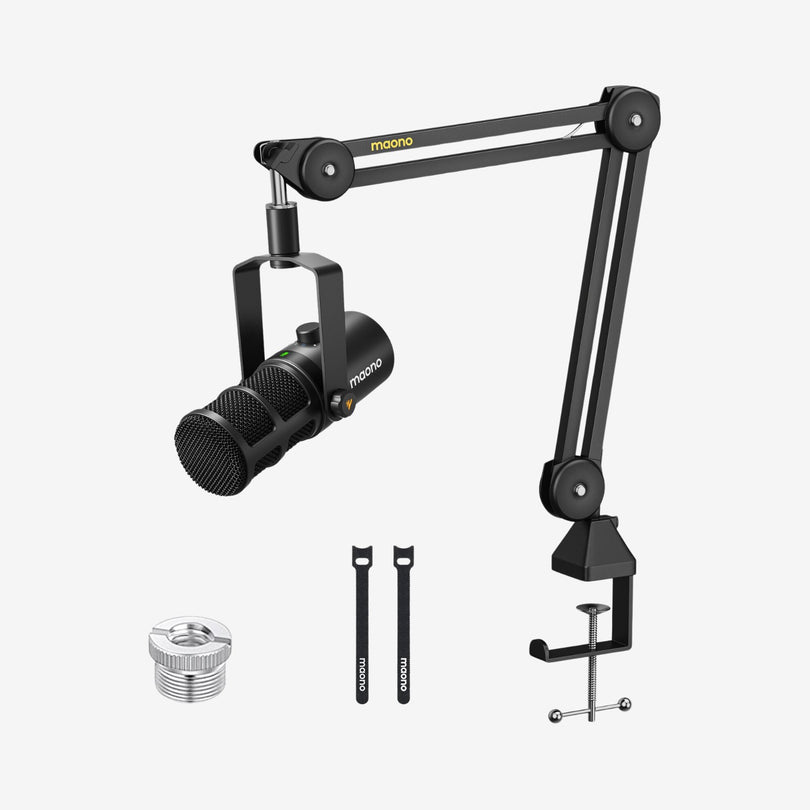
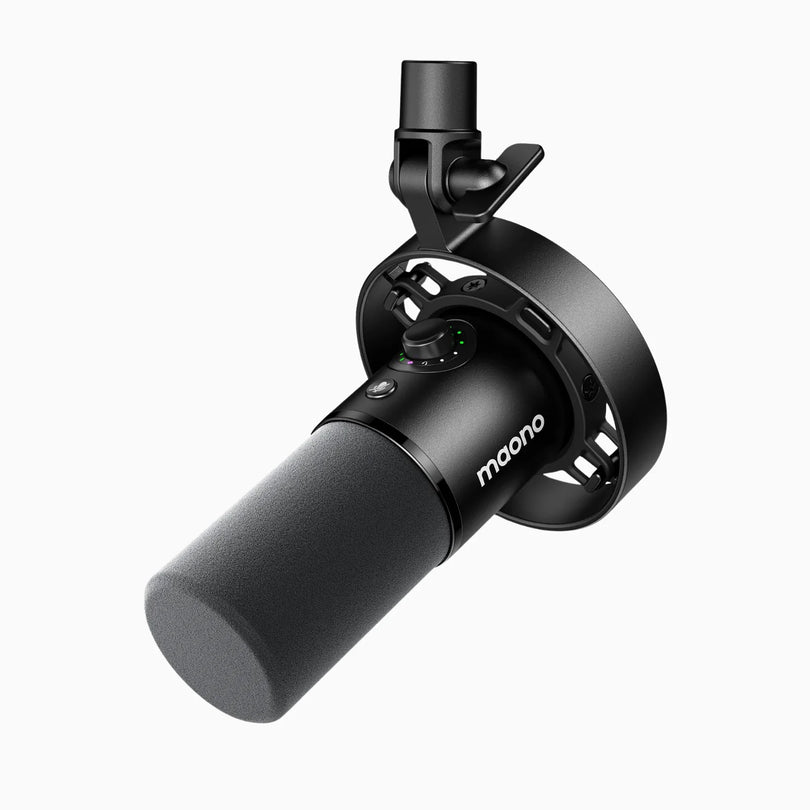
MAONO PM500 -The Best Budget Condenser XLR Microphone for Podcaster

The Maono PM500 is a professional-grade XLR condenser microphone designed for vocal recording, music creation, and sound productions. It is equipped with an ultra-large 34mm metal diaphragm condenser capsule, copped with premium circuit components. PM500 can capture any audible sound naturally and engagingly. From the recording of the drum to the string instrument, it is always an ideal choice.
RECOMMENDED VIDEO:
Get studio sound at home. It’s an amazing time to be creative. Getting your inspiration out there is as close as your computer or even your phone. But your audio could be better. Way better, right?
The MV5 fixes that. With pristine sound recording and intuitive app controls that’s travel-worthy.
The RØDE NT1-A 1 inch cardioid condenser microphone has become an industry standard; delivering the warmth, extended dynamic range, clarity and high SPL capability typically only featured on some of the world’s most expensive microphones. With a self-noise level of only 5dBA it is widely recognised (along with the NT1) as one the world's quietest studio microphones. This low noise makes it an ideal for vocal microphone as well as perfect for recording guitars and percussion.
Frequently Asked Questions:
1. How do you define a condenser microphone?
A condenser microphone is a type of microphone that uses a capacitor to convert sound waves into electrical signals. It is known for its high sensitivity, wide frequency response, and detailed sound capture, making it ideal for studio recordings and professional audio applications.
2. What is the difference between a condenser microphone and a dynamic microphone?
The main difference is in sensitivity and application:
- Condenser microphones capture more detail and require phantom power (48V), making them ideal for studio recording, vocals, and acoustic instruments.
- Dynamic microphones are more durable, handle high sound pressure levels, and do not require external power, making them better suited for live performances, stage use, and loud sound sources like drums and amplifiers.
3. Why are condenser microphones used for recording?
Condenser microphones are preferred for recording because they provide clear, natural, and detailed sound reproduction. Their high sensitivity captures subtle nuances in vocals and instruments, making them essential for studio recordings, voiceovers, and professional audio production.
Summary
To sum up, condenser microphones usually have better sound quality compared with dynamic microphones and are more suitable for acoustic instruments and vocals recording. If you're wondering how to use a condenser microphone effectively, it’s important to consider your environment and setup, as they tend to pick up more ambient noise. However, they're usually more expensive than dynamic microphones. Make sure to buy the right microphone based on your own needs!”
Related Articles to Read:
Maono USB Microphone Series: The Best Mic for Laptop Users in 2025
Guide to Professional Condenser Microphones: Top Picks for Recording